


Data Masker includes a single Permission Set “DM System Admin” that can be assigned to the appropriate user, thus allowing them to configure the product.
Step 1: Go to “Setup”, and enter “Permission Sets” in the Quick Find box. Click on Permission Sets as shown below screenshot.
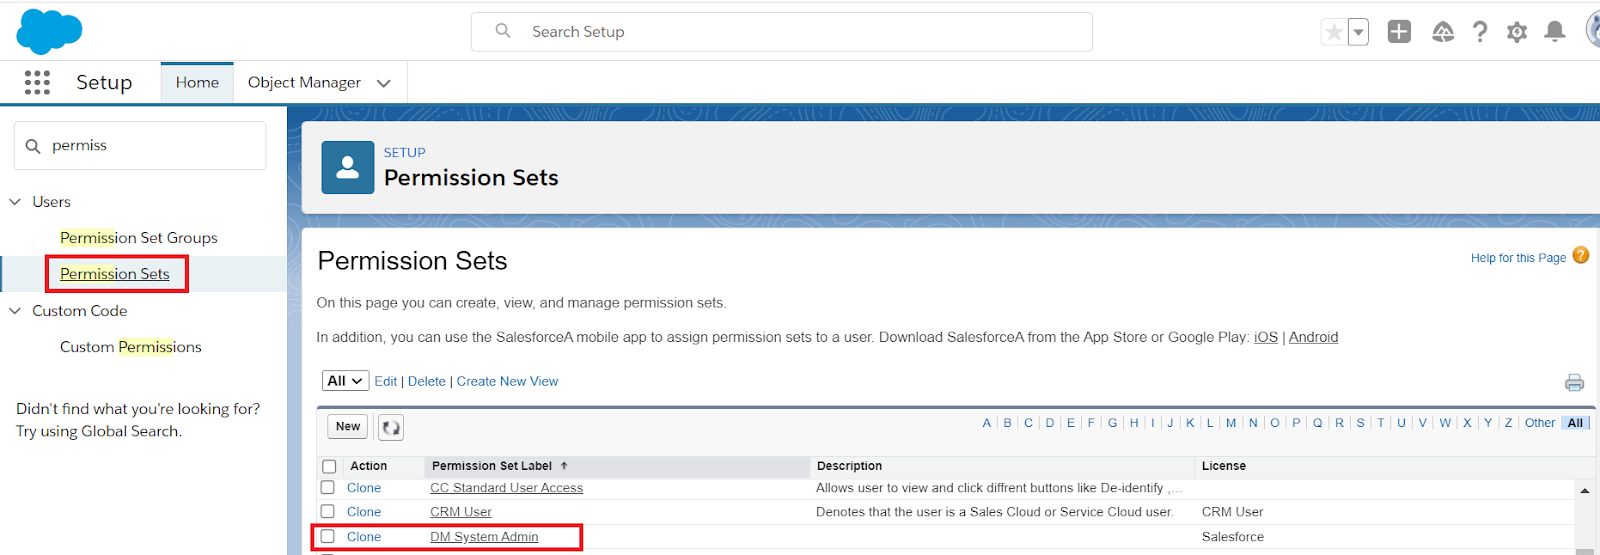
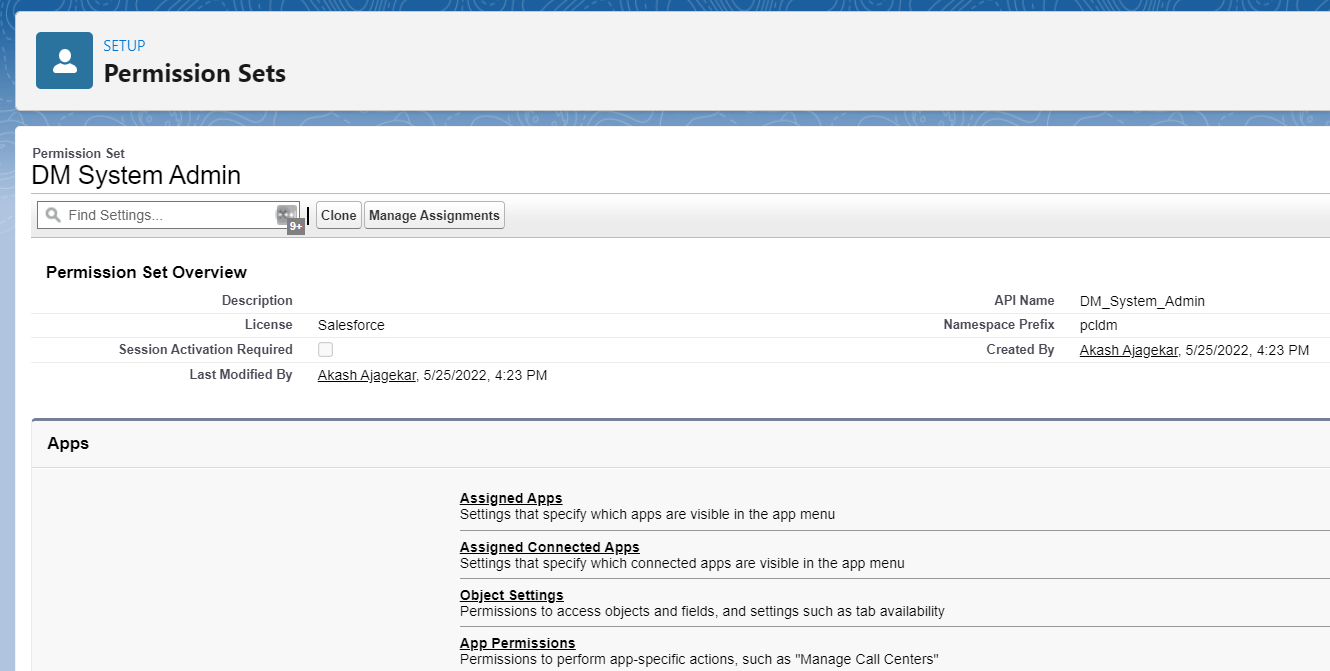
Click on the Permission set ‘DM System Admin’
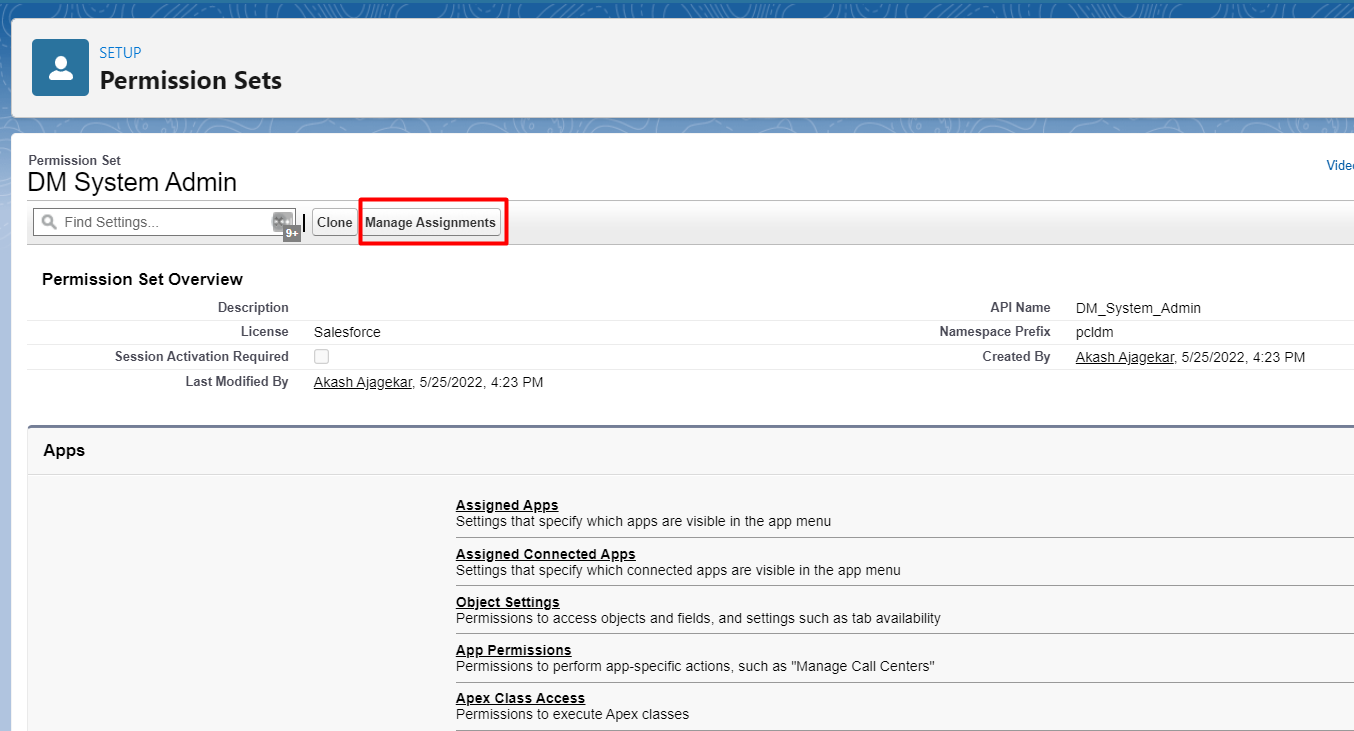
Click on the Manage Assignment button to assign this permission set to the appropriate user
Click on the Add Assignments button
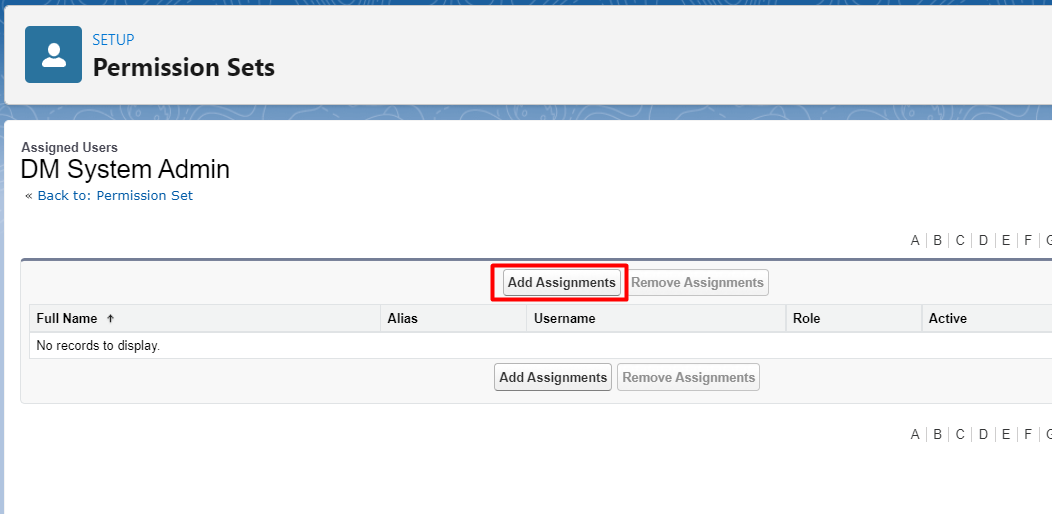
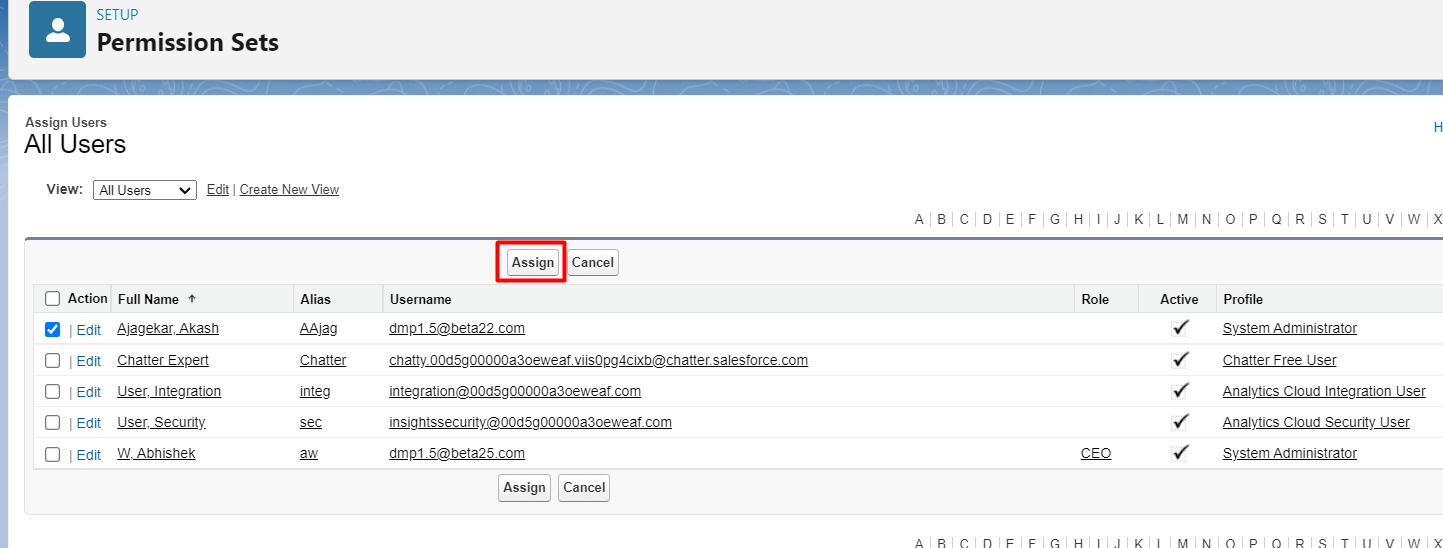
Select the user from the user list.
[Note: Permission set can be assigned to multiple users so we can add more than one user by selecting the checkboxes.]
Click on the “Assign” button.
Click on the Done button
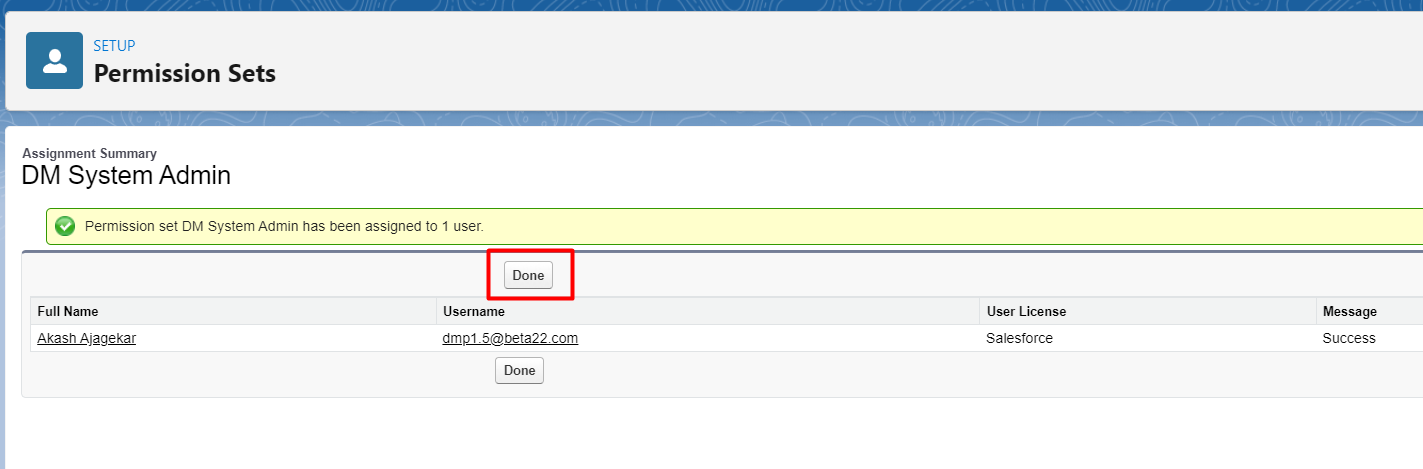
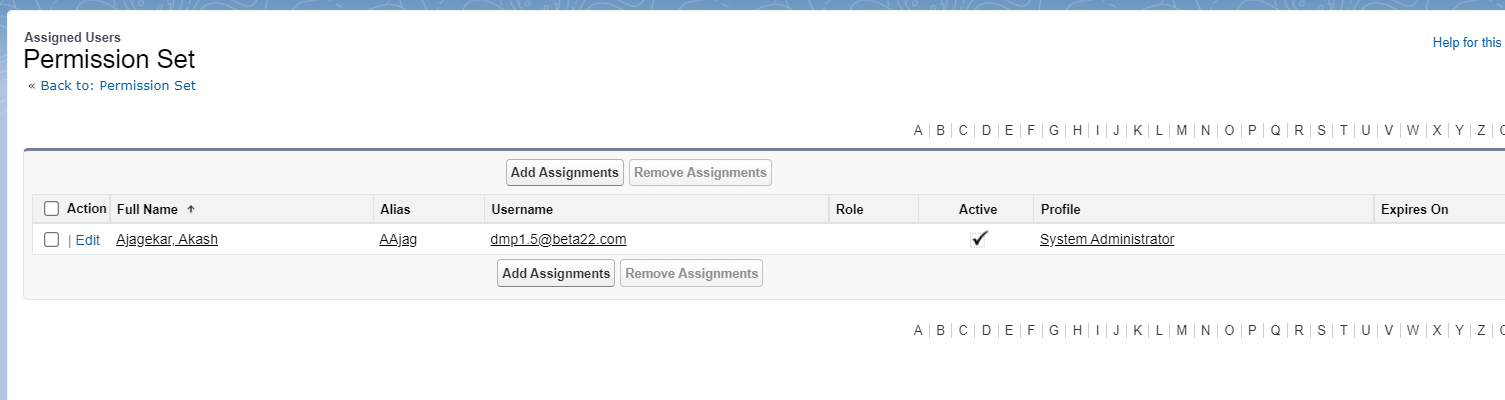
Here ‘DM System Admin’ permission set has been assigned to the user successfully.
Step 2: There are three more permissions that need to be assigned to the user. The permissions are,
- Bulk API Hard Delete
- Query all Files
- View & Edit Converted Leads
So, there are three options by which user can assign these permissions.User can choose either any one of the below,
Option 1: Add permissions to the existing permission set.
Option 2: Add permissions to the user’s profile.
Option 3: Create a new custom permission set and assign these permissions.
User can follow the below steps to add these three permissions,
Option 1: Add permissions to the existing permission set.
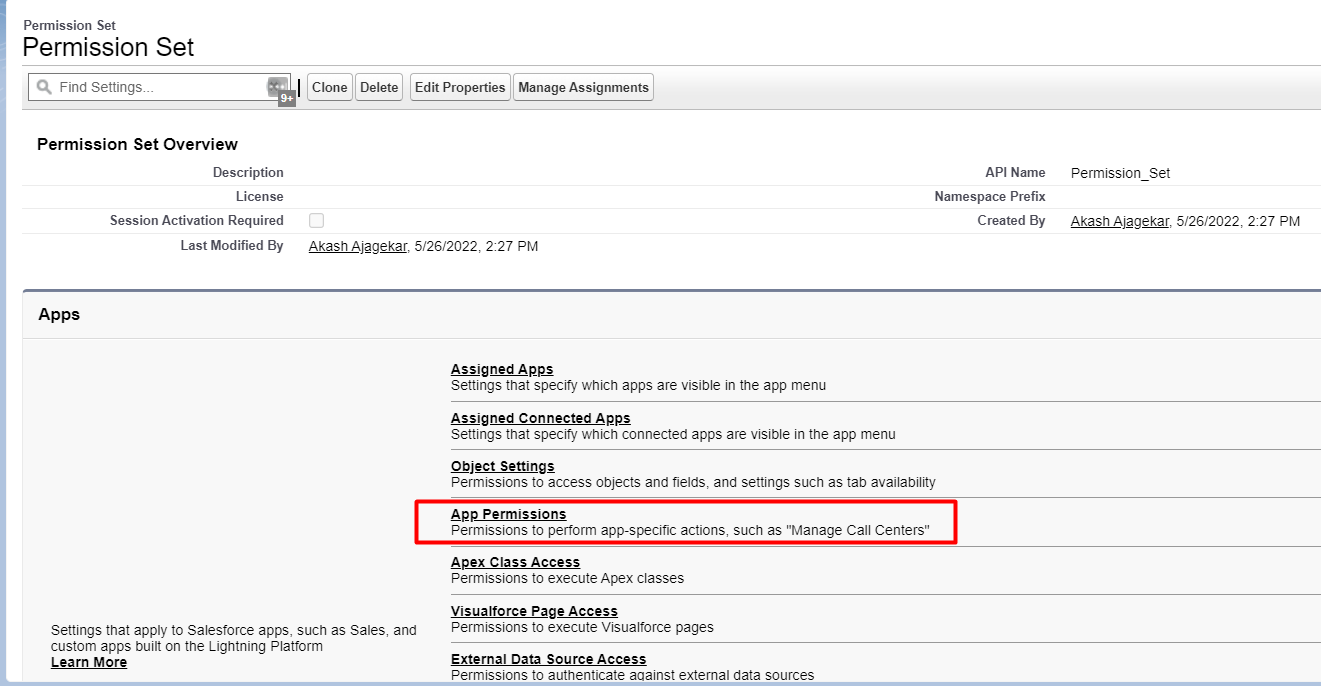
Step 1: Goto Permission Set and click on the link “App Permissions”.
Step 2: Click on the Edit button to make changes.
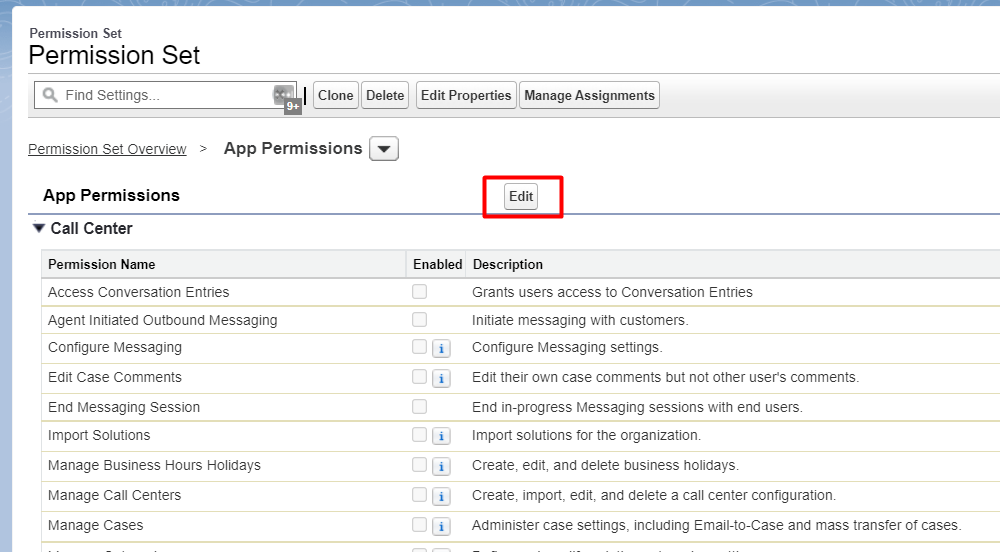
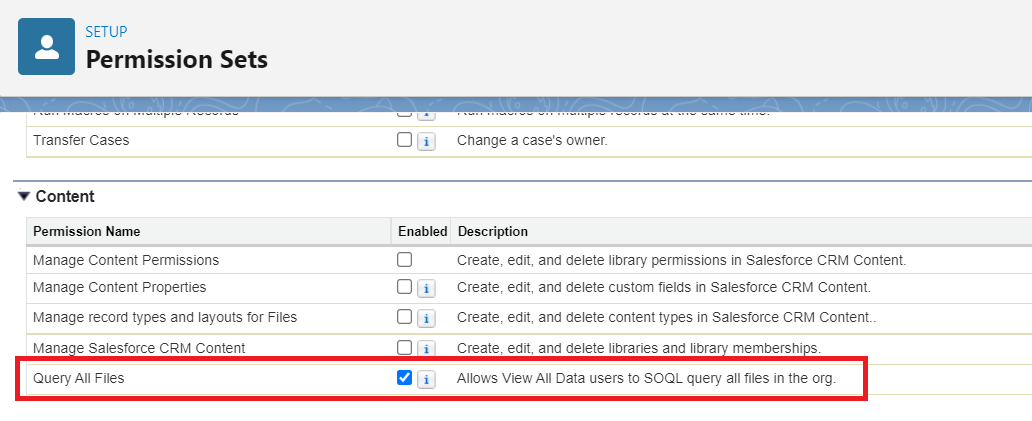
Step 3: Find “Query All Files” and enable the checkbox next to “Query All Files”.
Step 4 : On the same page find “View and Edit Converted Leads” and enable the checkbox next to “View and Edit Converted Leads”.
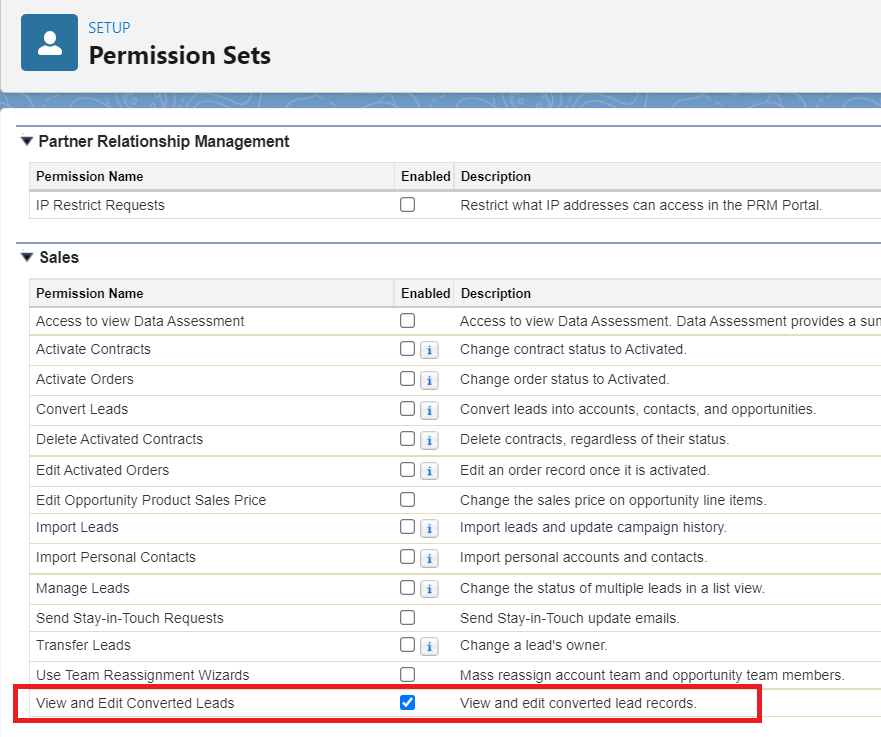
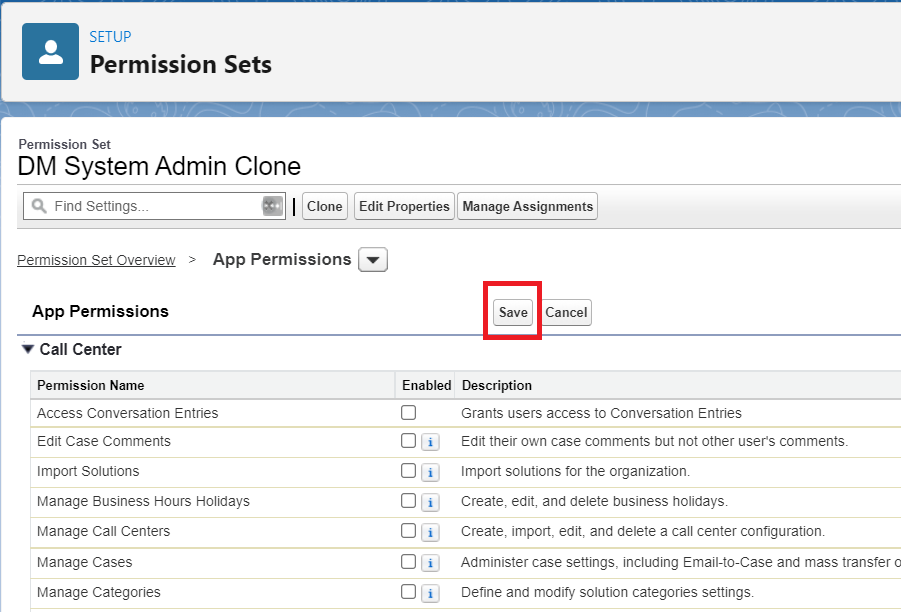
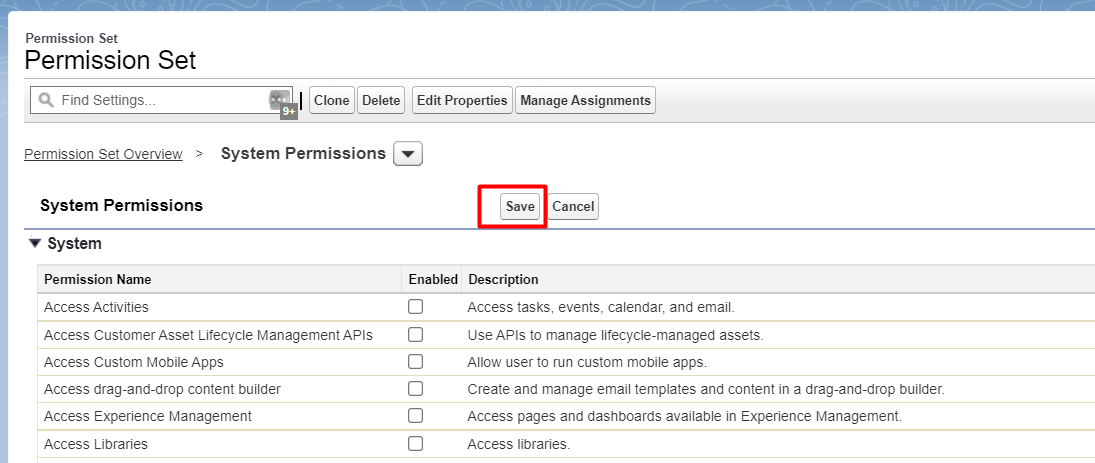
Click on the “Save” button.
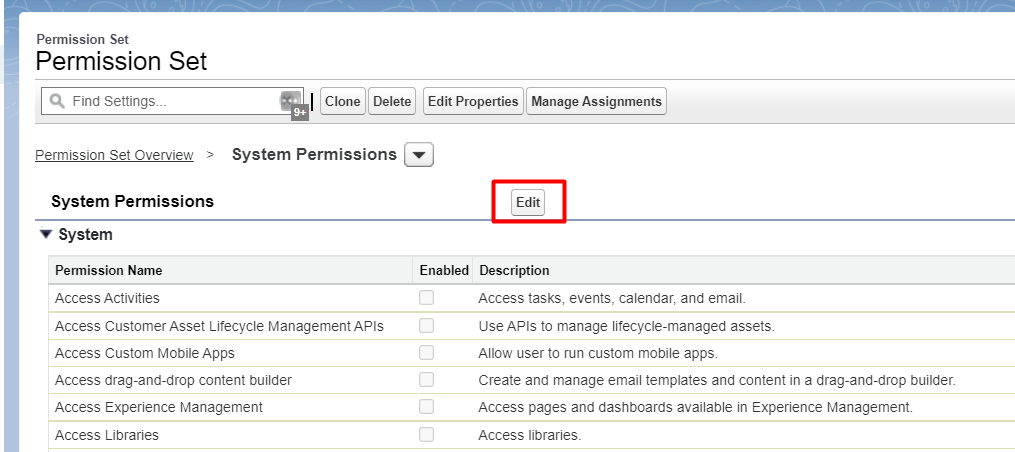
Step 5: Scroll down to System Permissions and click on the link to enable “Bulk API Hard Delete”.

Step 6: Click on the Edit button to make changes.
Step 7: Find “Bulk API Hard Delete” and enable the checkbox next to “Bulk API Hard Delete”.
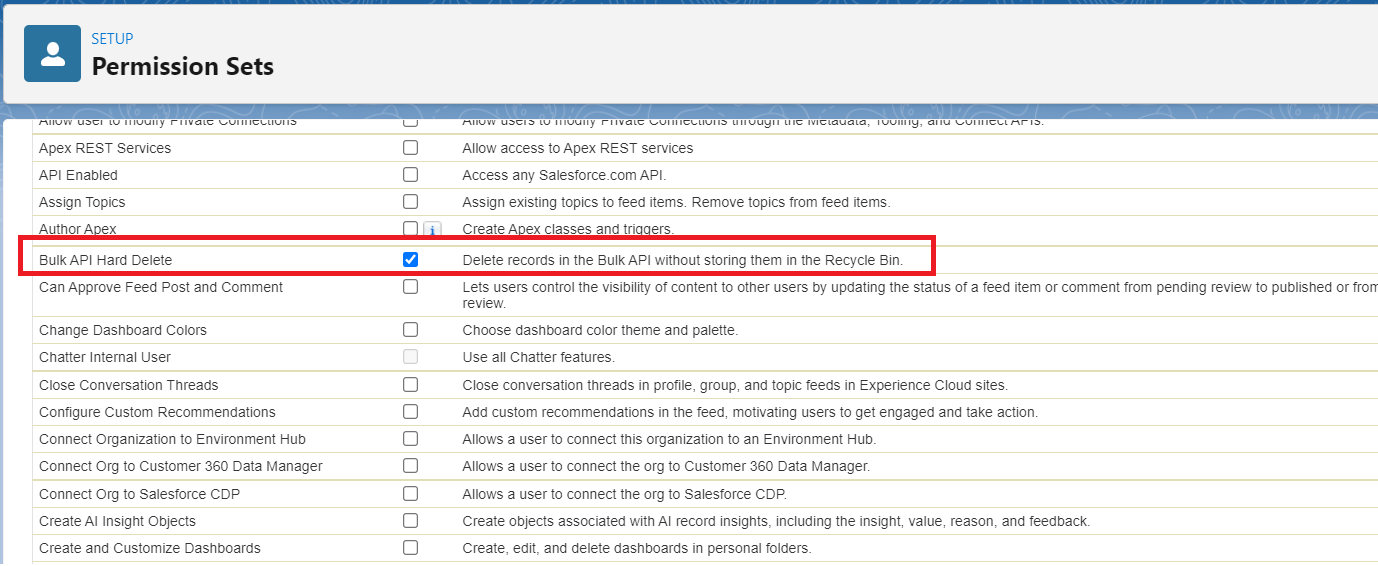
Click on the “Save” button.
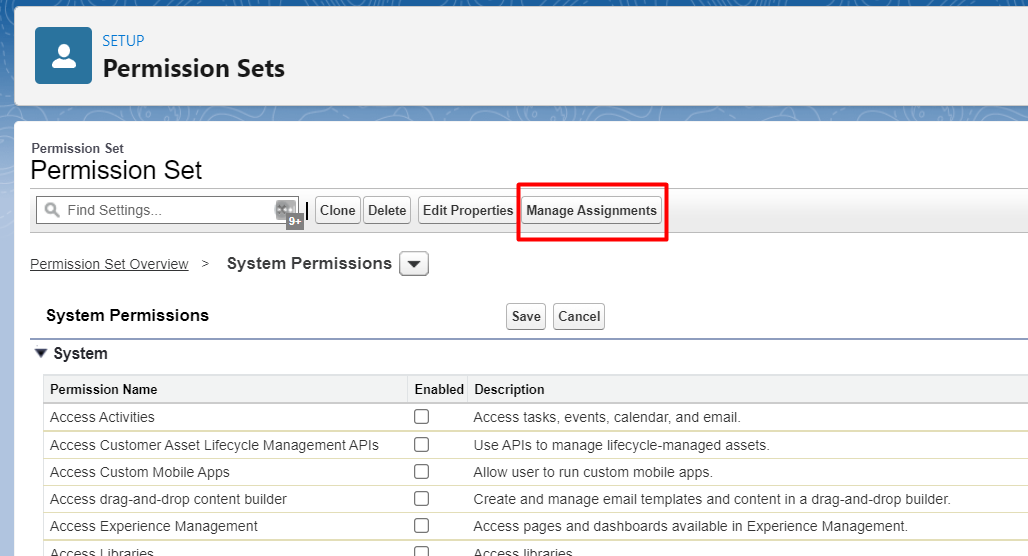
Step 8: Now user can assign this permission set to the appropriate user if it is not assigned already.
Click on the “Manage Assignment” button.
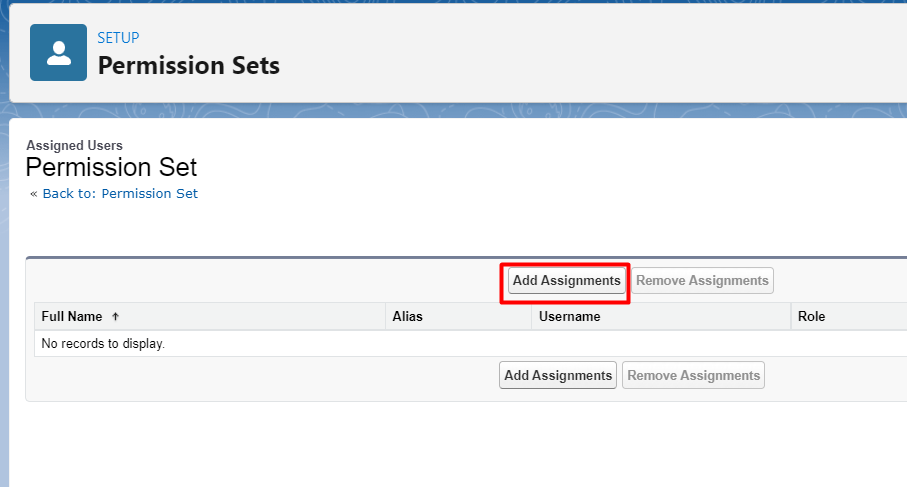
Step 9: Click on the “Add Assignment” button and the user will see a list of all users.
Step 10: Select the user from the user list.
[Note: Permission set can be assigned to multiple users so we can add more than one user by selecting the checkboxes.]
Click on the “Assign” button.

Step 11: Click on the “Done” button and now the selected user has been added to the assignment.
Option 2: Add permissions to the System Administrator cloned or System Administrator equivalent profile.
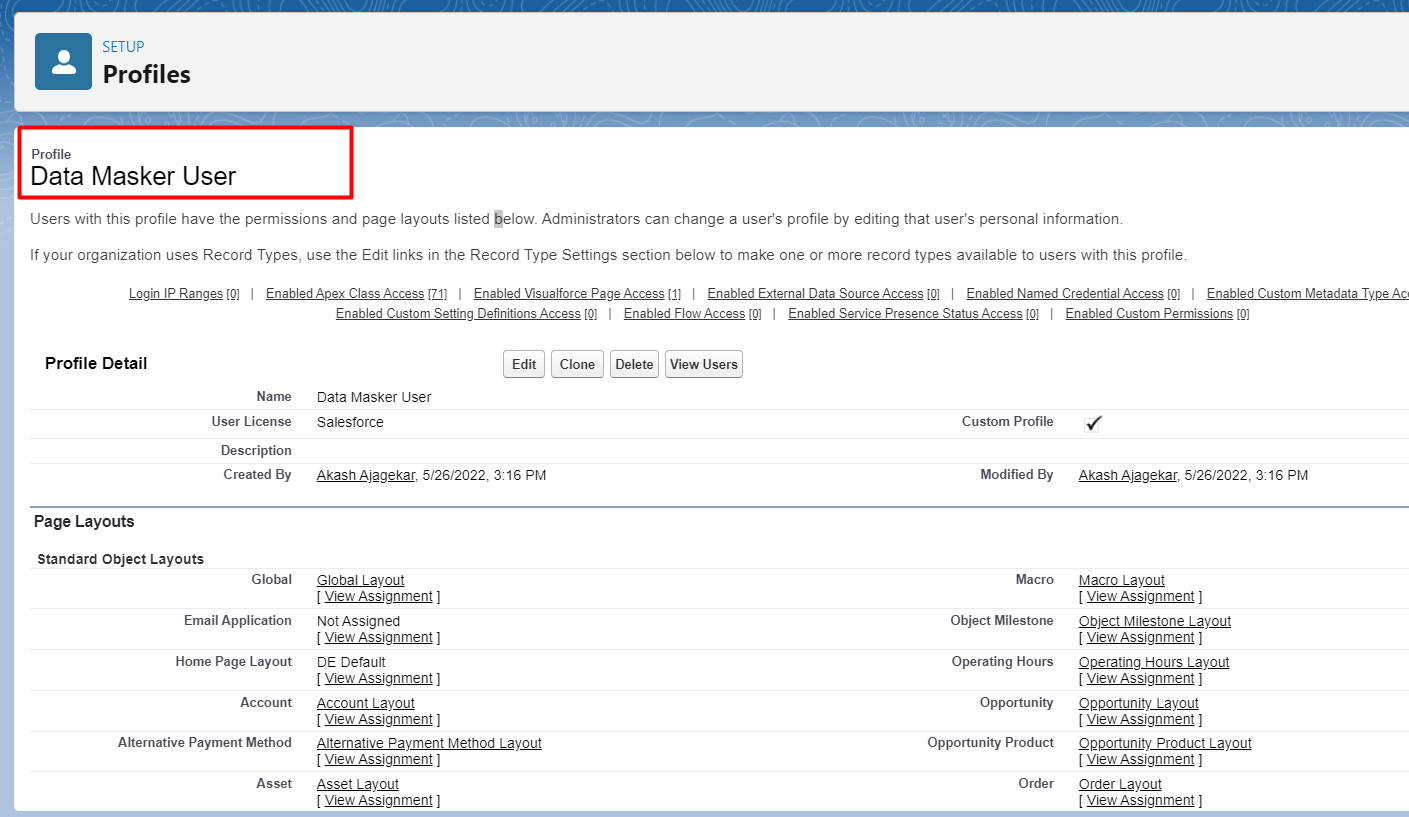
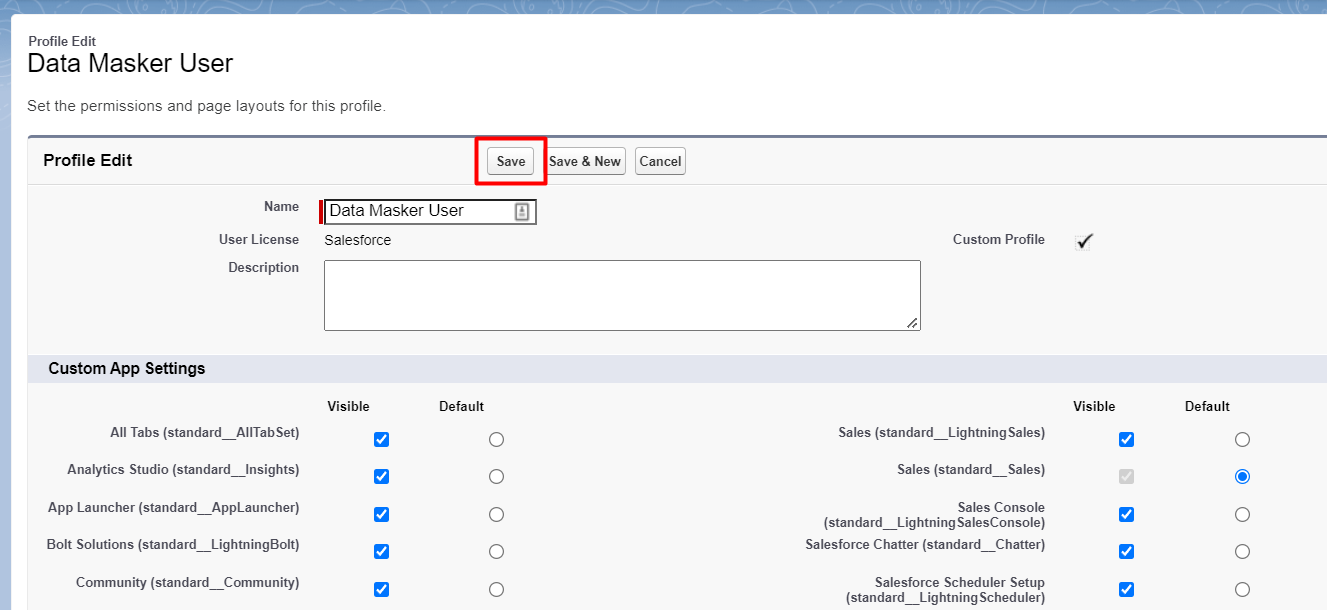
Step 1: Go to the Profile (We have taken a ‘Data Masker User’ profile for demo purpose here)
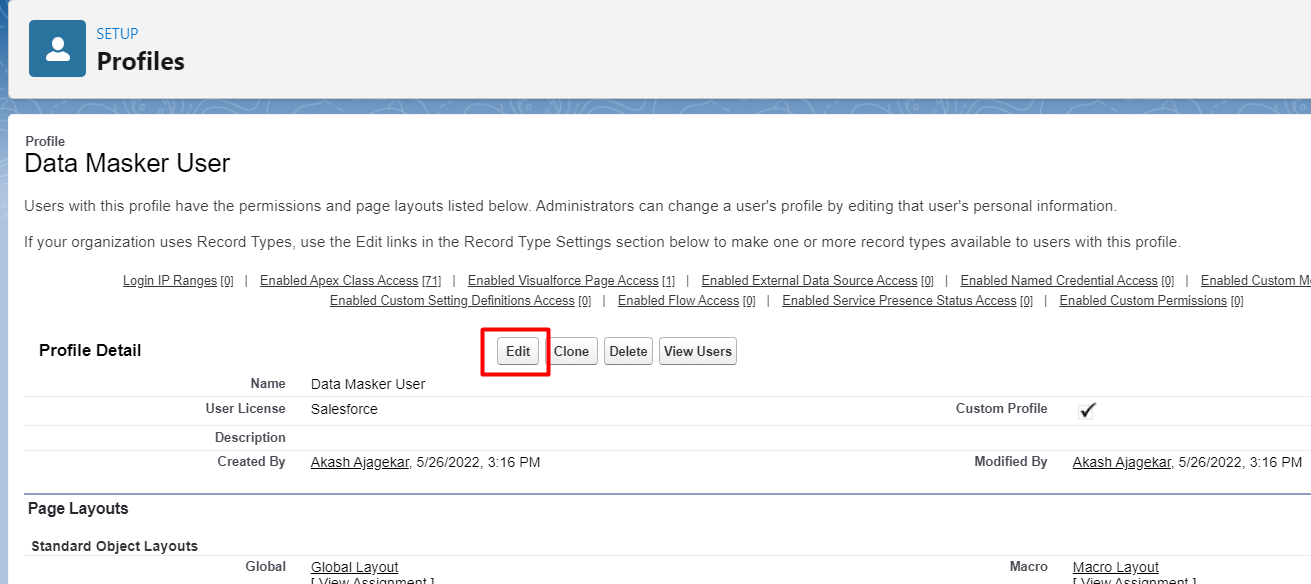
Step 2: Click on the Edit button to make changes.
Step 3:Scroll down to the section ‘Administrative Permissions’
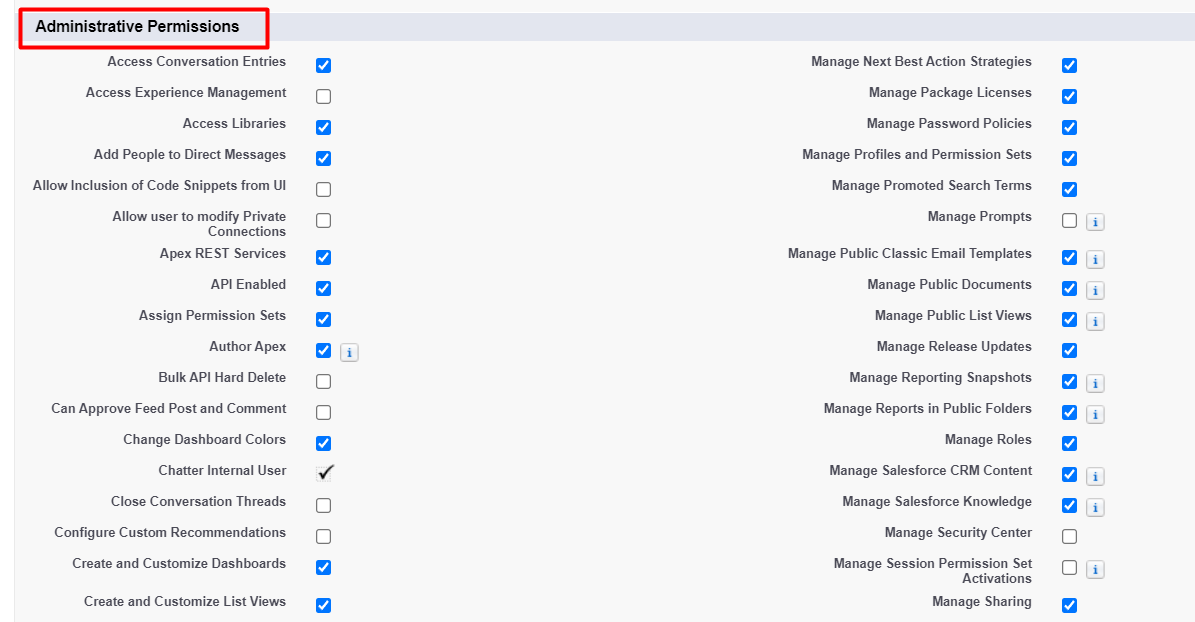
Step 4:User will find ‘Bulk Api Hard Delete’ permission, Enable the checkbox next to it
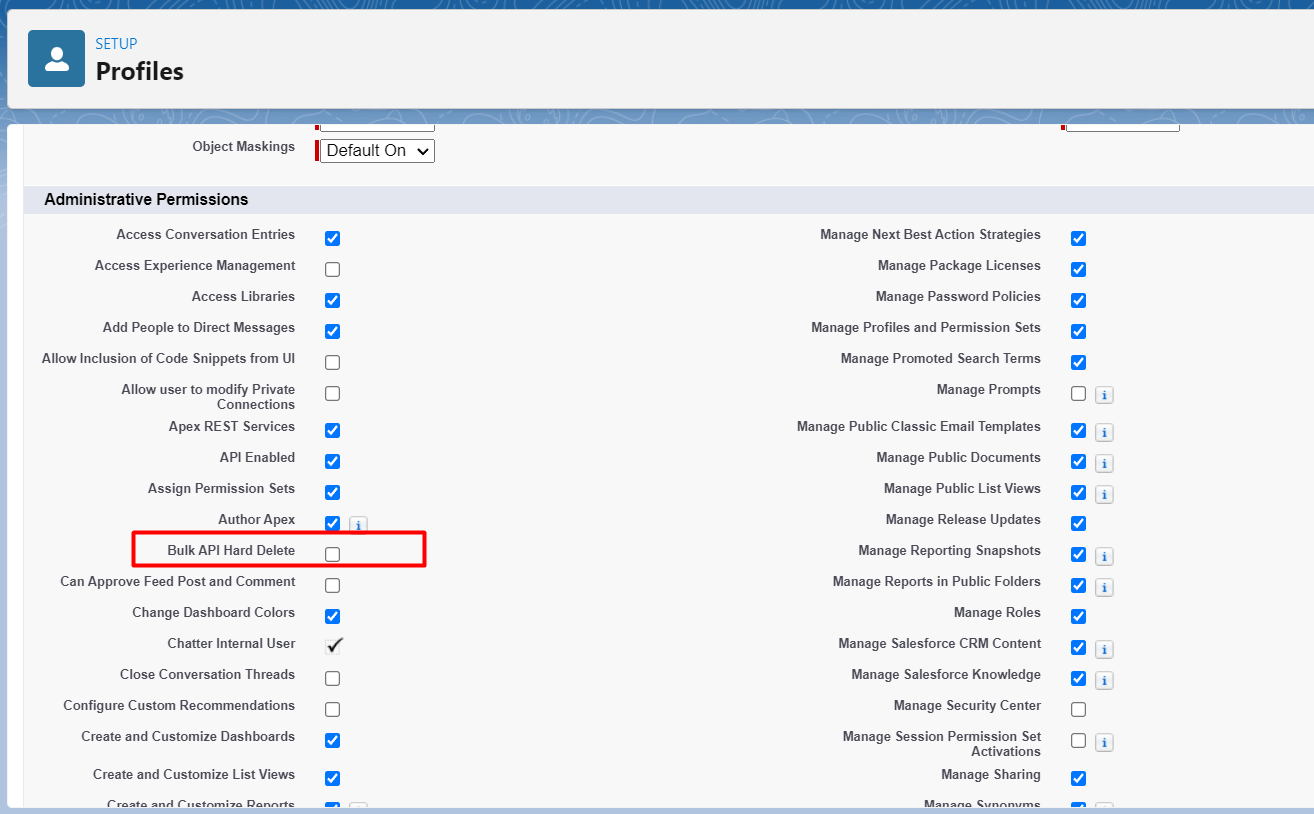
Step 5:In the same section, user will find ‘Query All Files’ permission, enable the checkbox next to it

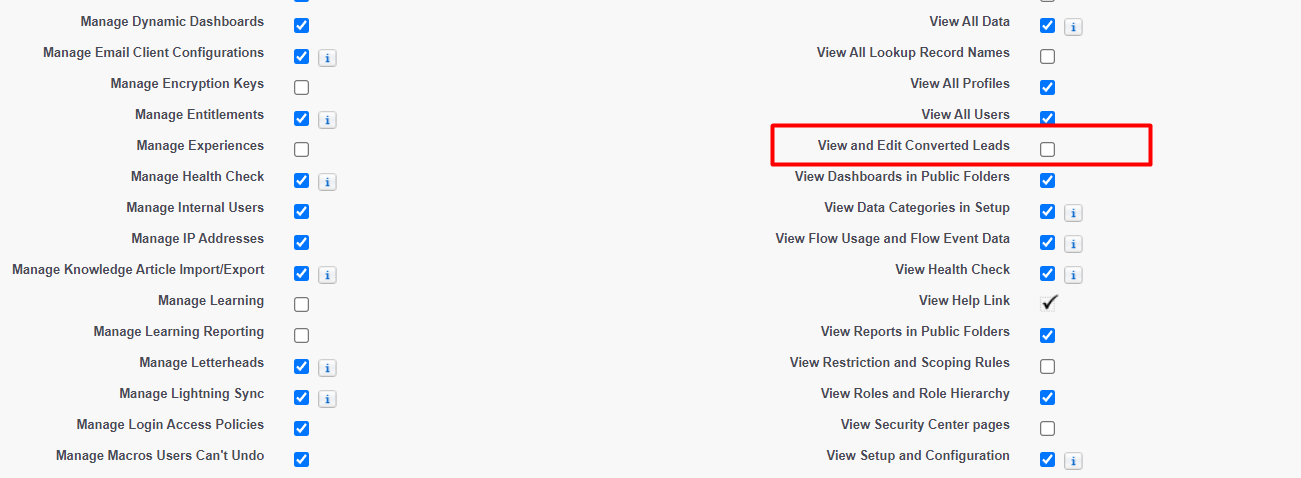
Step 6:Again in the current section that is ‘Administrative Permissions’ user will find ‘View and Edit Converted Leads’ permission
Enable the checkbox next to it
Step 7:Now click on the Save button
So we have given all three permissions here in the profile. Now user can assign this profile if not assigned already.
Option 3: Create a new custom permission set and assign these permissions.
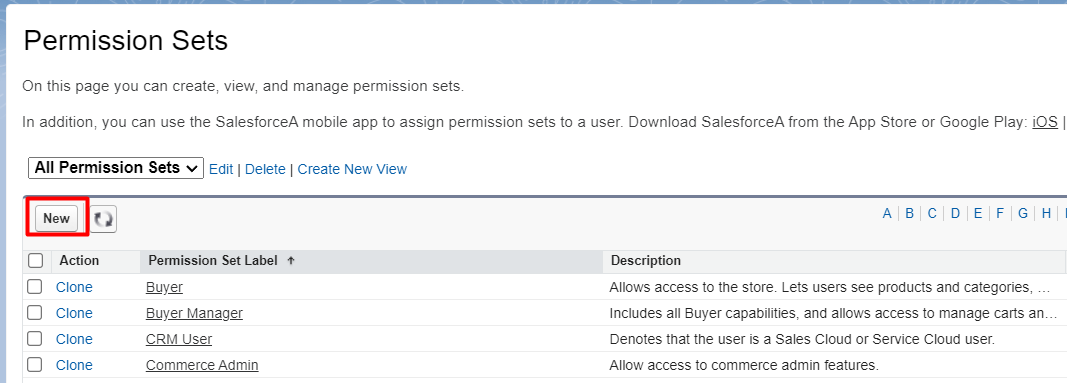
Step 1: Goto Permission Set and click on the New button
Step 2:Enter Name for the Permission Set
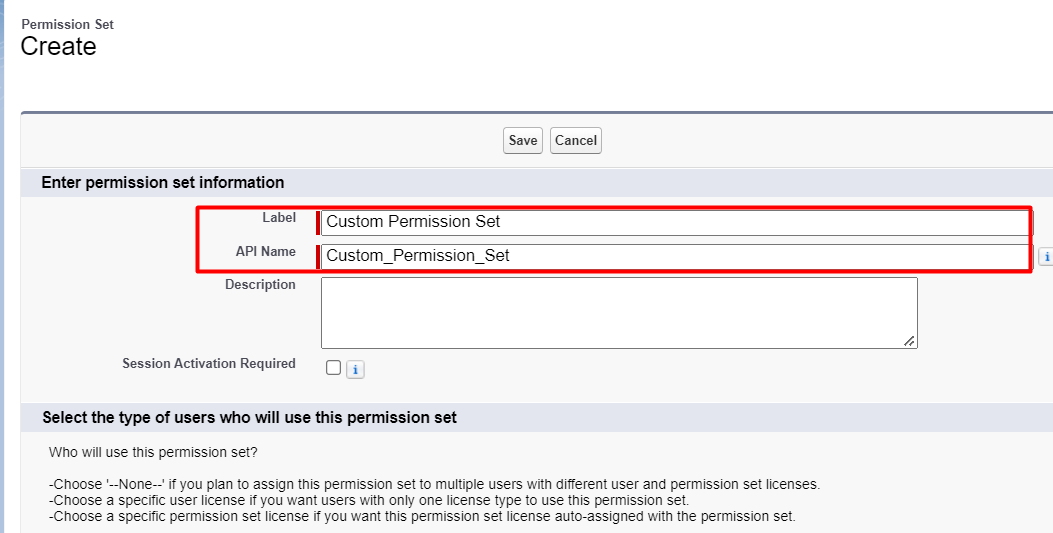
Step 3:Click on the Save button
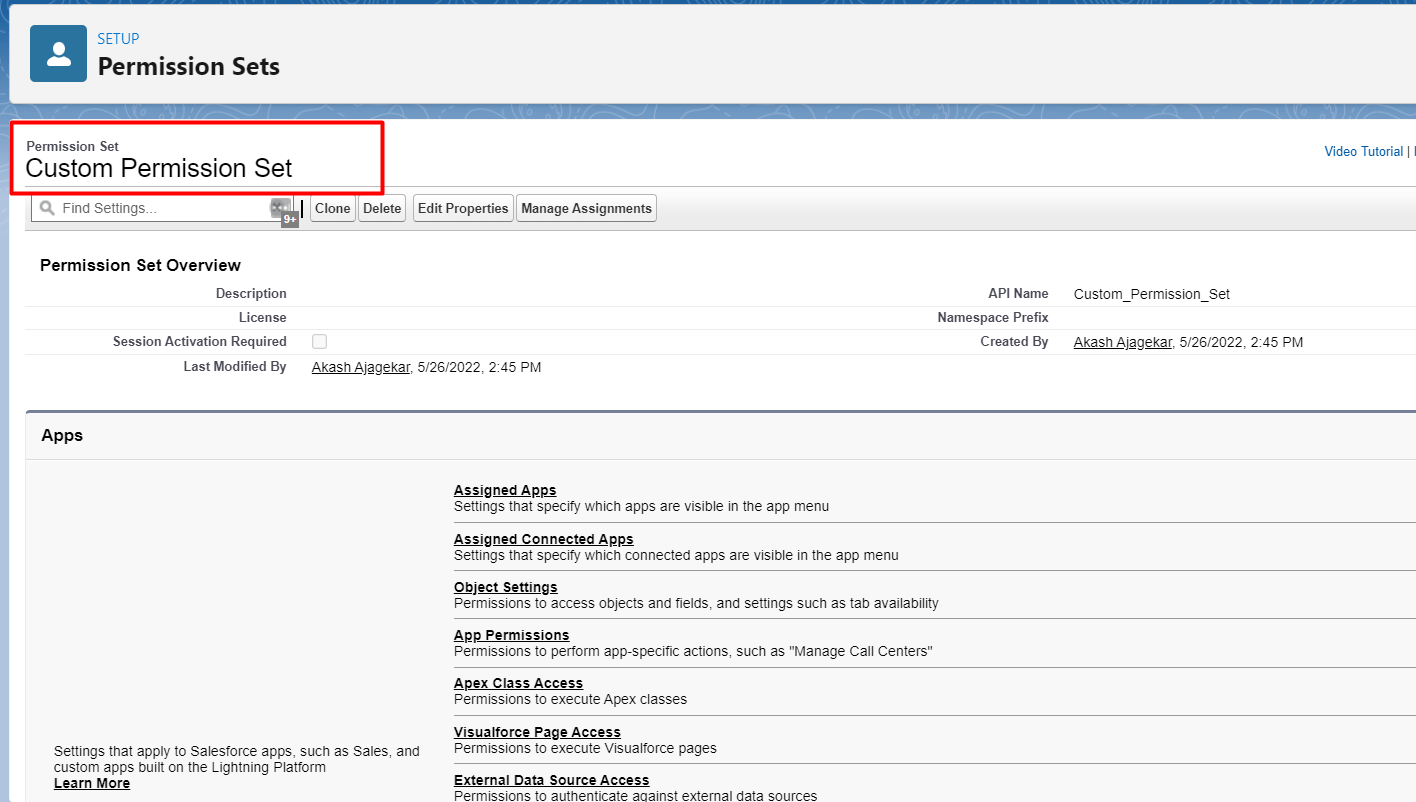
After Clicking on the Save button the newly created permission set will open
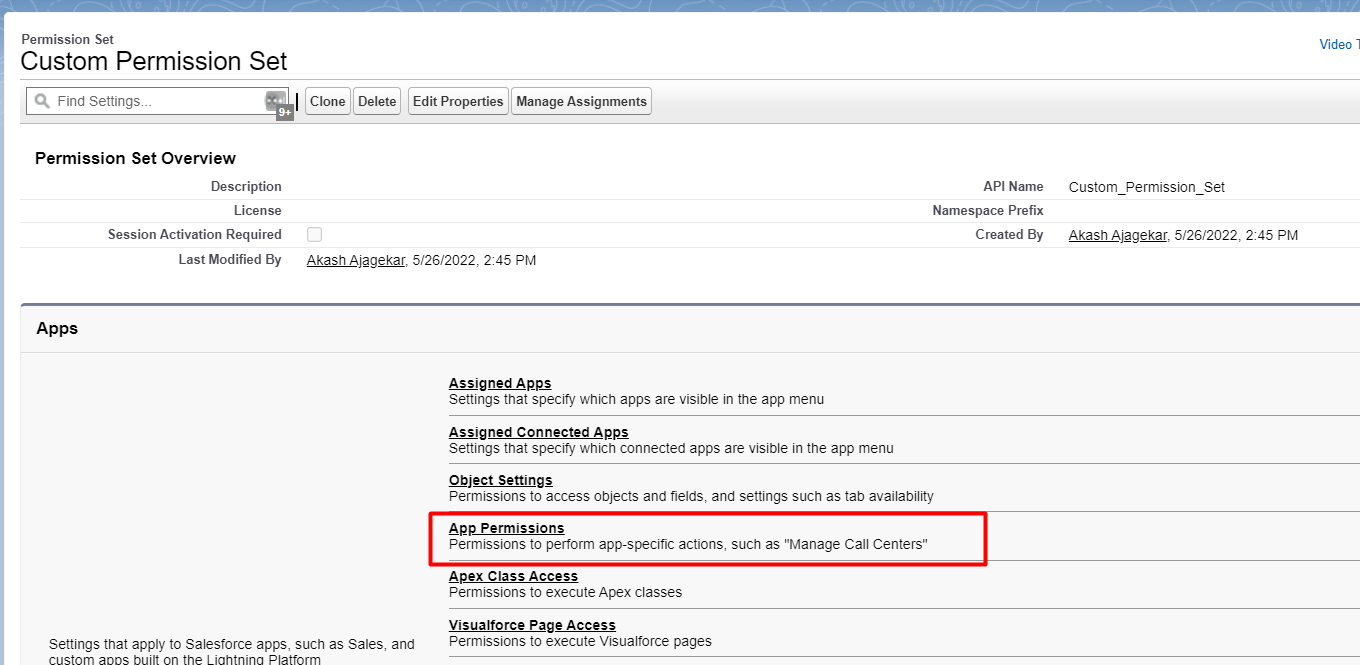
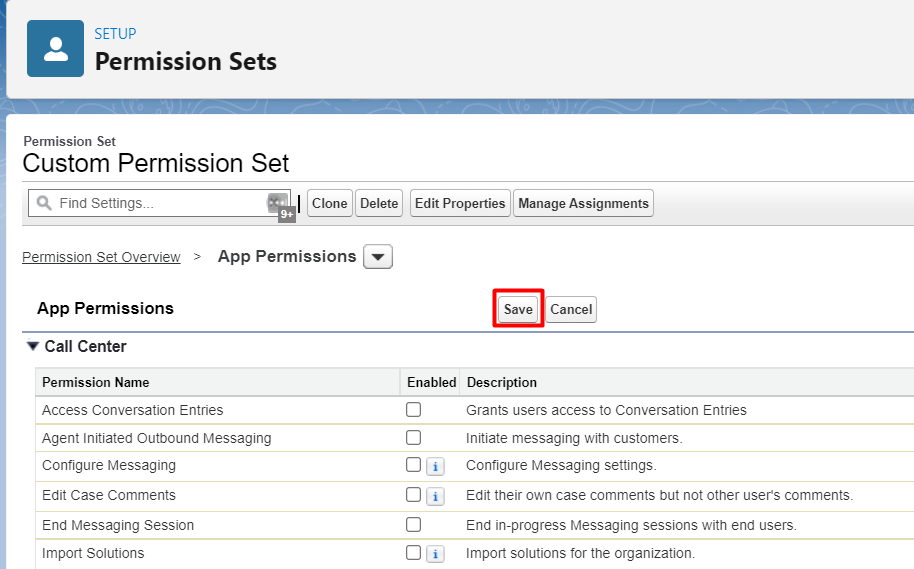
Step 4:Now to assign these permissions, user can click on the link “App Permissions”
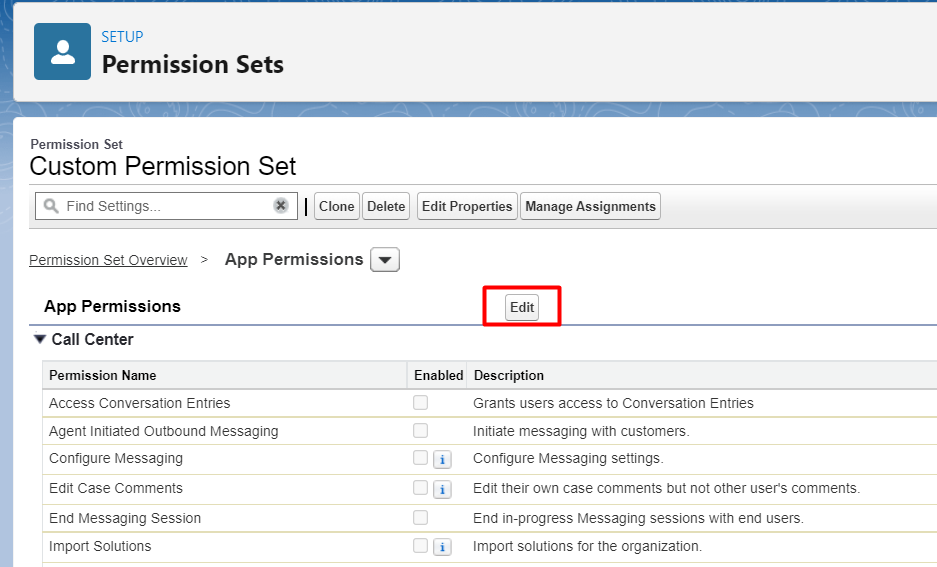
Step 5: Click on the Edit button to make changes.
Step 6: Find “Query All Files” and enable the checkbox next to “Query All Files”.

Step 7 :On the same page find “View and Edit Converted Leads” and enable the checkbox next to “View and Edit Converted Leads”

Step 8:Click on the “Save” button.
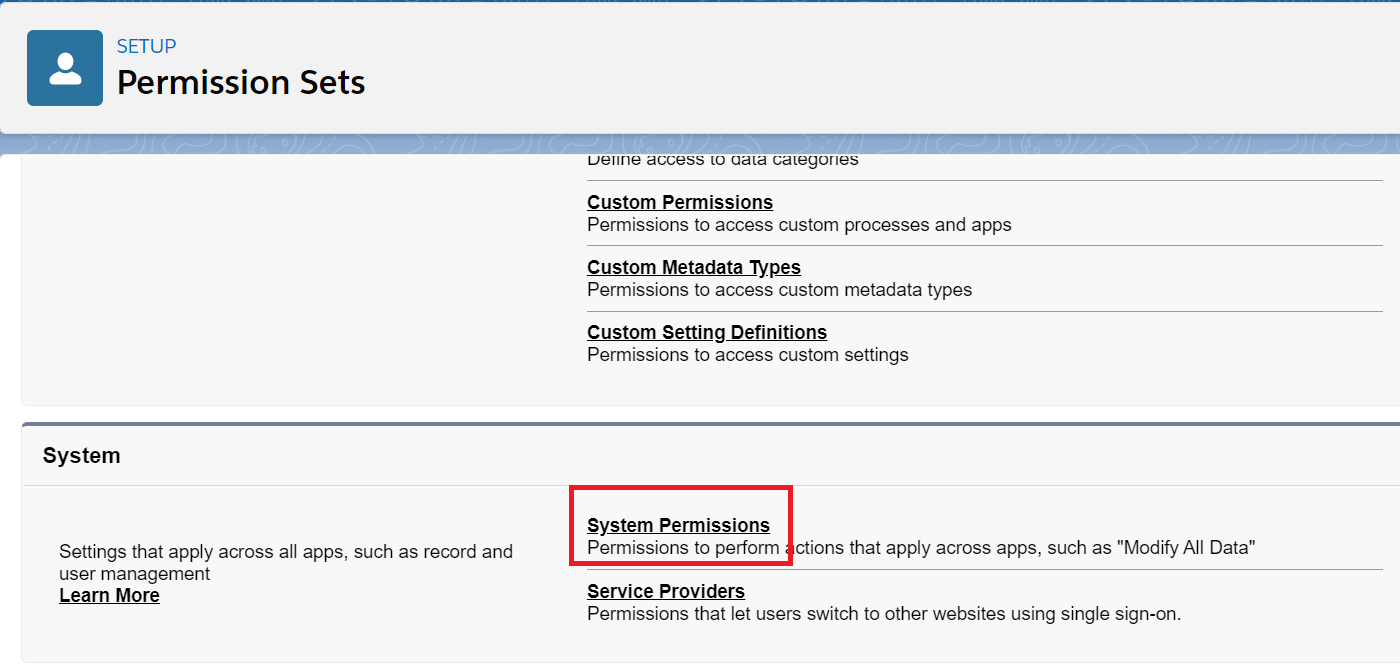
Step 9: Scroll down to System Permissions and click on the link to enable “Bulk API Hard Delete”.
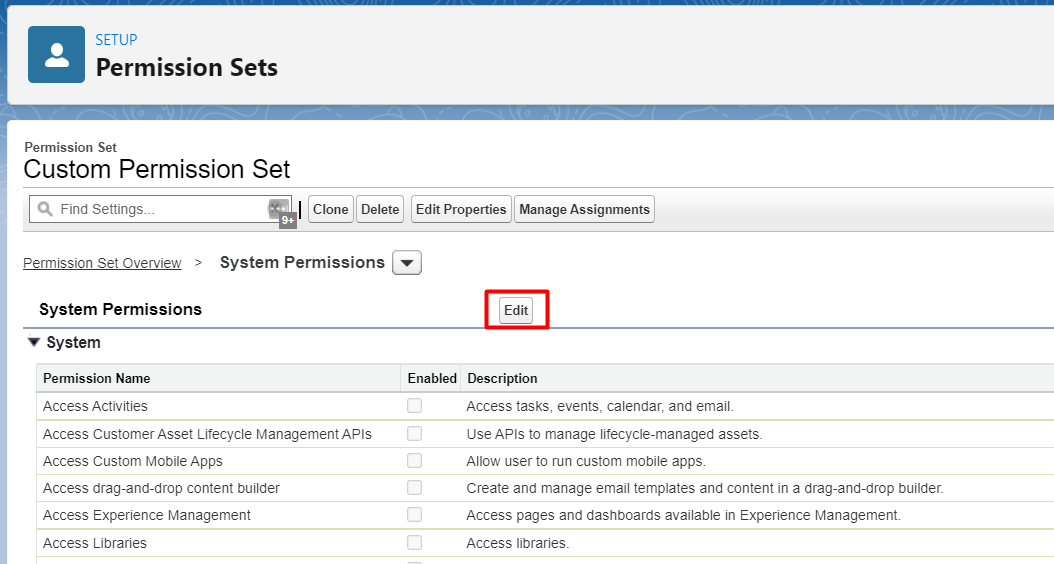
Step 10: Click on the Edit button to make changes.
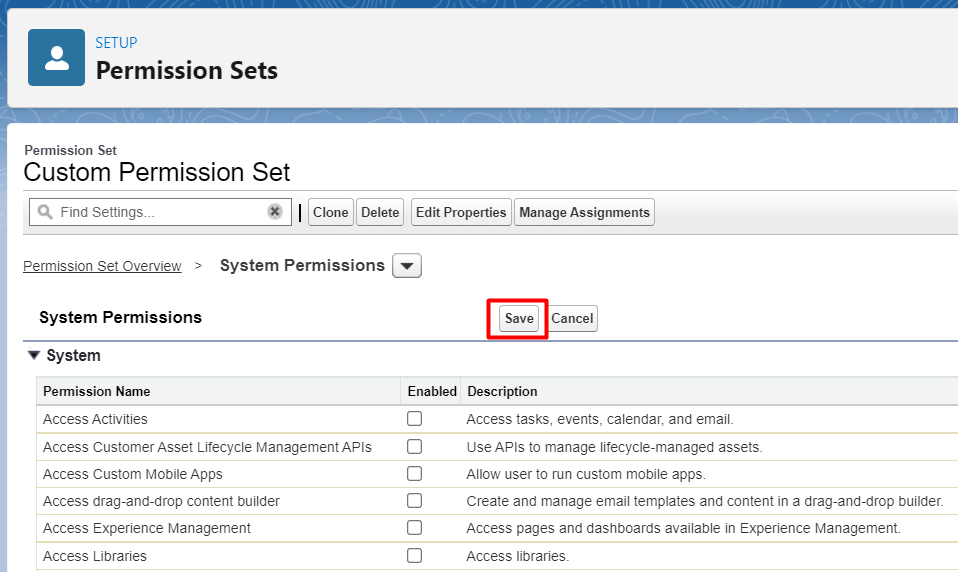
Step 11: Find “Bulk API Hard Delete” and enable the checkbox next to “Bulk API Hard Delete”.

Step 12:Click on the “Save” button.
Now user can assign this permission set to the appropriate user if it is not assigned already as explained above in Option 1.