Setup Assistant
This article covers the use of the DataMasker Setup Assistant to configure the org and run the DataMasker application.
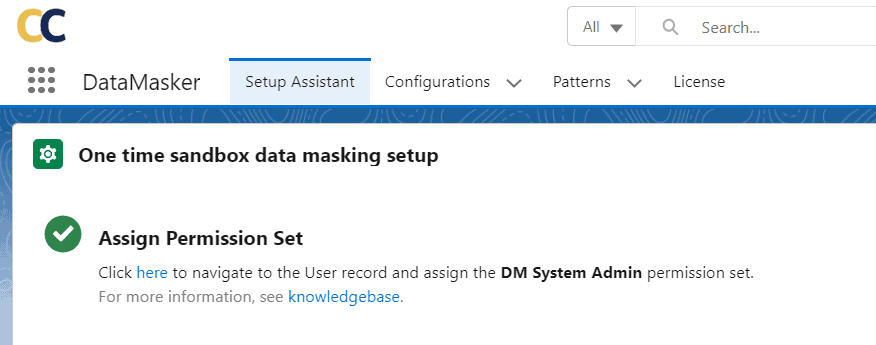
Once you switch to the DataMasker application, you will automatically be navigated to the Setup Assistant tab. This tab will help you set up and configure the application and allow you to create a sample configuration.
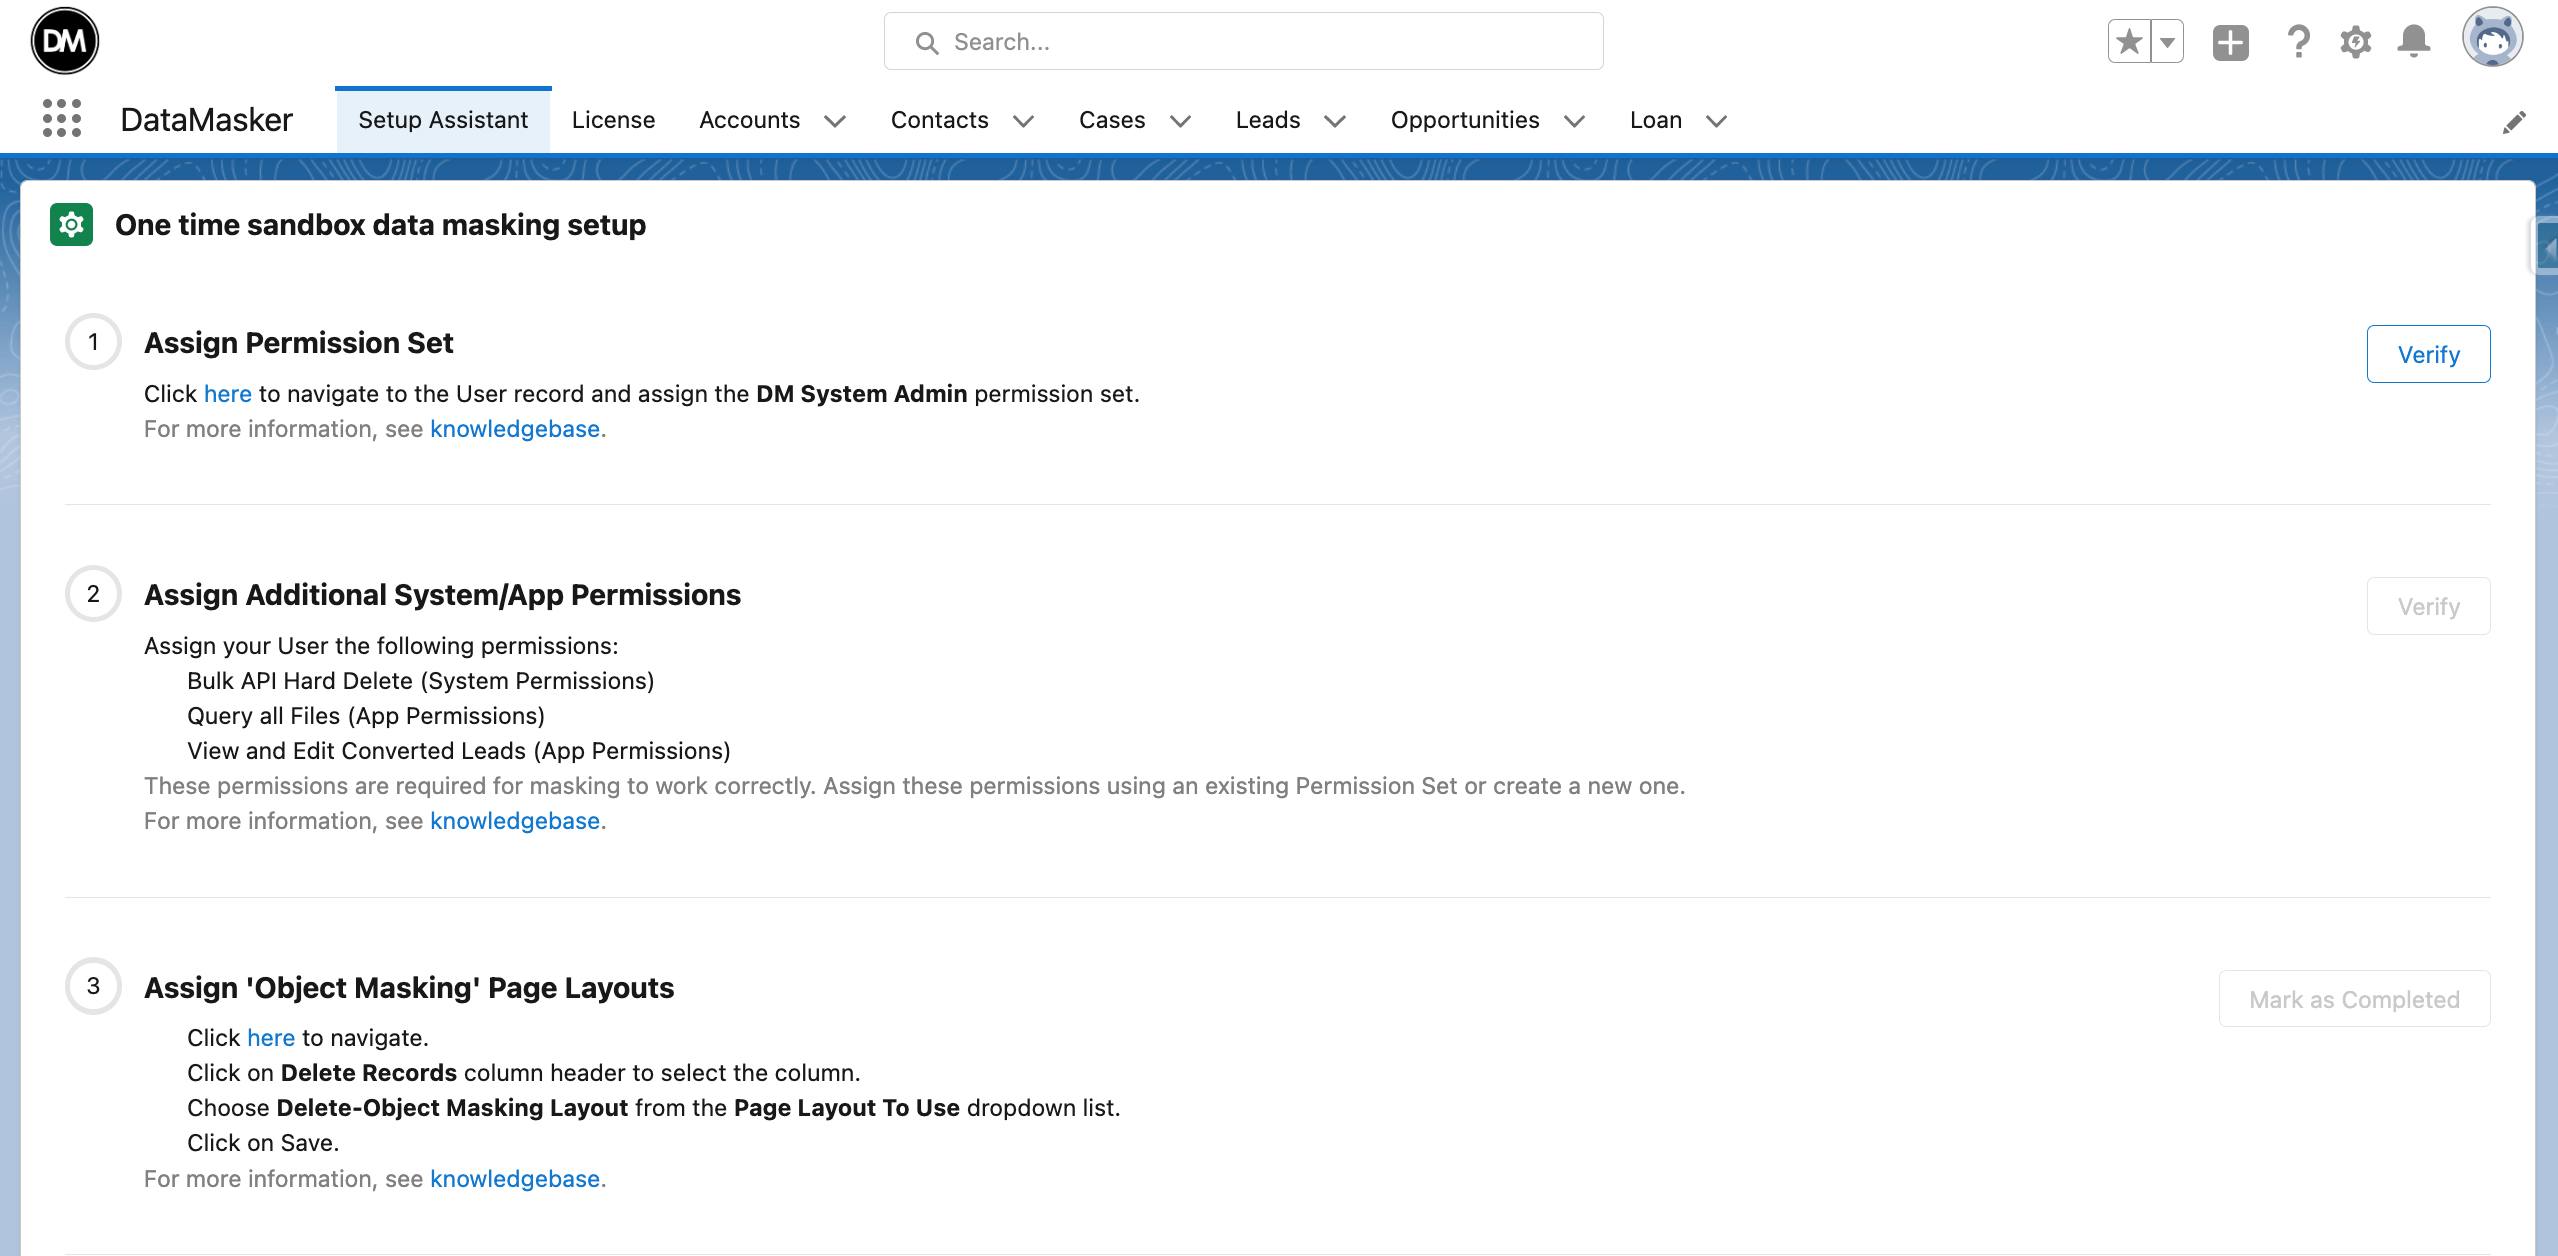
Step 1: Assign Permissions Set
- You can assign DataMasker System Administrator permissions to a user with a System Administrator or an equivalent profile.
- Click on the link labeled ‘here’ to navigate to the permission set assignment. Here, you can see the ‘DM System Admin’ permission set that can then be assigned.
Assign the permission set ‘DM System Admin’.
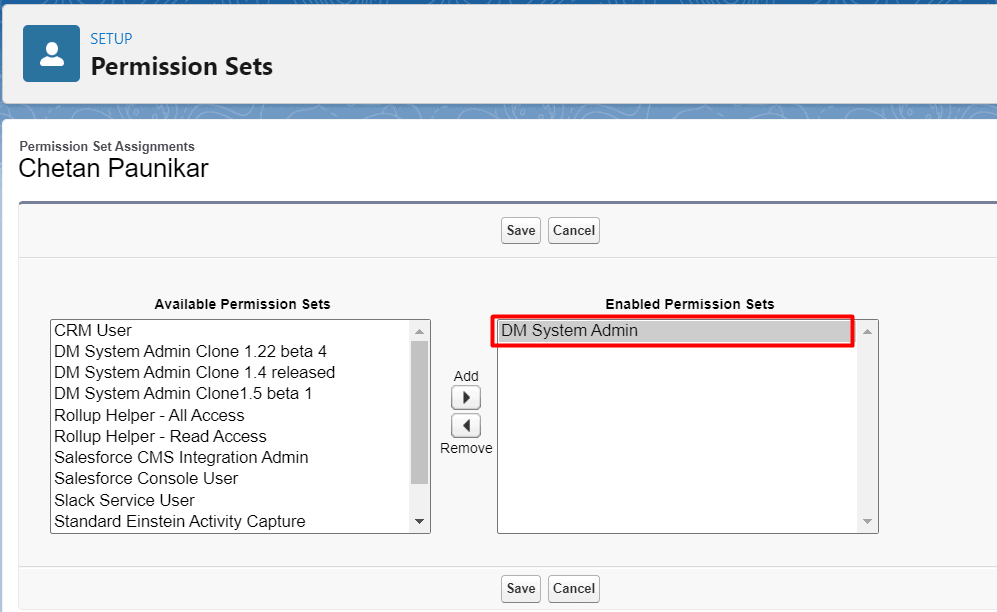
- Click on the Save button.
For more information on permission sets, you can navigate to a different knowledge base article titled, “Assign Permission Sets to your Profile”.
- For more information on assigning permission sets to your profile, click here.
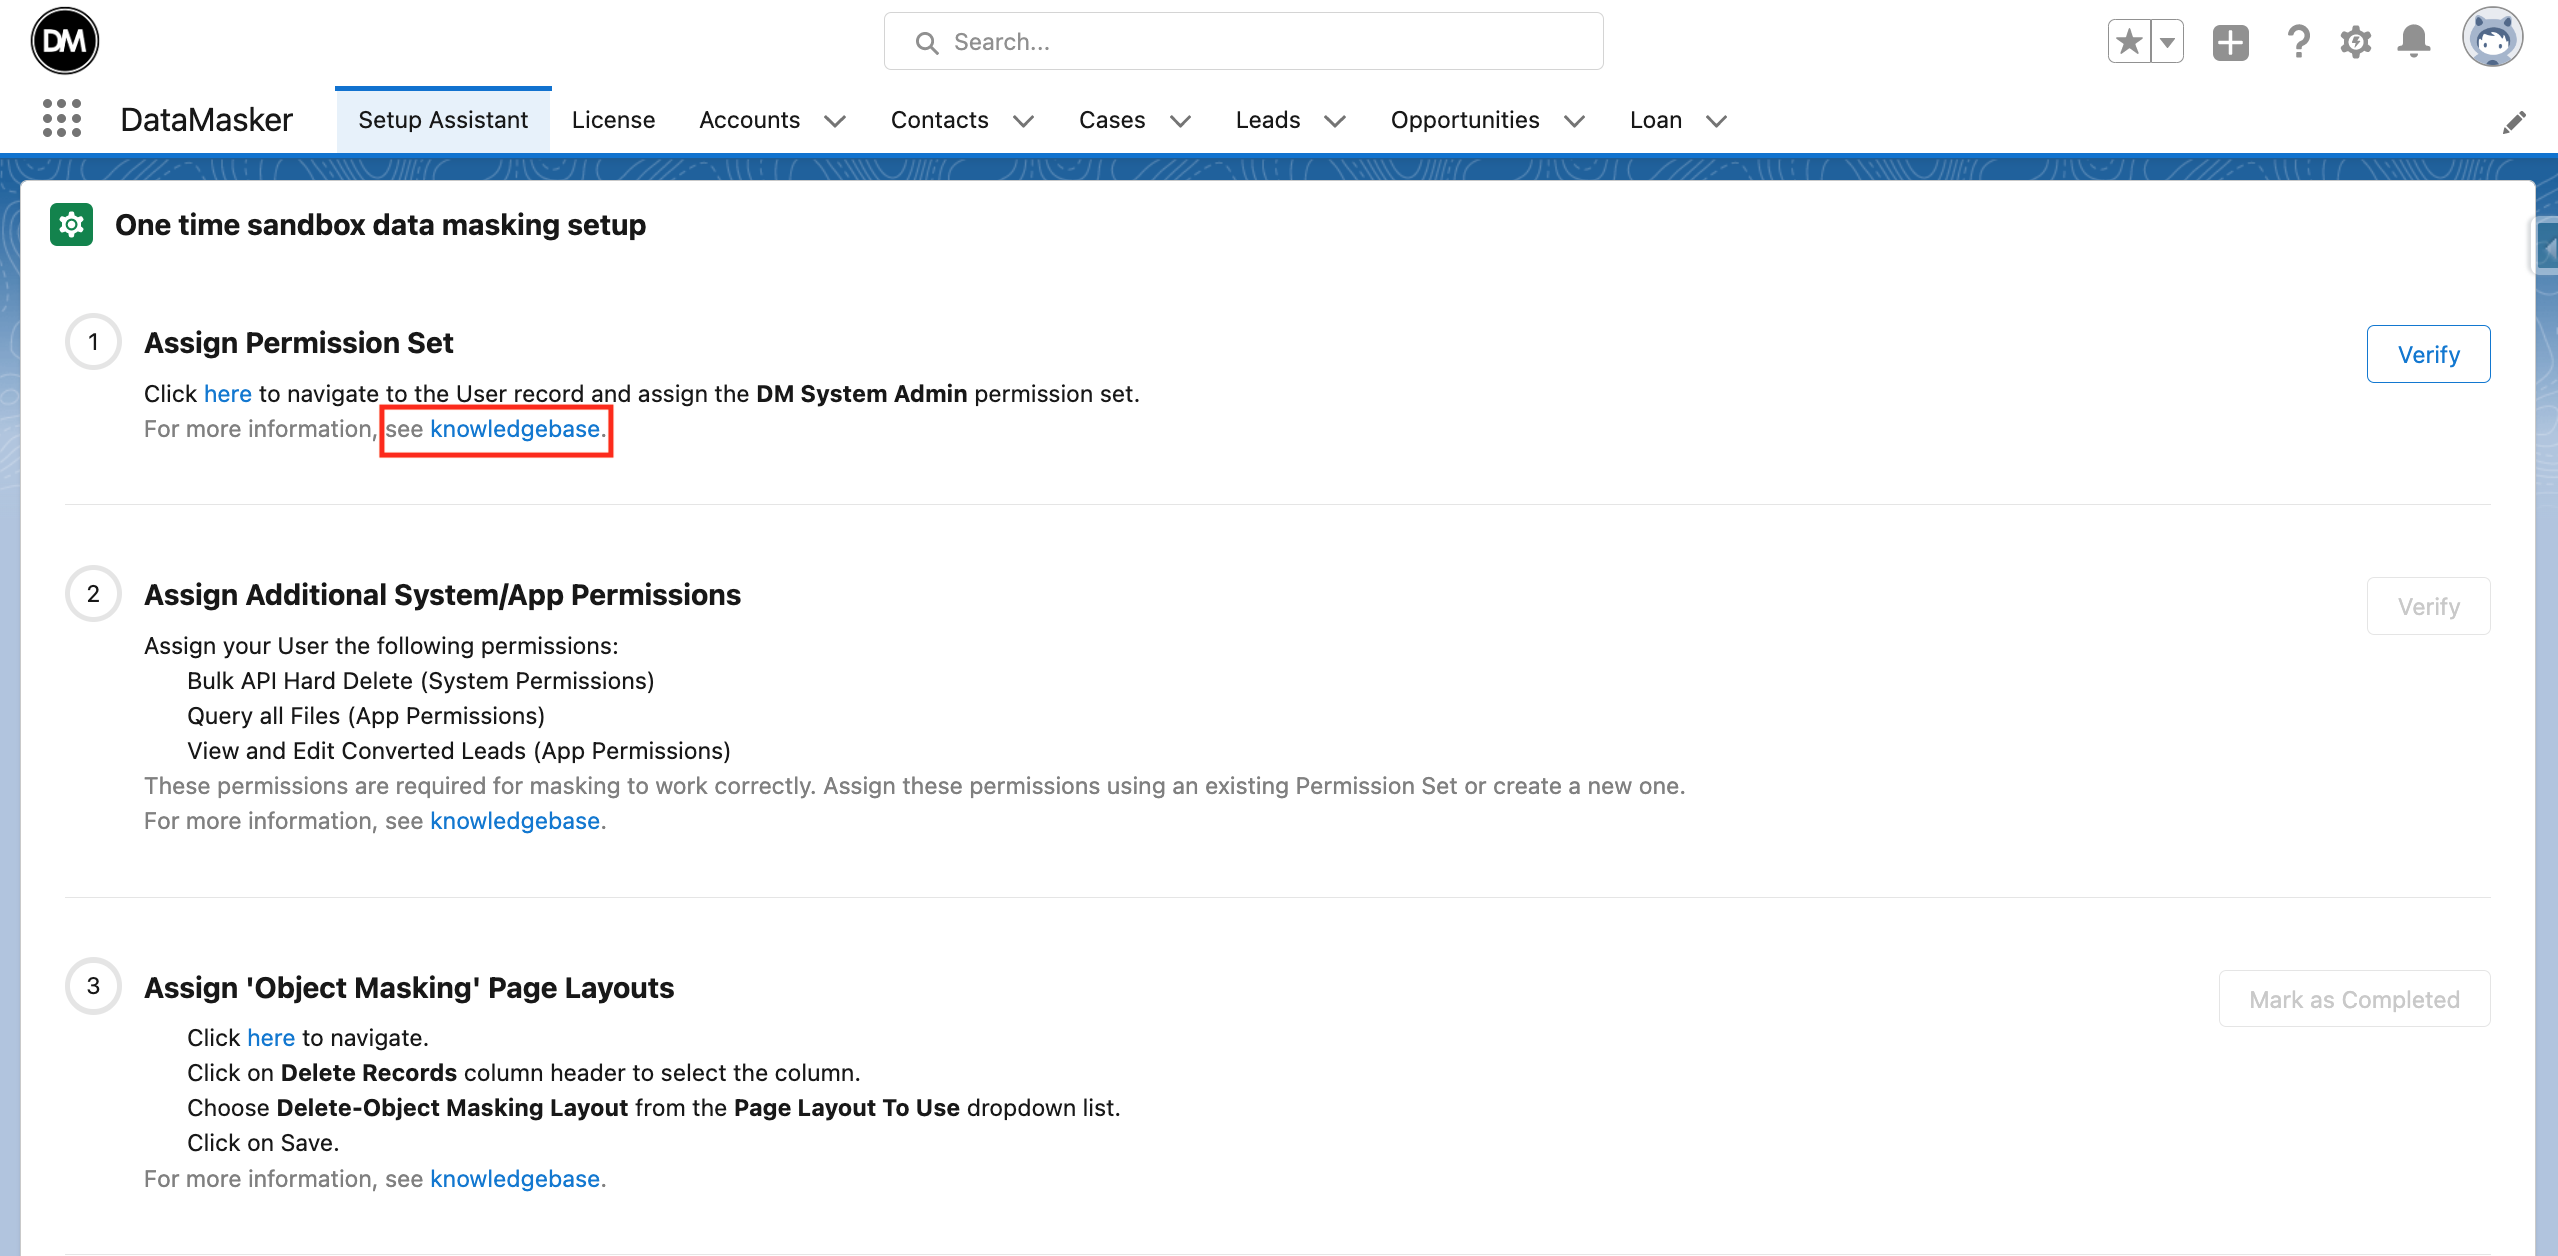
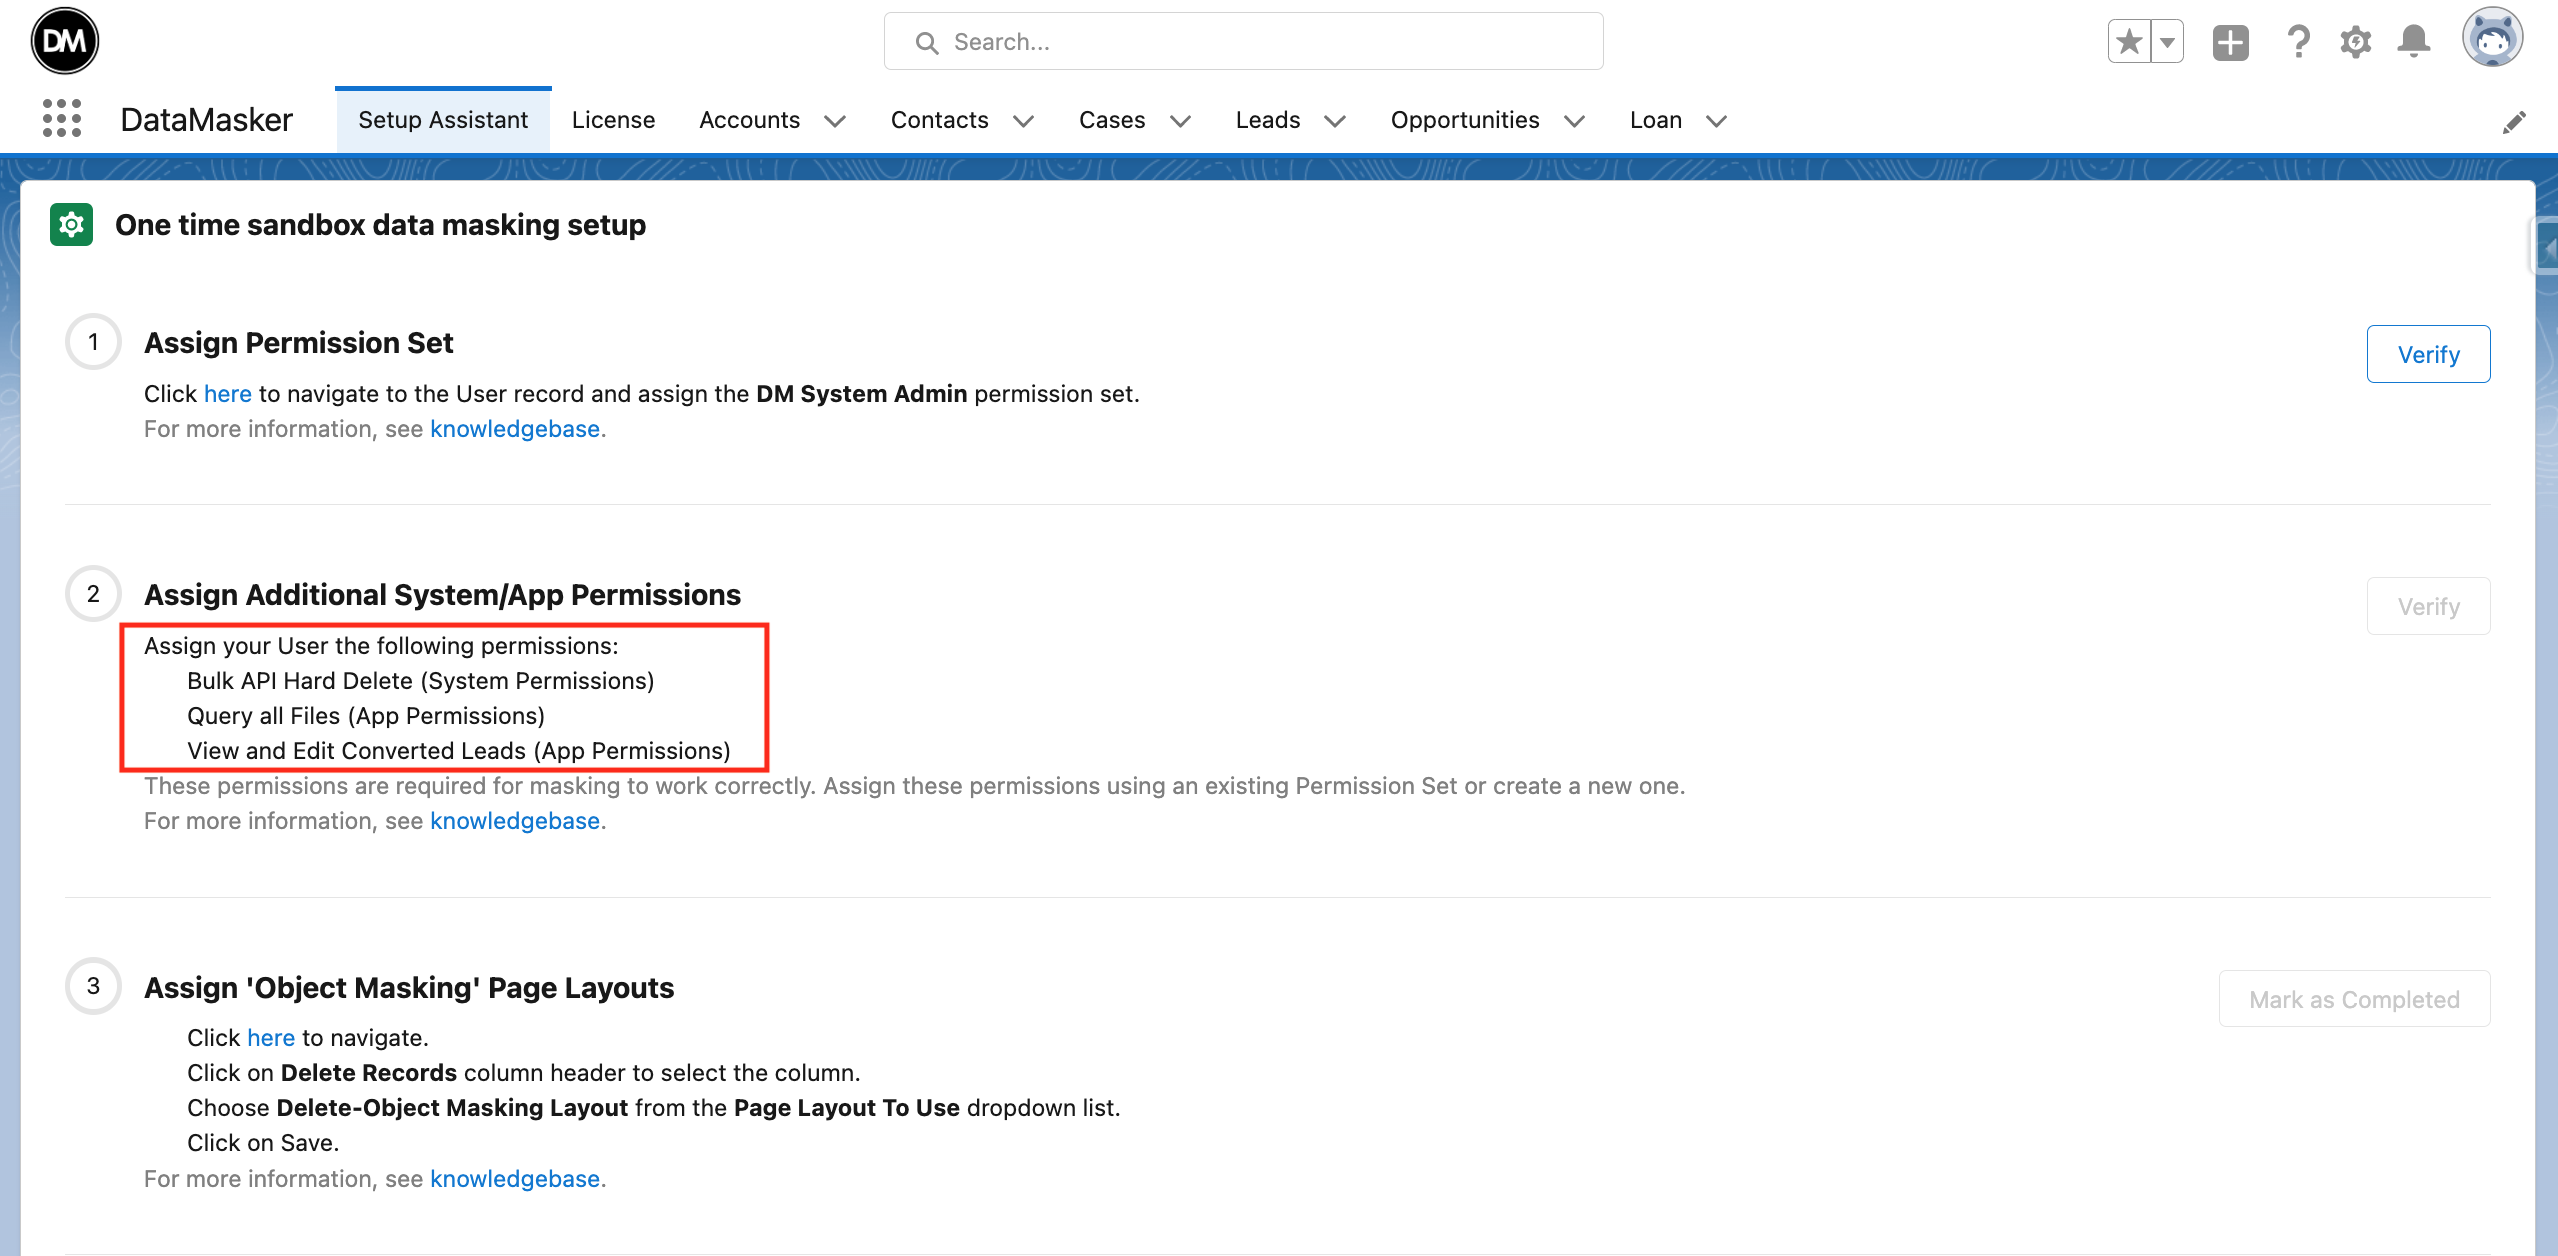
- After assigning the Permission set, you can click on “Verify” on the Home page of the Setup Assistant to check that the permission set has been successfully assigned.
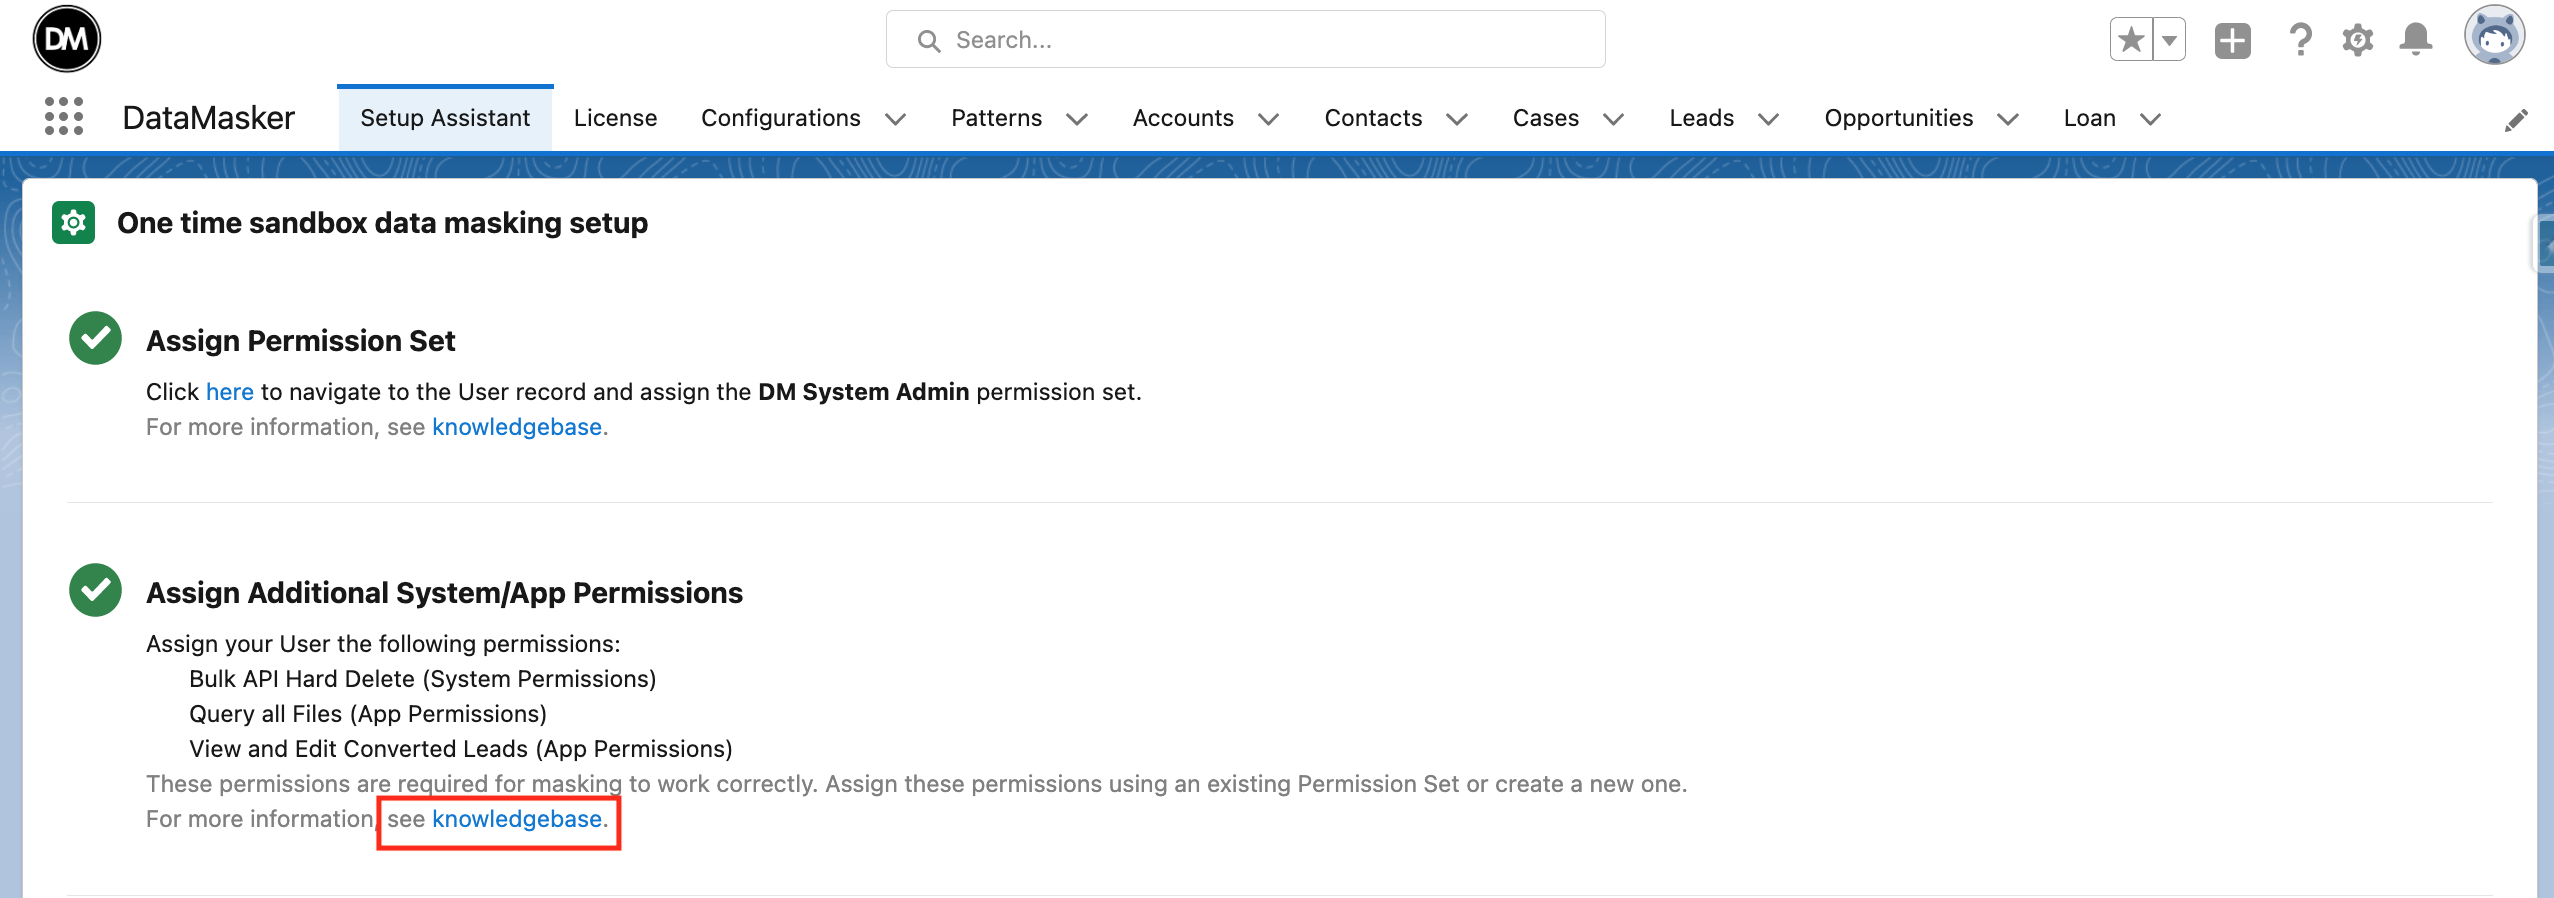
- After clicking on “Verify”, a green tick will appear that indicates that the Permission Set has been assigned successfully
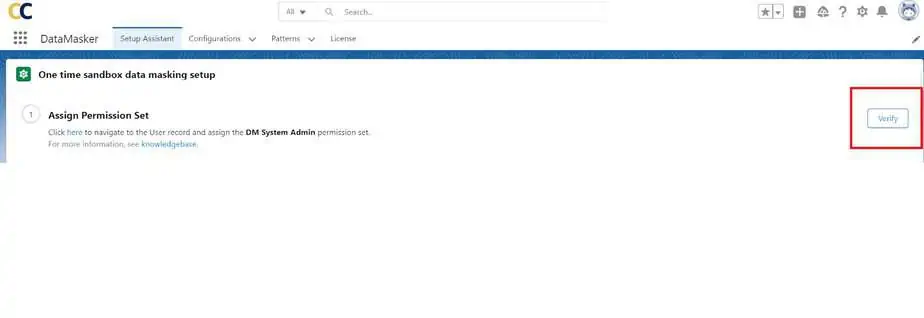
- If you assigned the DM System Admin permission set directly without navigating from the Setup Assistant page, just refresh the page to see the green marker appear as shown above.
Step 2: Assign Additonal System/App Permissions
To perform Data Masking, you’ll need 3 additional permissions:
- Bulk API Hard Delete (User can find System Permission in Permission Set)
- Query all Files (User can find App Permission in Permission Set)
- View & Edit Converted Leads (User can find App Permission in Permission Set)
You’ll need to assign these through an already existing permission set or by creating a new Permission Set.
- For more information on assigning permission sets to your profile, click here.
- As mentioned in Step 1, after assigning the permissions you can click on “Verify” to check whether the permission set has been assigned correctly.
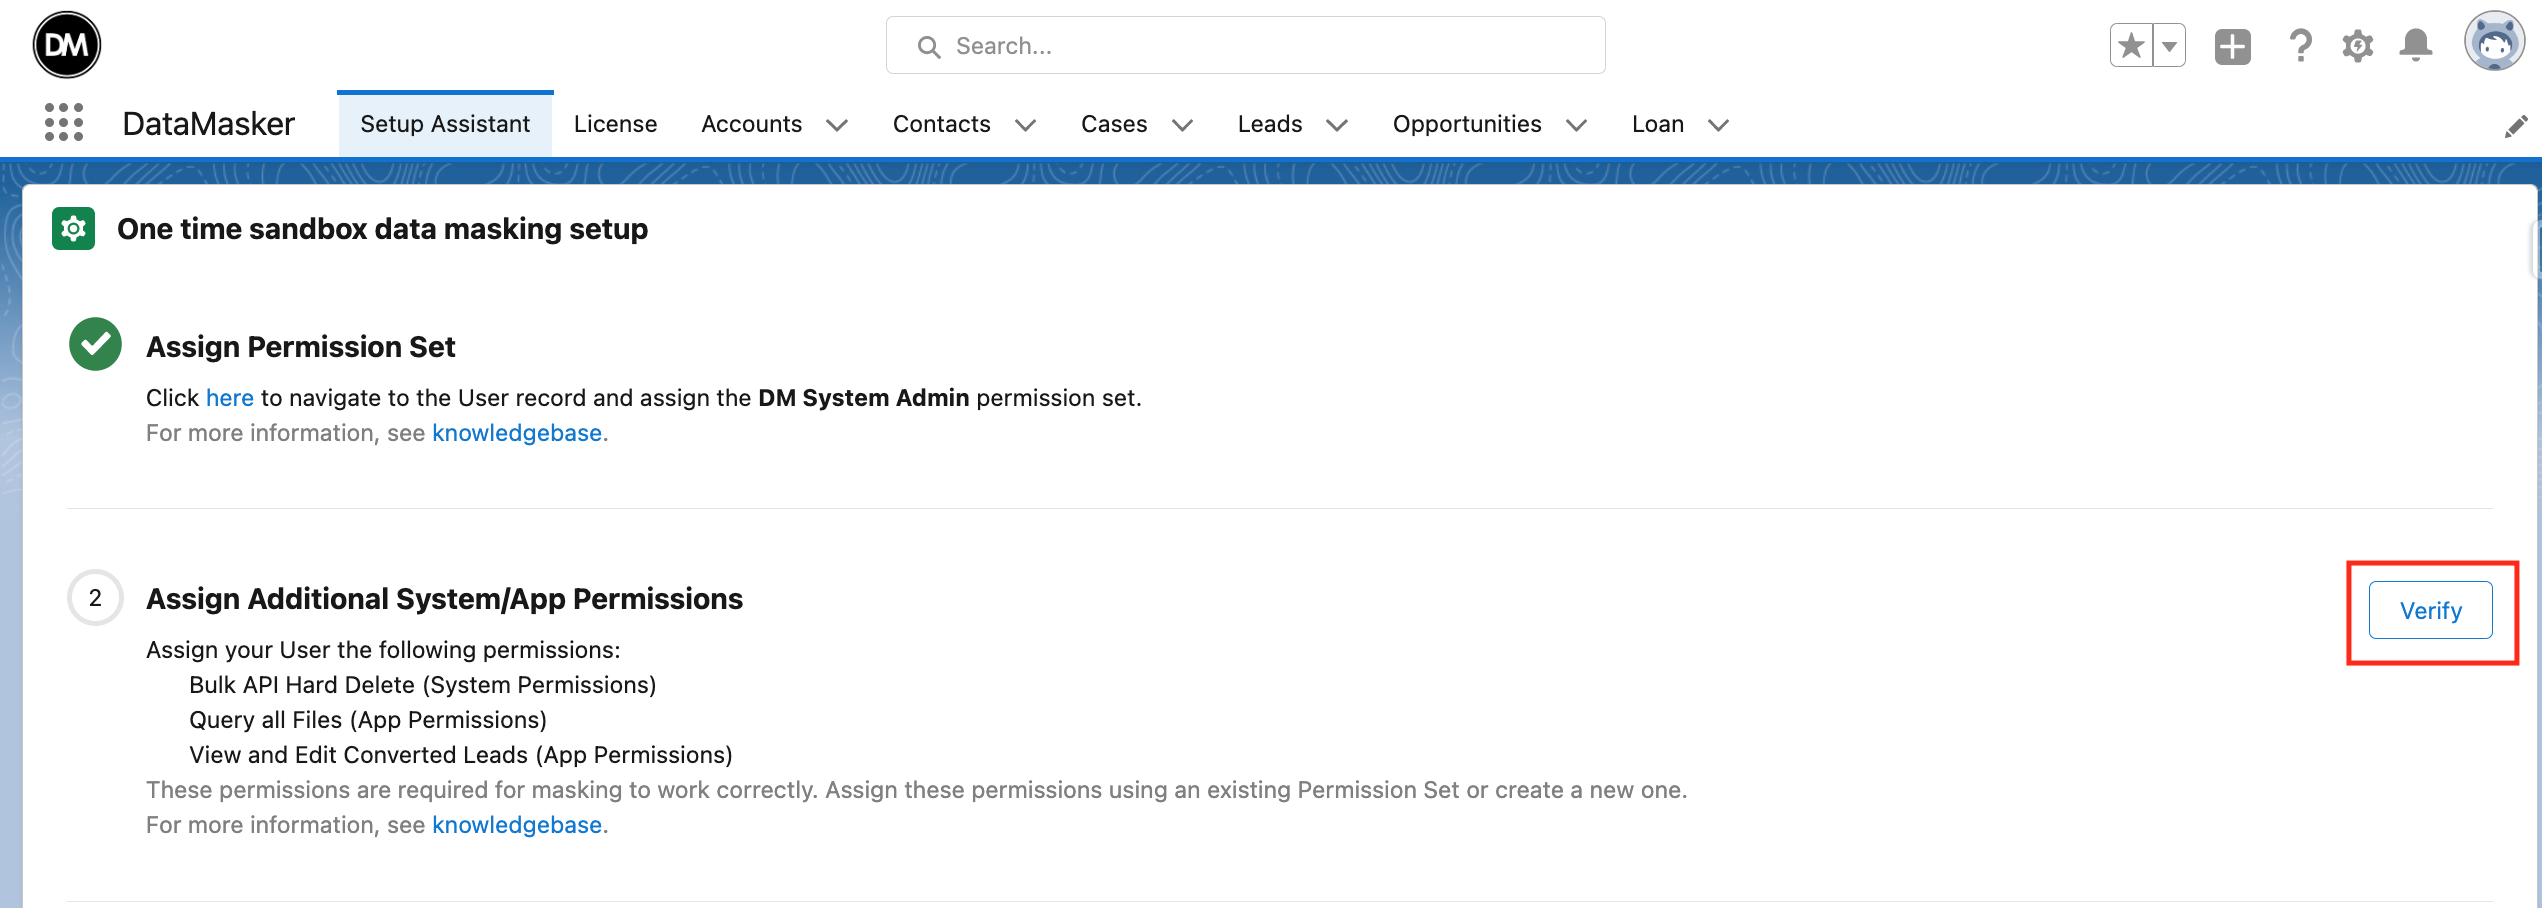
- After clicking on the Verify button user will see a green tick that shows Permission Set has been assigned successfully.

- Suppose the user has given these three permissions directly without navigating from the Setup Assistant page. Then the user needs just to Refresh the page and will see the Green tick will appear automatically as shown above.
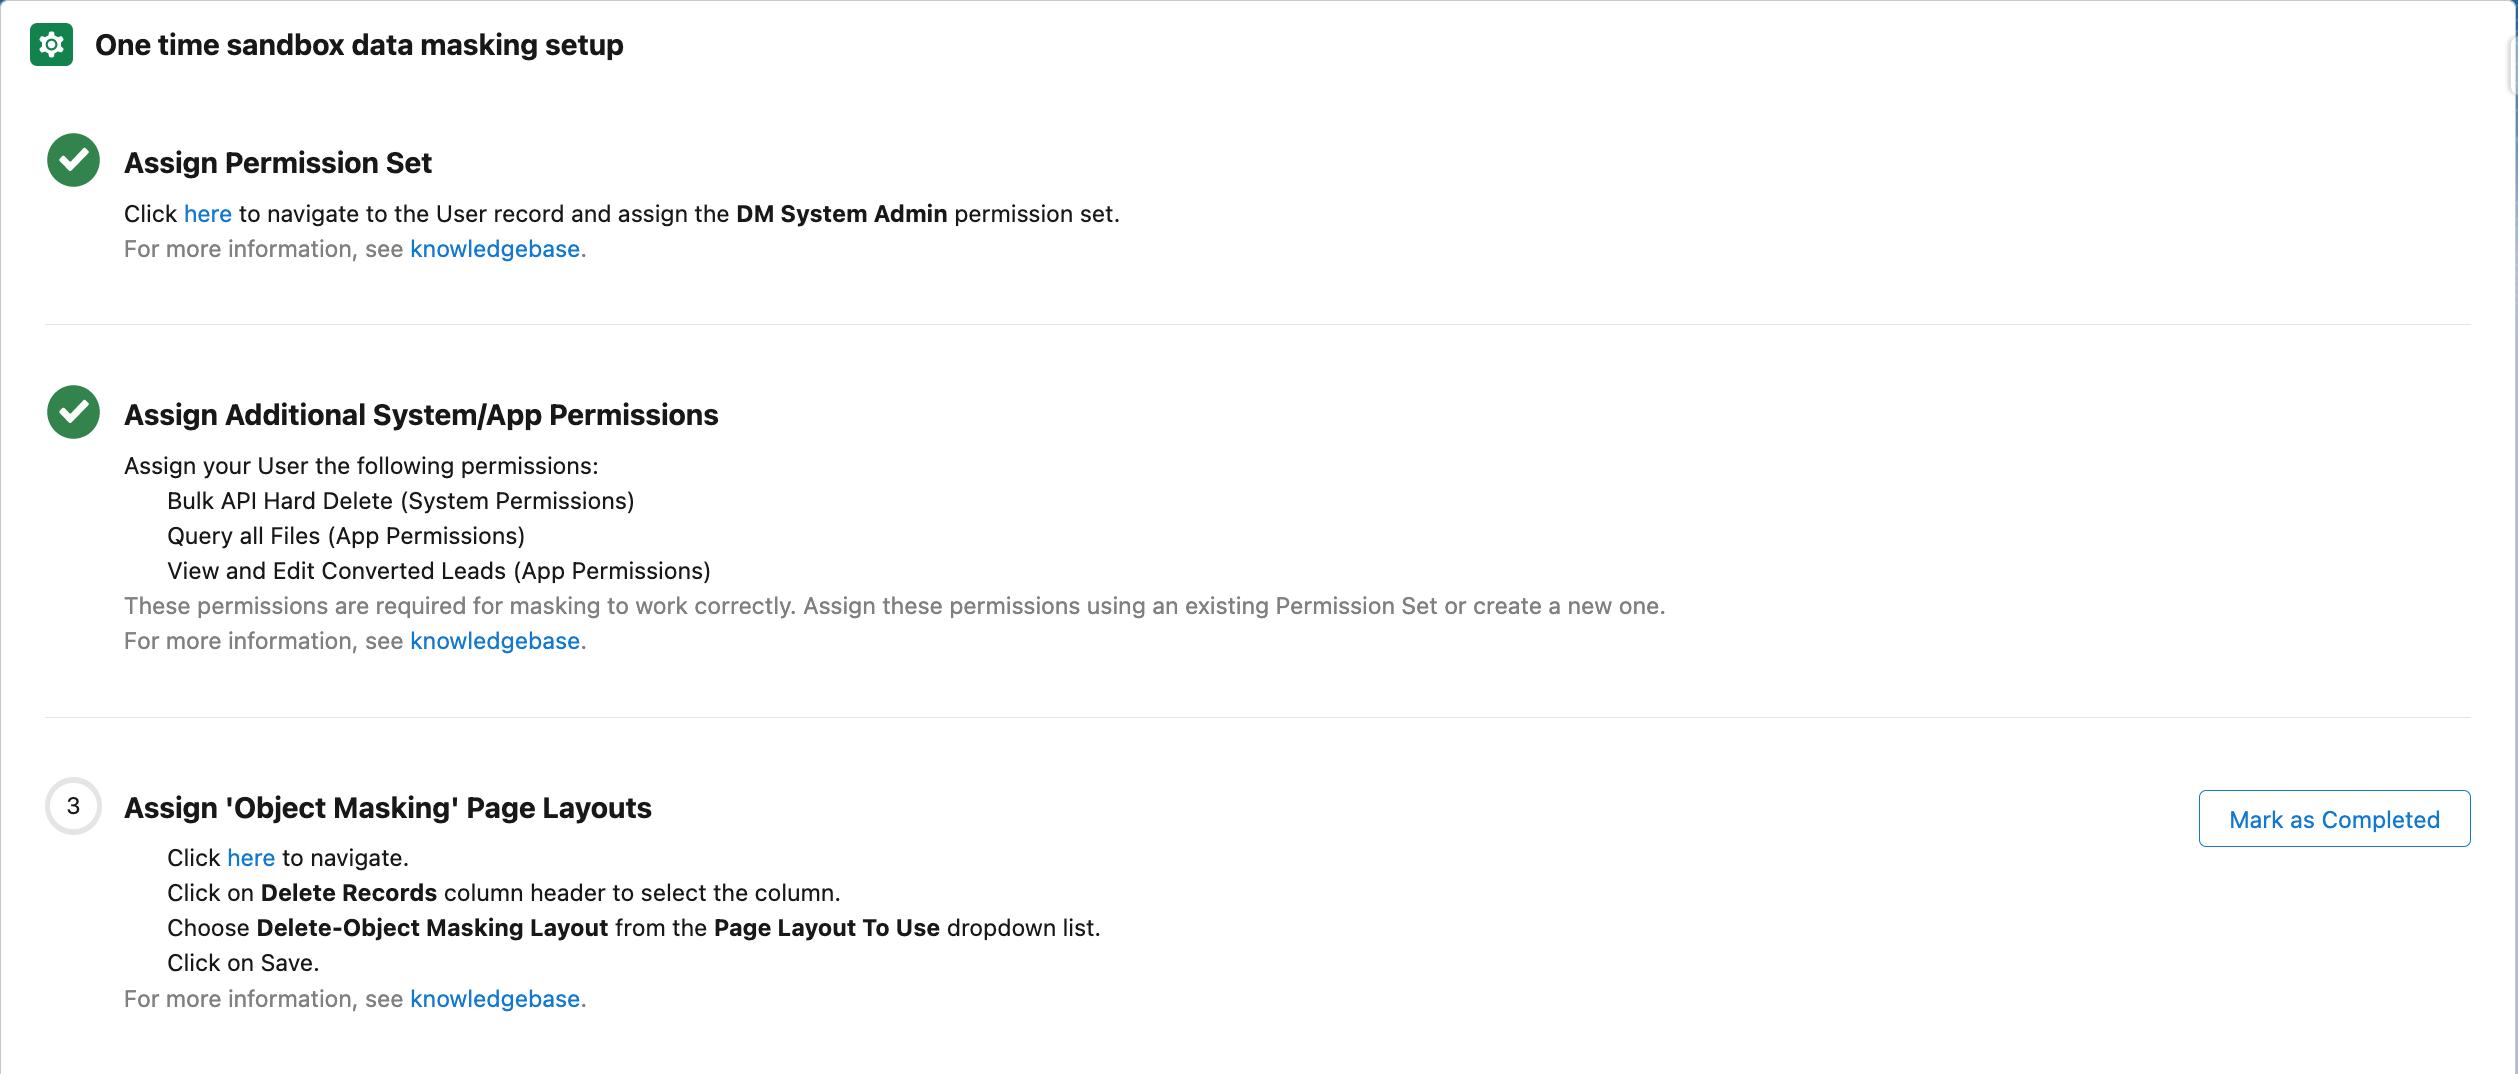
Step 3: Assign Object Masking Page Layouts
Data Masker offers different page layouts for ‘Masking’ and ‘Deletion’.
The ‘Masking Page Layout’ is used to add field masking, whereas the ‘Deletion Page Layout’ is used to delete records.
To assign an Object Masking Page Layout, click on the link ‘here’ as seen. It will redirect you to the Page Layout Assignment screen.
For more information about page layout assignments, click here.

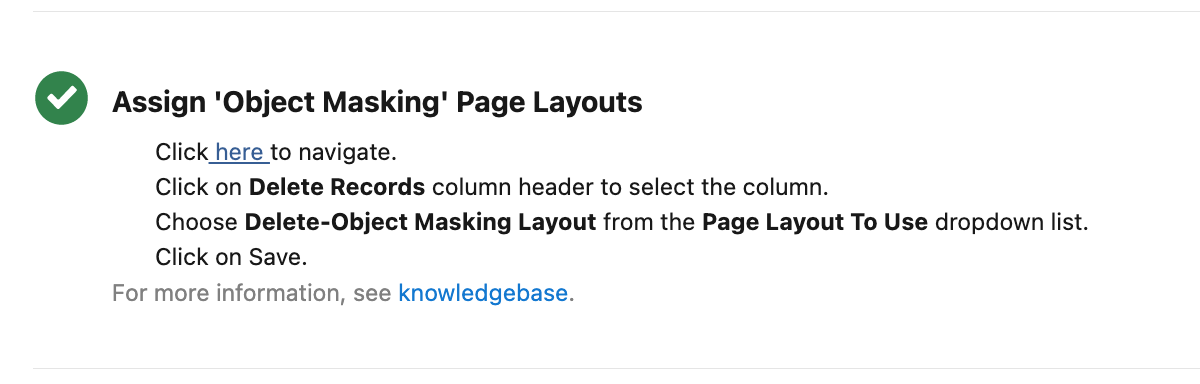
- After assigning the layouts, click “Mark as Completed”.

- Now, the green tick should be displayed showing that you have assigned the Object Masking Page Layouts successfully.
Step 4: Assigning ‘Pattern’ Page Layouts
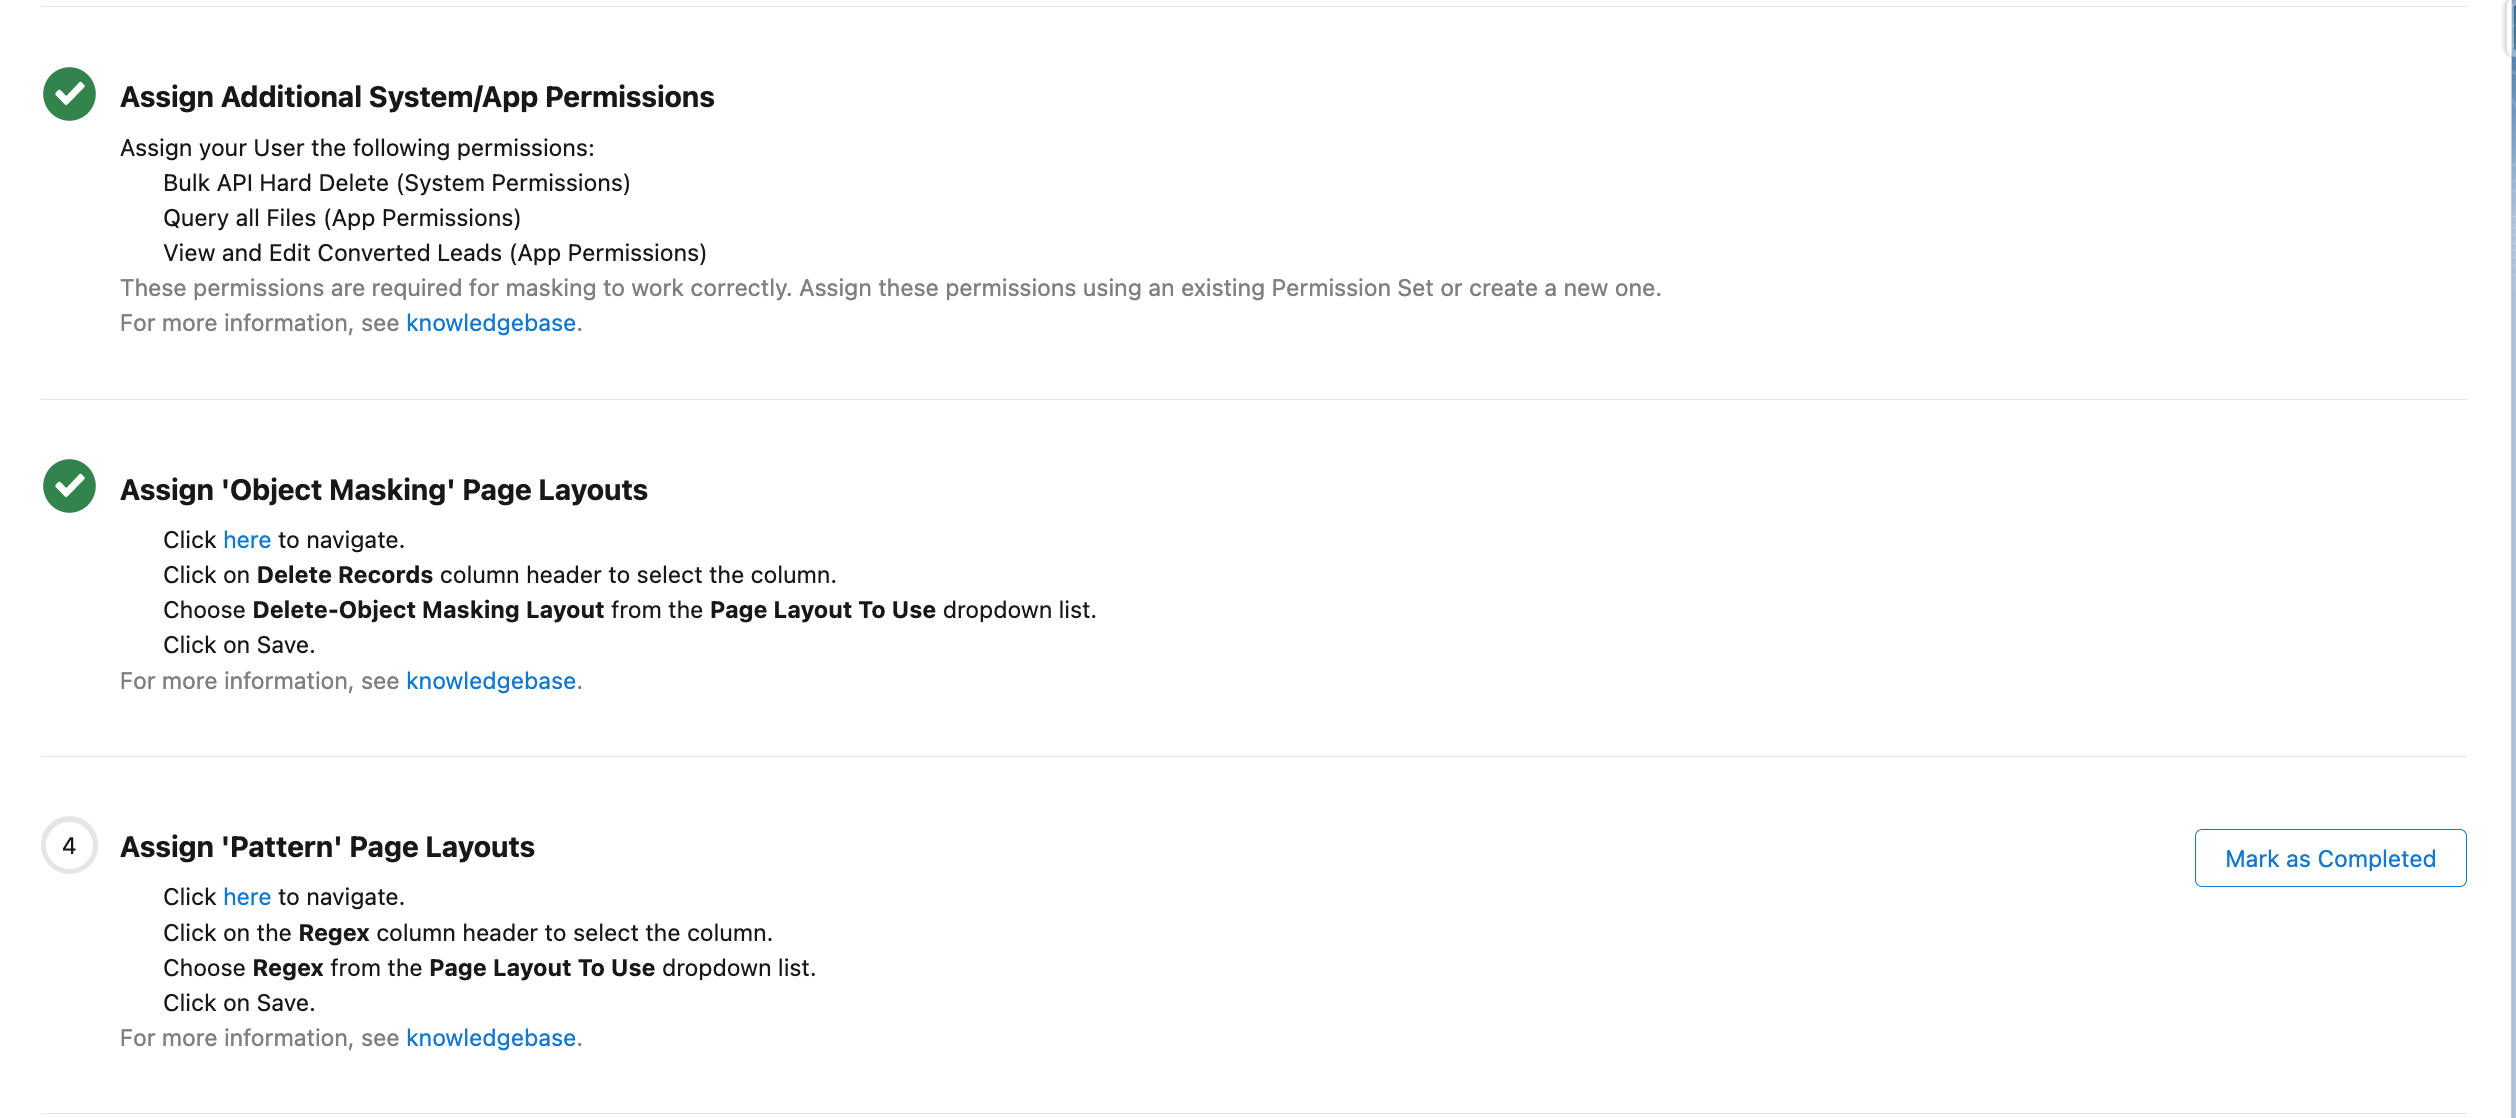
DataMasker also offers a page layout for pattern objects. To set the page layout for pattern objects, users have to click the link and follow the same steps as above and select the appropriate pattern page layout for pattern object record types as shown in the below image.
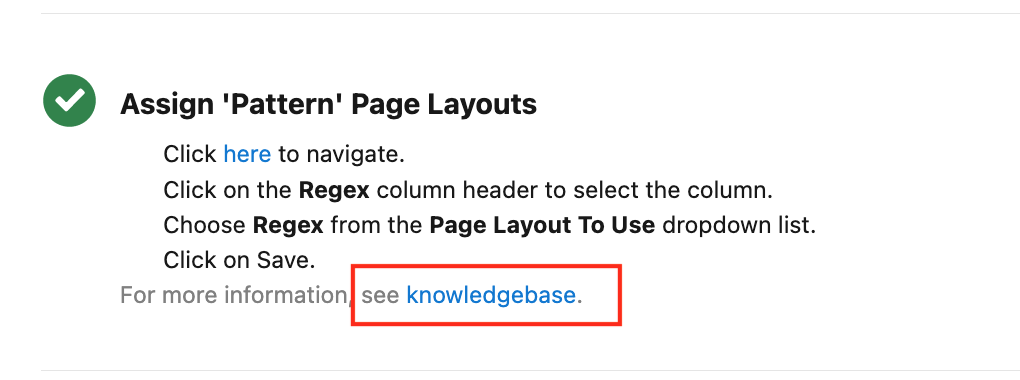
Once clicking on the ‘Mark as Complete’, a green tick will appear and show ‘The user has assigned Pattern Page Layouts successfully’.
Step 5: Get a Sample Masking Configuration
Data Masker comes with a sample configuration for Accounts & Contacts.
Click on “Create Configuration” to get started with the sample configuration. If you know how to create a configuration, you can click directly on ‘Mask as Completed’ and skip the entire process.
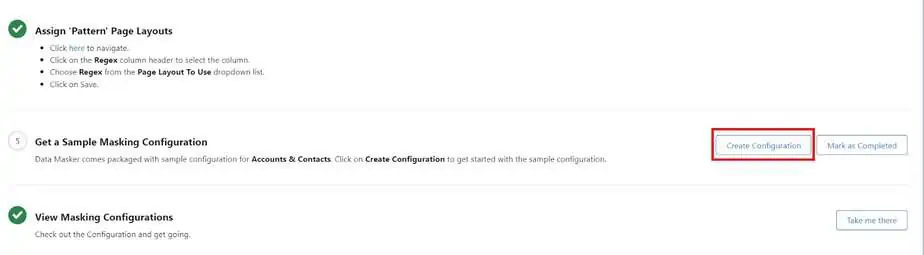
When you click on ‘Create Configuration,’ a popup will appear displaying ‘Sample Configuration Created Successfully.’
This will create a sample configuration of Accounts & Contacts Object Masking Records and some sample Field Masking Records.
Step 6: View Masking Configurations
To view the Sample Configuration or to create a new configuration click on ‘Take me there’.
- Click on the ‘Take me there‘

- This link will directly take you to the Configuration page where the Sample Configuration has already been created.
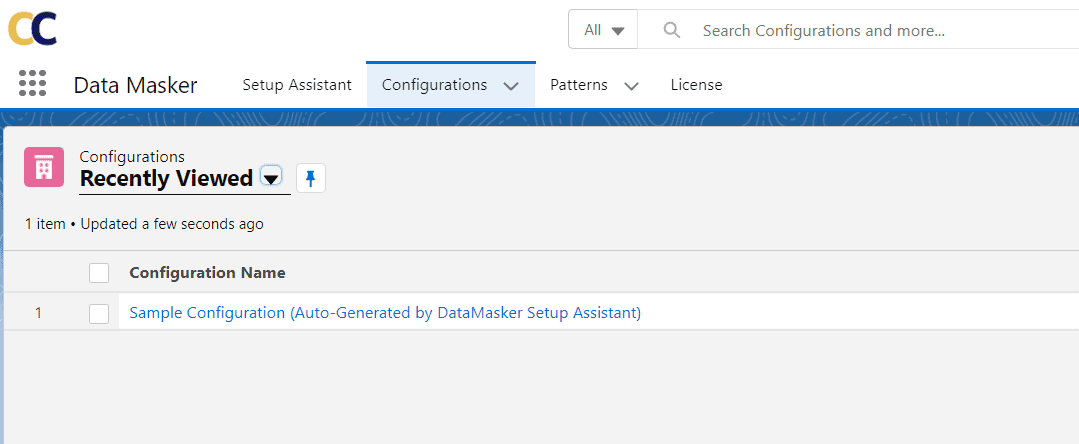
- Click on the Configuration name
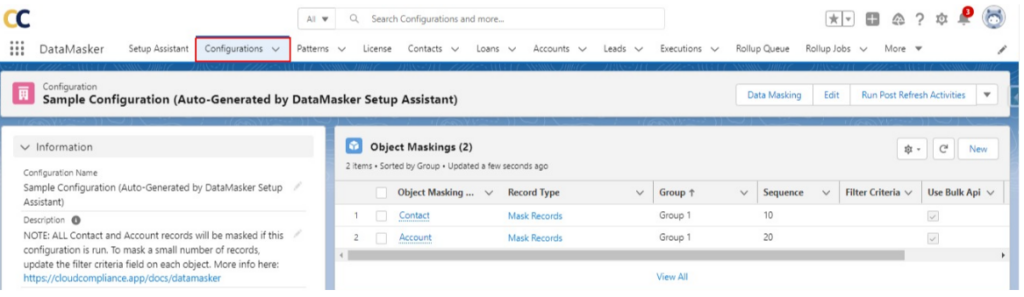
- In the Object Masking section, some sample object masking records should already be there. If you want to add some additional object masking records, then click on the ‘New’ button.
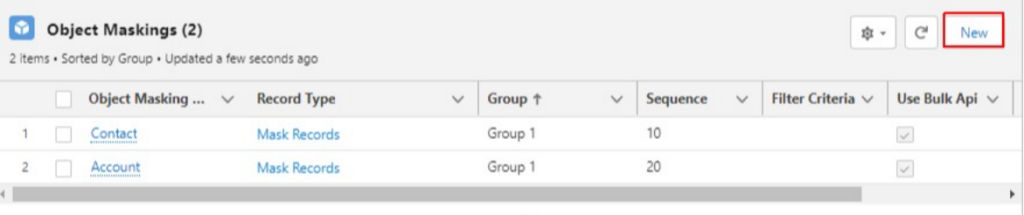
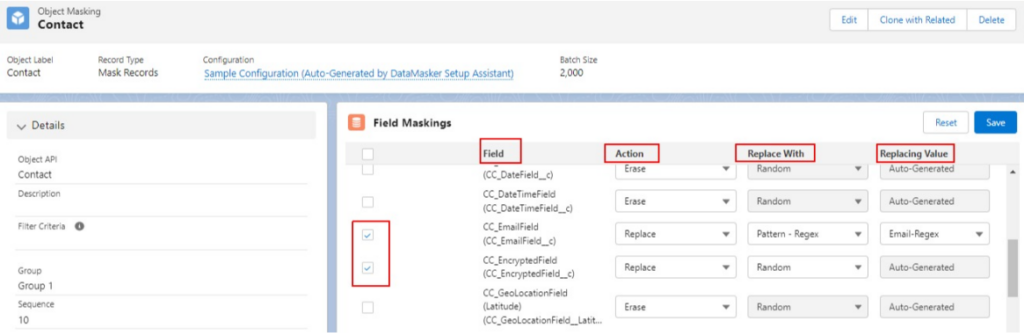
- On the Contact Object Masking, some sample field records are provided. If you want to add some additional field masking records, then click on the ‘New’ button.
Need Help?
If you have questions about this documentation, please contact our support team.