Step 2: Run DataMasker from DevOps
*This step is Optional
Overview
Data Masking is a process to mask all sensitive data available in Sandbox which will prevent developers or other users from viewing sensitive data.
In the particular use cases where the Data Masking needs to be invoked by an external system, Cloud Compliance offers an API interface for masking sensitive data.
You can automate your Data Masking to be triggered from leading DevOps & CI/CD tools such as Copado, Gearset, Jenkins, AutoRABIT, Flosum, or GitHub.
This document explains how to invoke Data Masking configurations that are pre-configured via APEX-based callout. The API performs data masking of sensitive data in the relevant sandbox, the details of which are provided in the configuration.
The APEX APIs that are developed for this requirement are as follows:
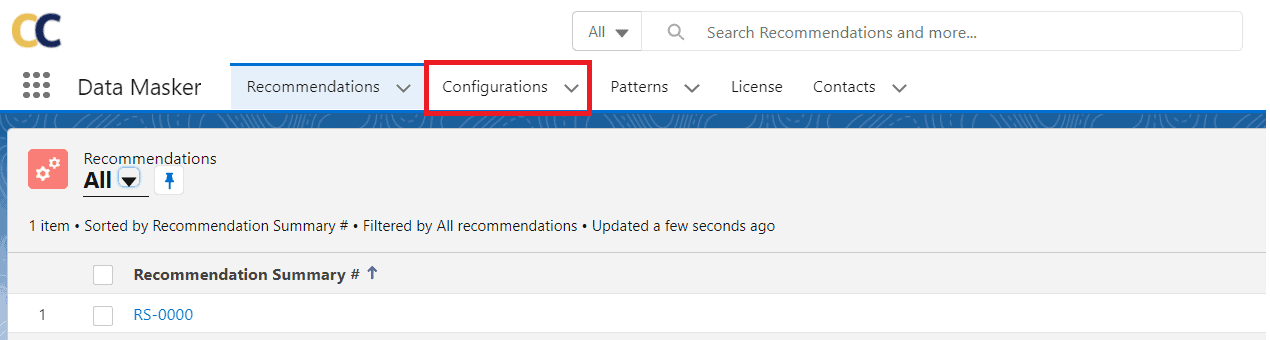
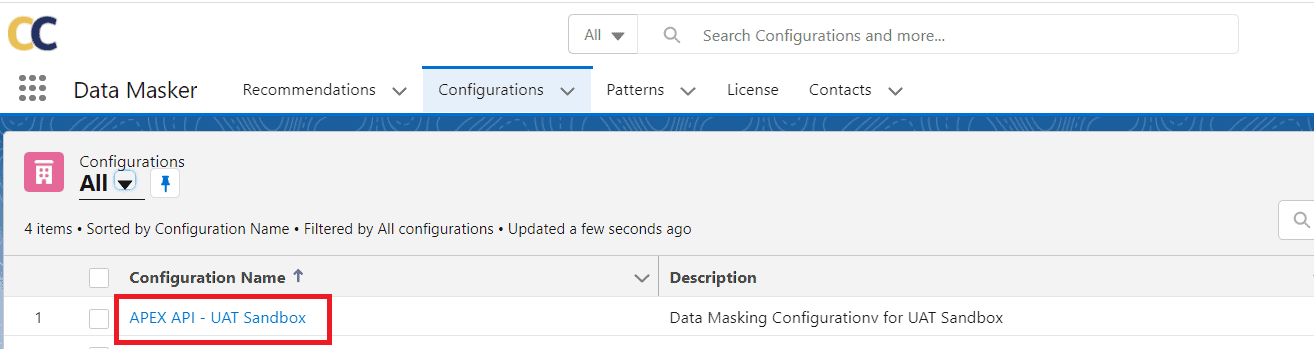
- Navigate->Configurations tab of the Data Masker application.
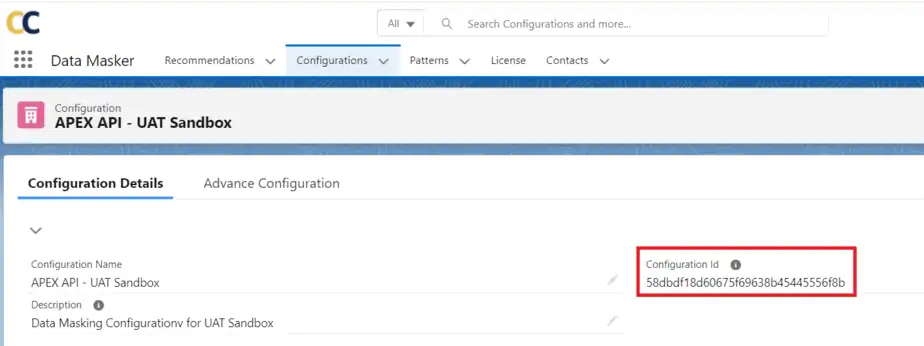
- Click on the Configuration name. In this case, Click on ‘APEX API – UAT sandbox’.
- Copy the Configuration ID and paste this ID into the APEX API script that needs to be executed for data masking.
Solution Steps
- Navigate-> Copado Release Management app and Make sure that ‘Destination org’ should be connected in Deployments.
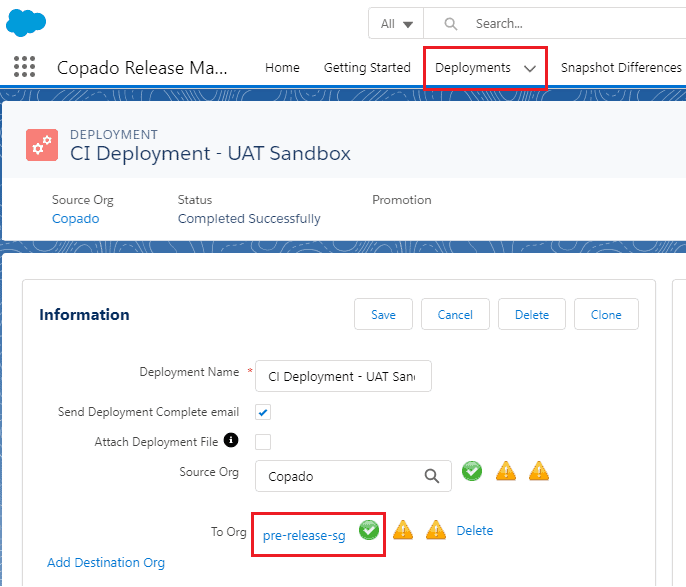

- Select ‘Apex’ from the type of call-outs and use our Data Masking API to execute data masking. The input parameter is the Configuration ID which was copied above, for eg. ‘5856347d64232790a3157ca39f341477’pcldm.DM_DataMaskingService.execute(‘5856347d64232790a3157ca39f341477’);
- Click on ‘Deploy’ and then ‘Deploy All’


- Check The Status


- You can check the execution status in the DataMasker.
