1st Propagation logic- Individual system preferences to Contact/Lead
Create System Preference Fields of Contact/Lead
If a user wants to propagate Individual System preference values on Contact & Lead then the user needs to create additional fields on Contact & Lead before mapping those in the configuration.
| Sr. No | Data Type | Individual System preference fields | New Custom Fields on Contact | New Custom Fields on Lead |
| 1 | Checkbox | Do not Market | Do not Market | Do not Market |
| 2 | Checkbox | Do not Profile | Do not Profile | Do not Profile |
| 3 | Checkbox | Do not Track | Do not Track | Do not Track |
| 4 | Checkbox | Do not Process | Do not Process | Do not Process |
| 5 | Checkbox | Ok to store PII information | Ok to store PII information | Ok to store PII information |
| 6 | Checkbox | Forget this Individual | Forget this Individual | Forget this Individual |
| 7 | Checkbox | Export Individual Data | Export Individual Data | Export Individual Data |
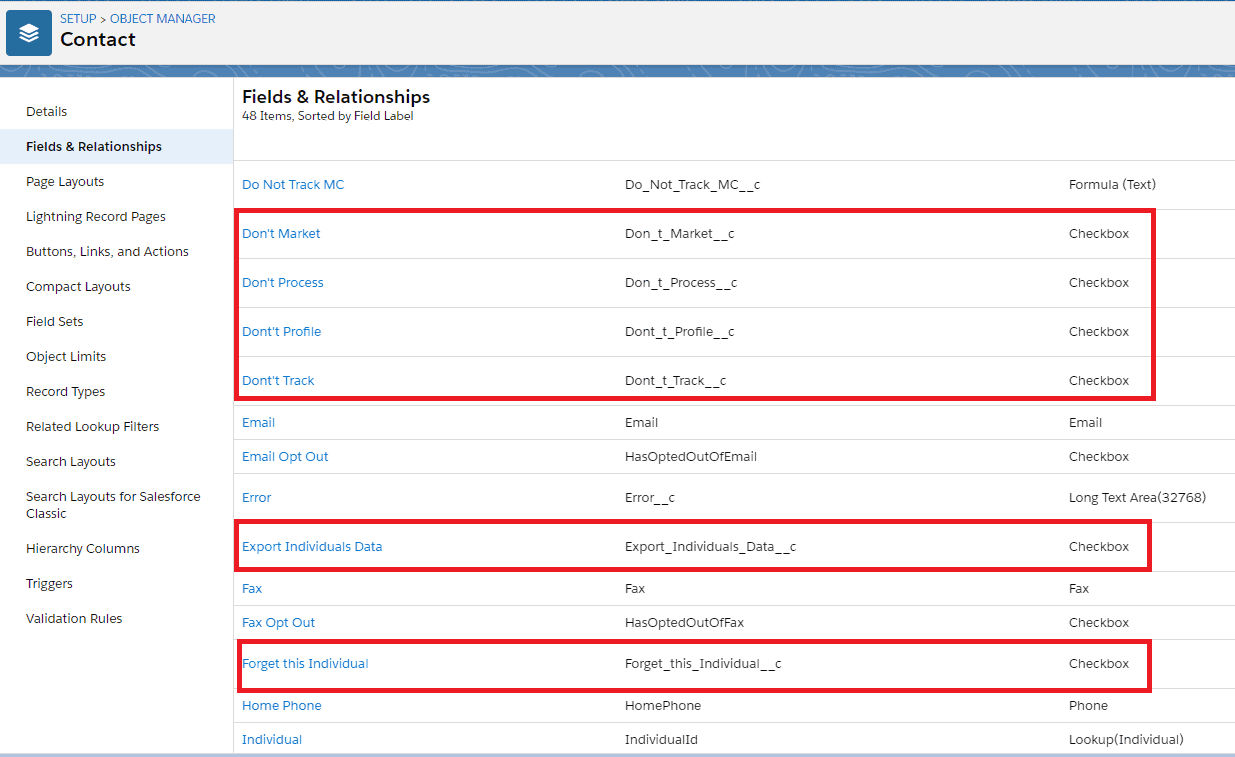
- Custom fields created on Contact
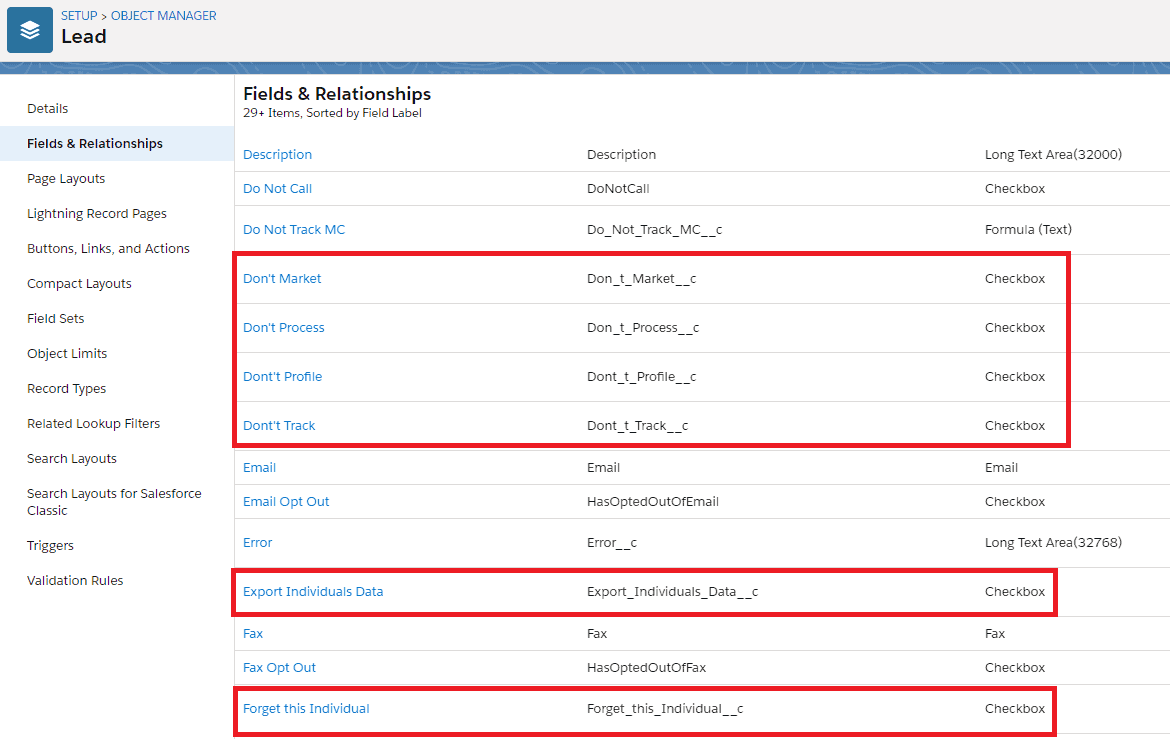
- Custom fields created on Lead
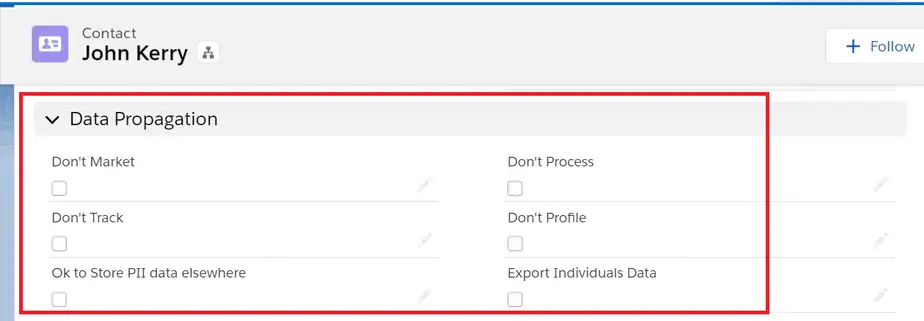
Note – Once the fields are created, then the user needs to add those fields to the contact/lead page layout. Create a new section ’Data Propagation’ on the contact/lead page layout and add these custom fields in this section.
System Preferences on Contact Page Layout.
Configuration for the propagation of Individual System Preference to Contact/ Lead.
- Click on the ‘Configure’ button on the Installed Packages page.
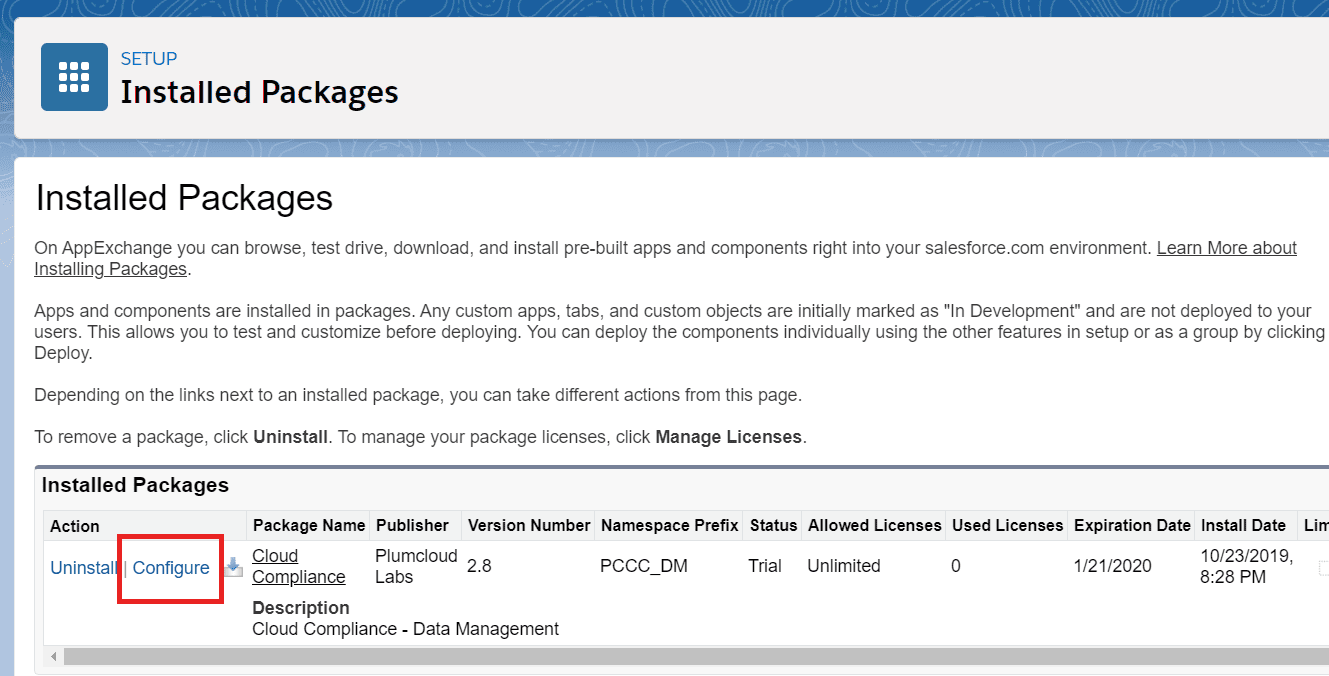
- After clicking on the ‘Configure’ button, Go to Self Service Configuration tab :
There are three different sections in the Self-Service Configuration tab –
- Consent Setting – This is used for Self Service in Privacy Management
For more details – Refer Consent Setting article.
- Individual Email Field Mapping – This is used in the Consent Management feature.
For more details – Refer Individual Email Field Mapping article.
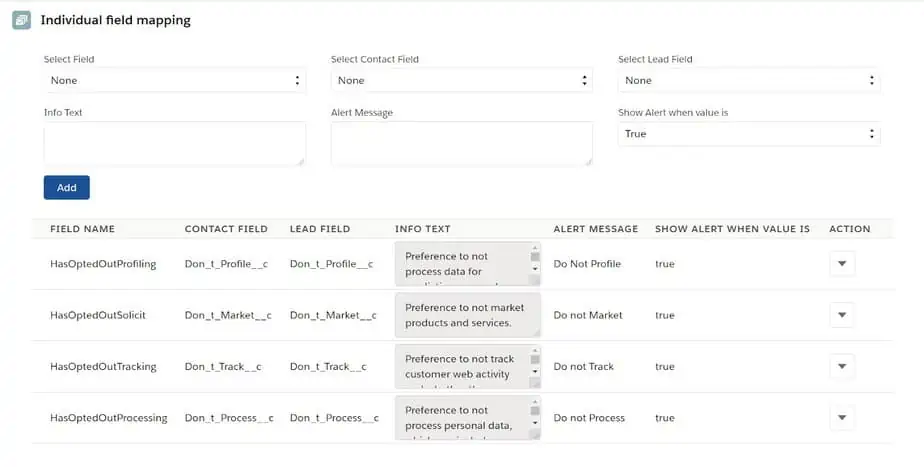
- Individual Field Mapping – In this section there are two fields that are used for Individual System Preference Propagation logic –
- Select Contact Field – From this drop-down users can select system preference fields created on contact.
- Select Lead Field – From this drop-down users can select system preference fields created on contact.

Note – For more details on Select Field, Info Text, Alert message, and Show Alert when the value is True/False, Refer Individual Field Mapping article.
After adding all necessary mappings, the Individual Field Mapping Section will be as below –
Note – Users can create a new custom checkbox field on Individual object which can be used as system preferences. This can be mapped in Individual Field Mapping section as mentioned above. Just make sure the length of the custom field’s label should not more than 31 characters (including spaces). This is because when the user adds this field in the Individual mapping section, a custom setting record is created with the name as IND-Field API Name where ‘IND-‘ (4 characters)is added as a prefix. And it is a custom field it will be padded with ‘__c’ which counts three characters.
Special Note – Salesforce recommends using ASCII for the Object Name in case of custom setting. The name can’t exceed 38 ASCII characters.
2nd Propagation logic for Consent End Date values on Contact & Lead.
Note – Follow all steps as per Getting Started – Consent Management.
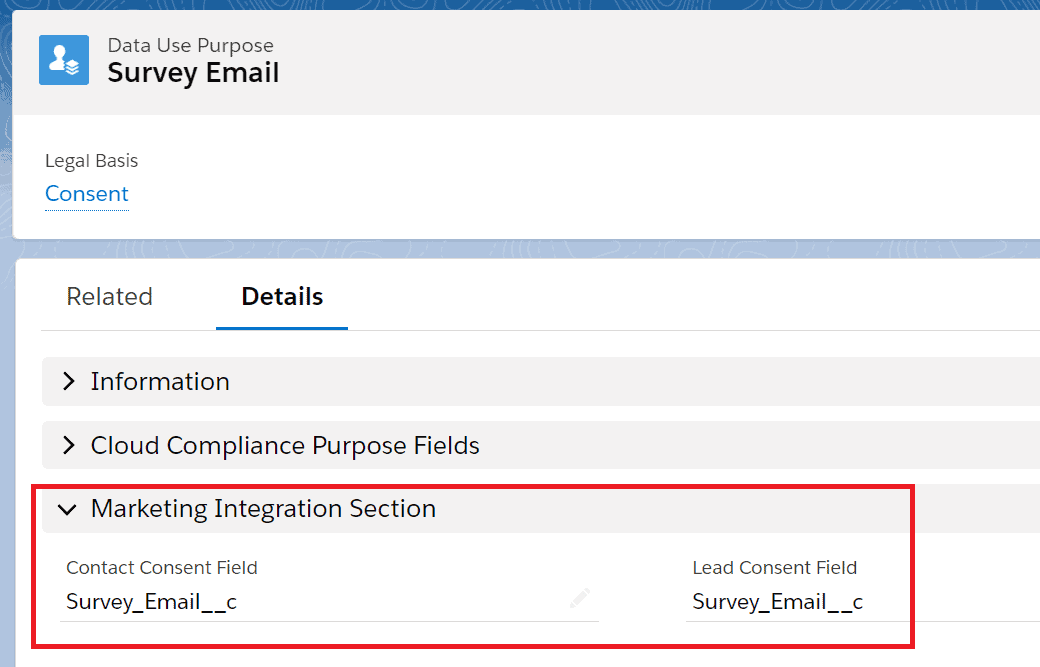
When creating a Data Use Purpose record user can see two more custom fields namely the Contact Consent field and the Lead Consent field on the Data Use Purpose record.
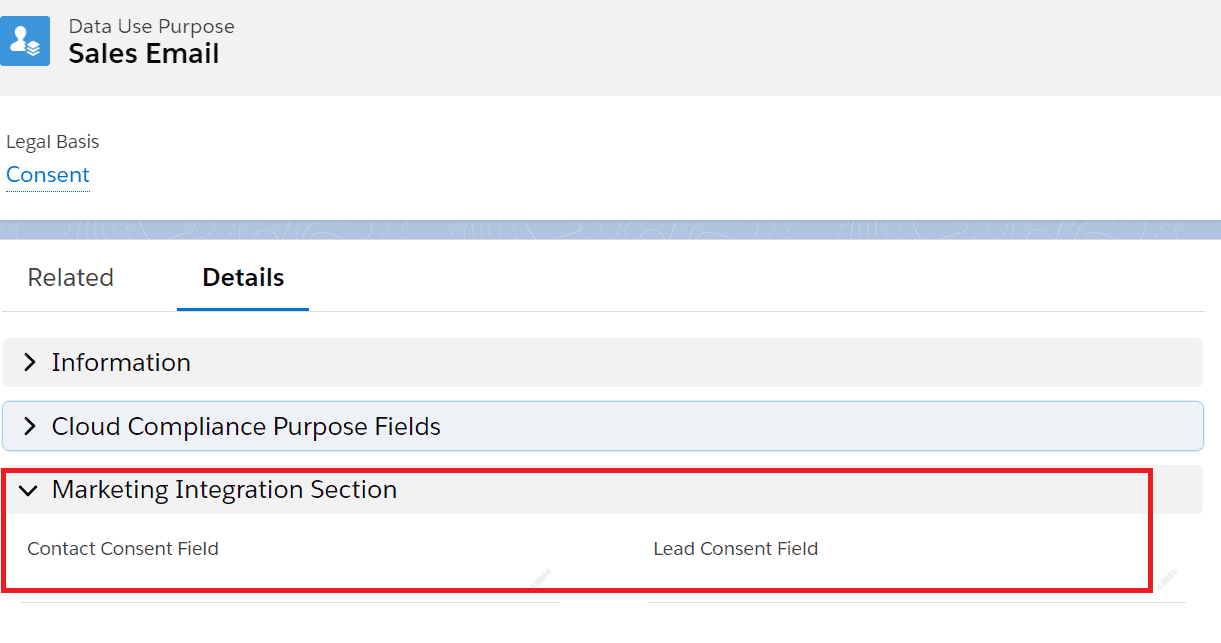
Before updating Data Use Purpose records for Marketing Integration features, users need to create Date type Fields on contact & lead with the corresponding Channel and Purpose names in it.
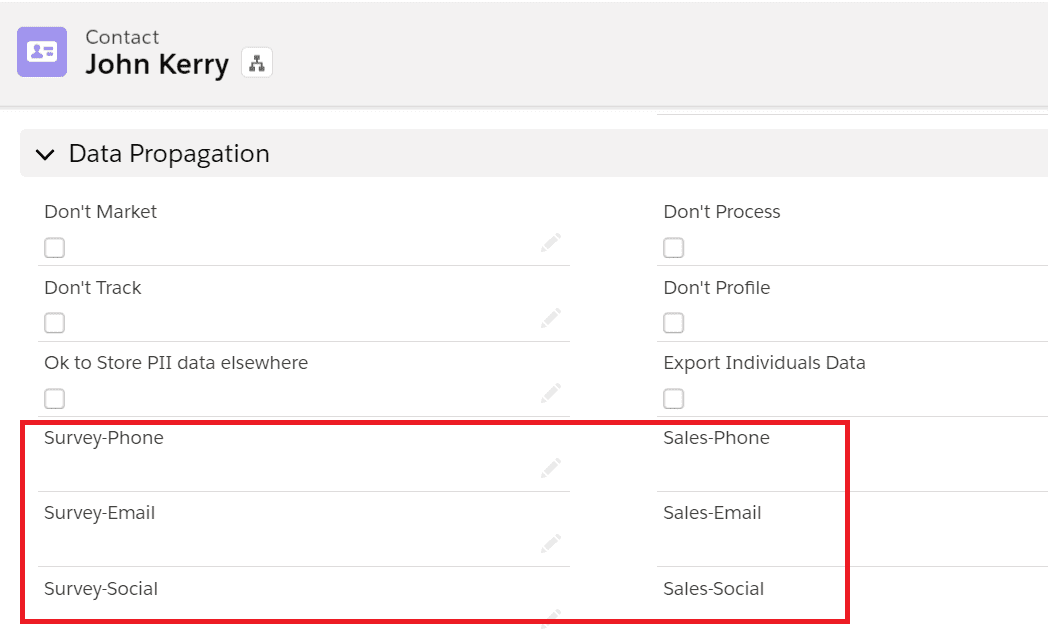
- The custom date field on Contact is as follows –
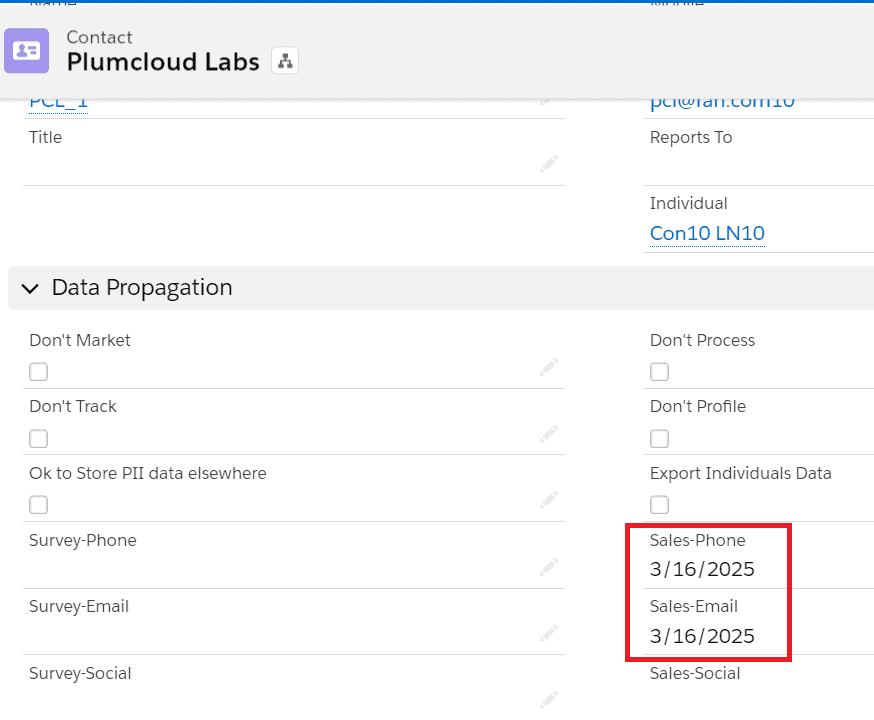
- For e.g. Add Sales Email as (Effective To) date field on contact/lead. Also, provide help text for these fields like ‘Effective To Date for Marketing Integration’.
Similarly, create fields on the Lead object –
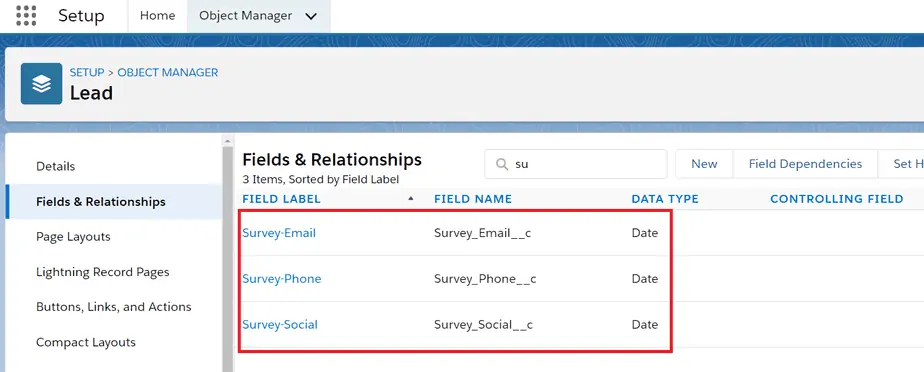
Note – The user needs to add these newly created custom date fields on contact/lead page layouts.
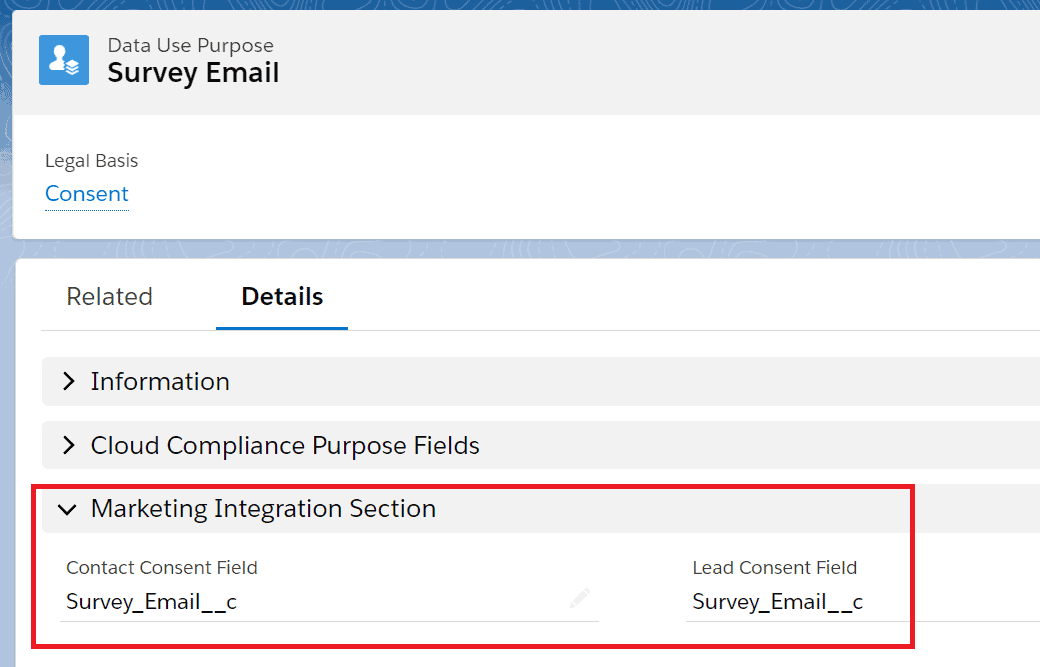
Add API names of all these fields in respective fields of data use purpose records as follows-
After mapping all the Contact and Lead Consent Field, the data use purpose listview will be as follow –

After the Addition of custom lightning components with the name ‘Consent Data Component V1’ to the detail page of the Contact & Lead as mentioned in the Getting Started – Consent Management guide, create consents, which may be Opt In or Opt Out in the Consent Matrix of any contact/lead record.
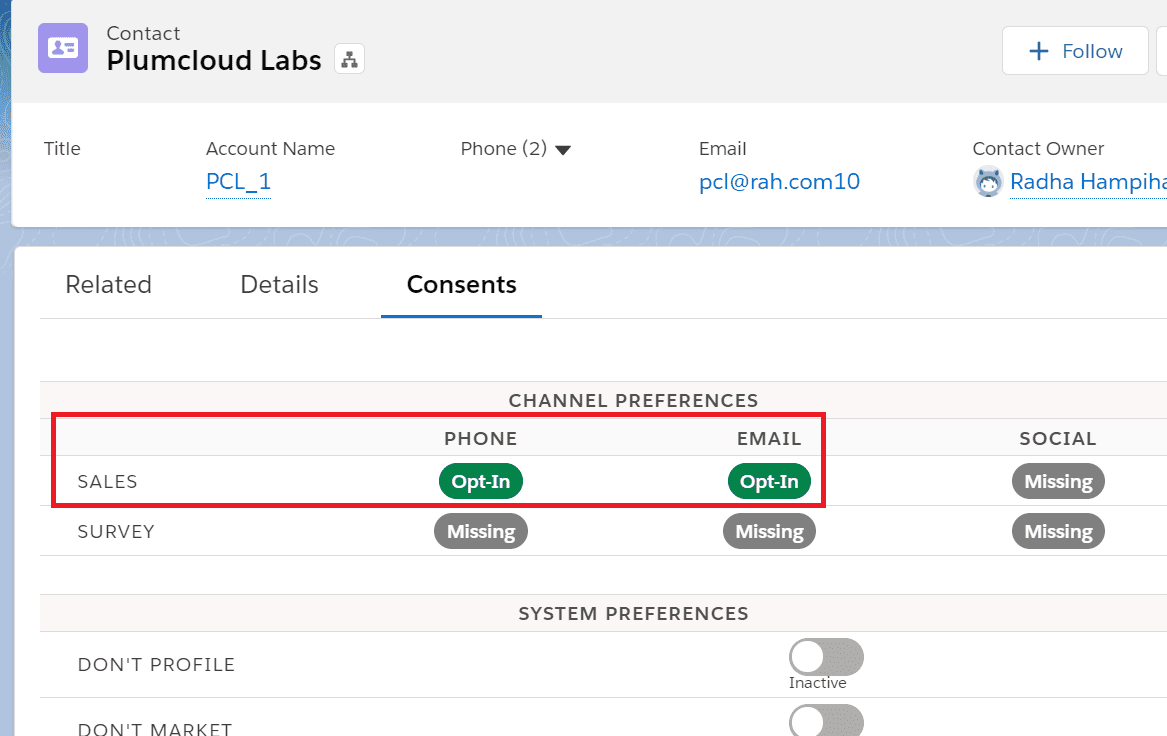
Check the date values which are propagated to the newly created data type fields on Contact & Lead from the consent matrix.
3rd Propagation logic- Privacy URL link on Contact/Lead
Configuration for Propagation of Privacy Site Url on Contact / Lead record detail.
Prerequisites :
- Community configuration should be set up as mentioned in the Add Consent Self Service Visual-Force Page To Experience Builder & Assign CC Guest User And CC Community (Logged In) User Permission Set Guide with Custom Metadata settings overridden with “Community Url”.
- Privacy Site Record should be created and at least one site record must be selected as default on Self Service Configuration Tab.
- Individuals should be created and associated with the Contact/Lead record. Users can use Cloud Compliance Individual Grouping Rules as mentioned in Grouping Rules for Individual.
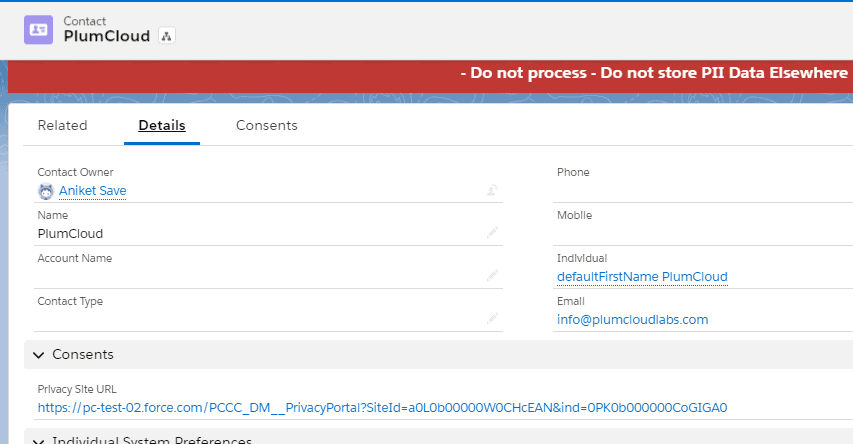
- After meeting the above prerequisites, Cloud Compliance will generate a URL in the “ Privacy Site Url” field of Contact/lead as below
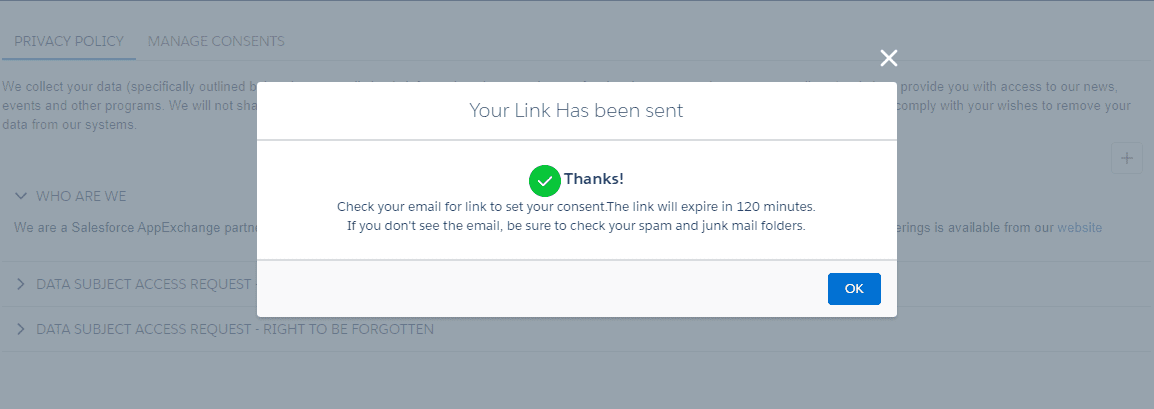
Now a user can send the contact’s Consent management verified link to the contact’s email address where the user can review his consent and make necessary changes.
