Data Portability Mapping Creation
- The right to data portability allows individuals to obtain and reuse their personal data for their own purposes across different services.
It allows them to move, copy, or transfer personal data easily from one IT environment to another in a safe and secure way without affecting its usability. - Nth-level Portability allows users to add objects up to the Nth level and any number of objects to each level.
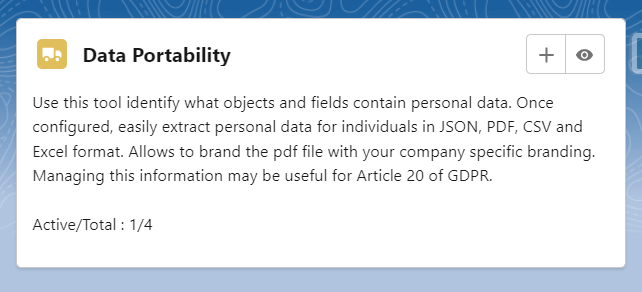
- To add the mapping, click on the “Add” button of the Data Portability tile under the Implement Tab of Cloud Compliance.
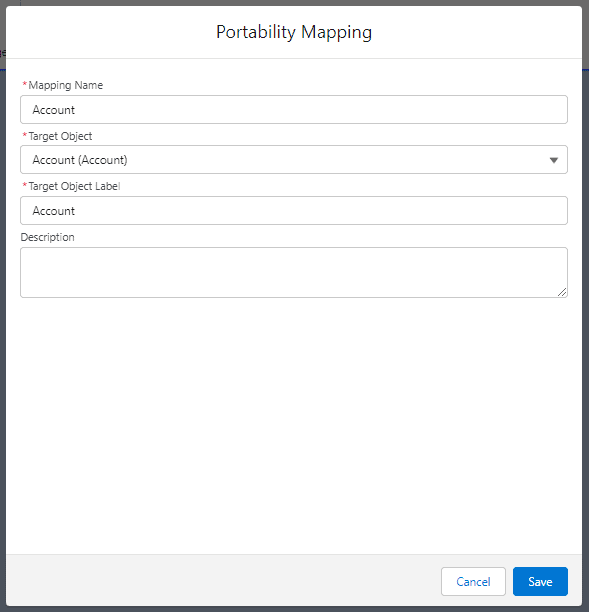
- Fill in the details in the popup form. Click Save.
- Record created.
- Click on the dropdown arrow, and the user will be able to see four options,
- Add Related Object
- Reconfigure
- Field Mappings
- Delete
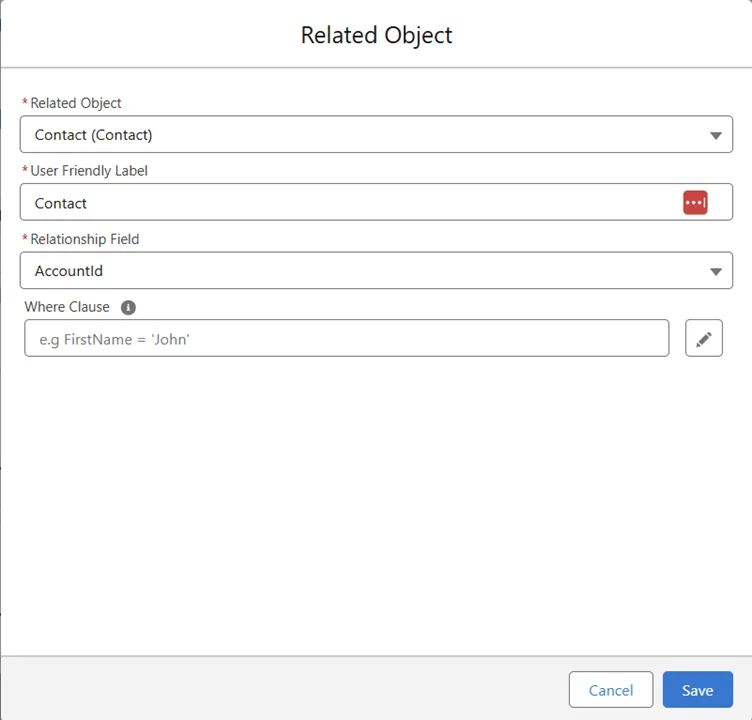
- Add Related Object: After clicking on this, the user will be able to add a related object under the parent object.
- All the child objects of the selected object (We have taken Account Object as a parent object here) will be shown in the list as shown below.
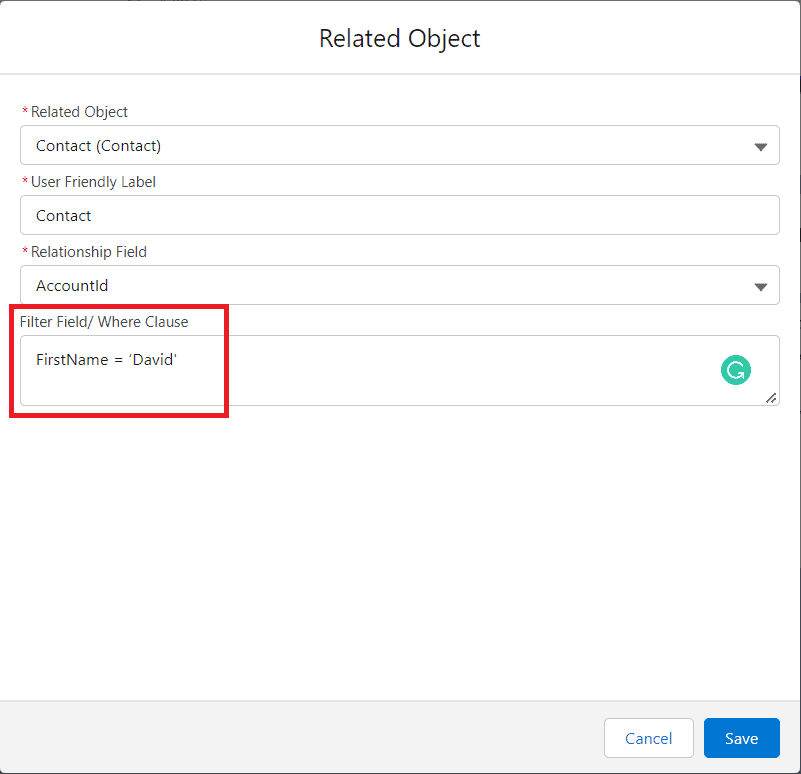
Relationship field:
- When we create a mapping for childs we have to provide the relationship field so that the application can understand the path it has to take.
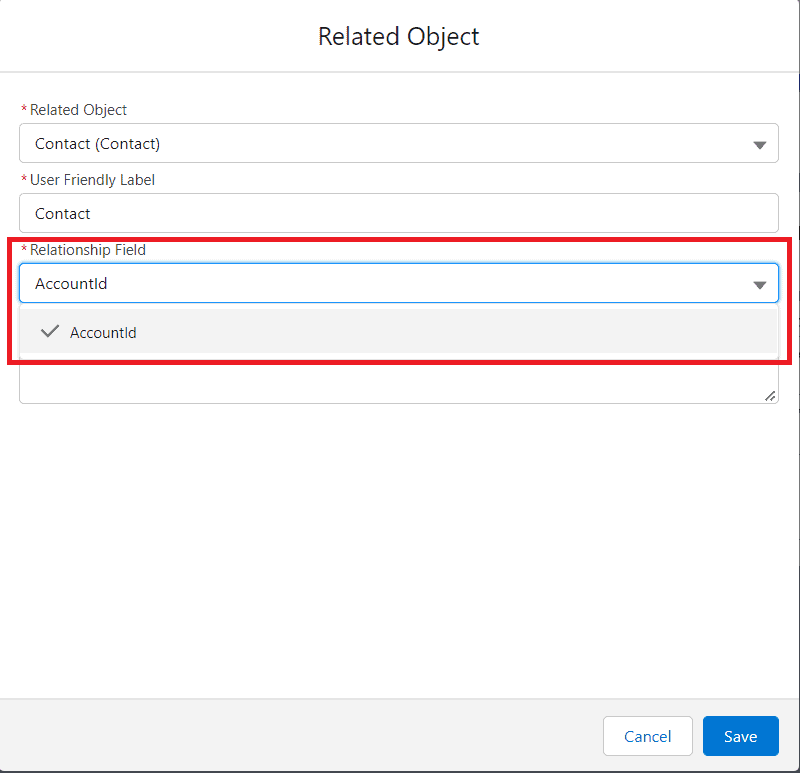
- After selecting the child object the relationship field between the parent and child object will be populated automatically.
- If there are multiple relationship fields, the user can select from the drop-down list of ‘Relationship Fields.’
- Where Clause: Filter records by entering a WHERE clause, and the filter field should be like FirstName = ‘David’ hence Data Portability will be performed only on those records where FirstName = ‘David’ as shown in the screenshot below.
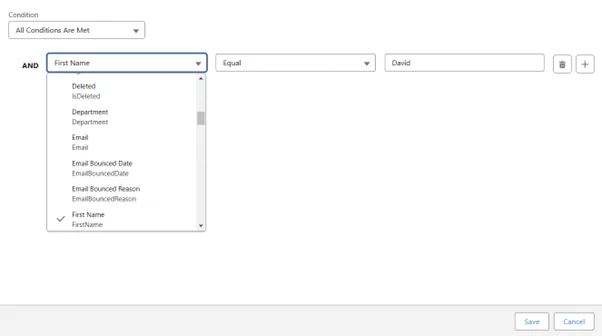
When the where clause pencil icon is clicked, a pop-up will show where the user can add the fields, operators, and values. Once saved, the where clause will be created and pasted into the where clause text box.
- Users can add more filter clauses by using the plus icon, and conditions can be chosen from the drop-down field.
- Reconfigure: After clicking on Reconfigure, the user will change the Relationship field, and the Filter Field is shown below
- Field Mappings
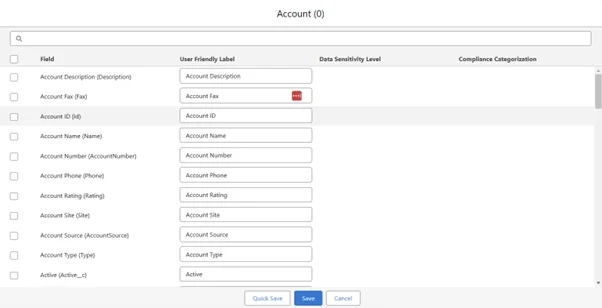
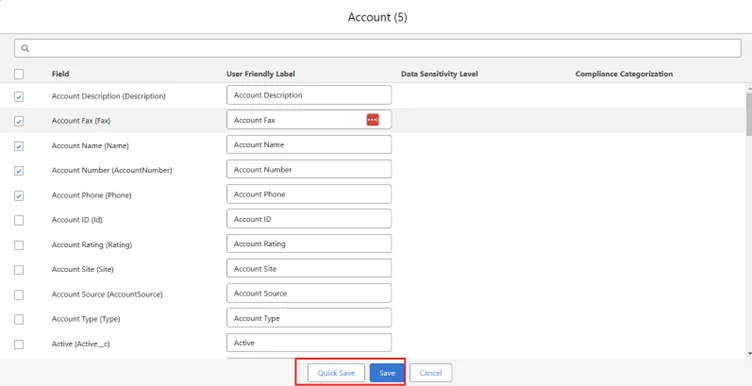
- Select field mapping. Popup appears.
- Search: The search box at the top operates in real-time. It scans the field label, api_name, and type for any occurrence of the entered keyword.
- The search process is not case-sensitive and operates in “like” mode (%keyword%), meaning it will find matches of the keyword anywhere within the data.
- Select field mapping. Popup appears.
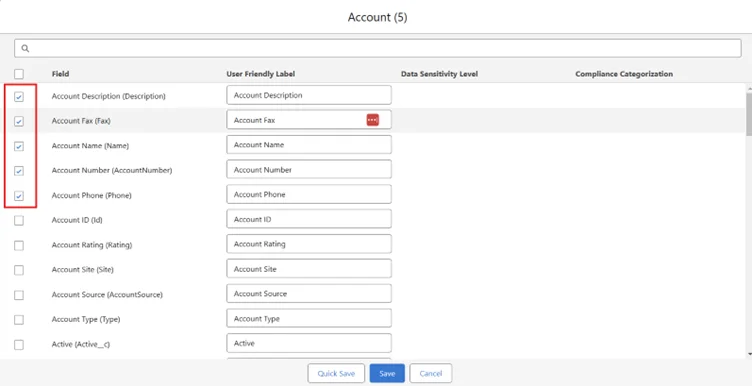
- Select the field for Data Portability by checking the checkbox.
- User-Friendly Label: Used to provide an alternative user-friendly name on the generated document
- Quick save: The Quick Save button allows a user to save the mapping and stay on the field mapping window, while the Save button saves and closes the window.
- Save the mapping.
Nth level Data Portability
- Nth-level Data Portability allows the user to port data to any number of records attached to the objects in the hierarchy mapped.
- Up to Nth levels of the hierarchy of objects can be mapped.
- Click on the dropdown arrow to add related objects.
- Click on the link to add the Related Object link.
- A popup will appear. Fill in the details.
- Let’s add the Contact objects as Level 2, Case and User objects as Level 3 objects, and CaseComment as a Level 4 object.
- Likewise, users can add as many objects to the Nth Level as they can to each level.
- Once object mapping is ready, users can add fields to respective objects by clicking on the ‘Field Mappings’ link for each object to perform Nth Level Data Portability.
- The number of fields selected in field mapping will be shown against the number of fields available in the object under the fields column.
- Click on the Validate button to activate the mapping.
- Mapping will be Validated.
- Once the mapping is completed, the user can create a PrivSec Request and process Data Portability on records.

