Apex Action is a special action provided in the DataMasker to mask the field value. Using Apex Action, users can encrypt the field value.
This encryption will be based on the key specified in the custom metadata types. This key works by encrypting the field value character by character.
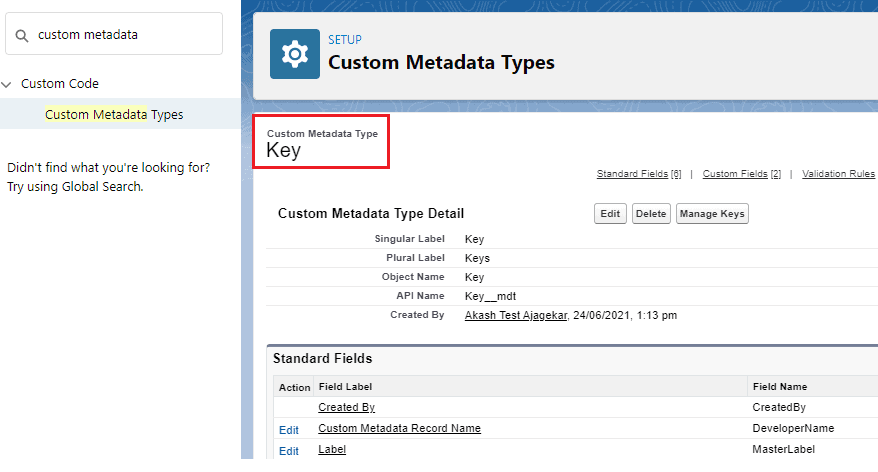
Note: Users have to create custom metadata types with the values that should replace the old values after masking the desired records/fields.
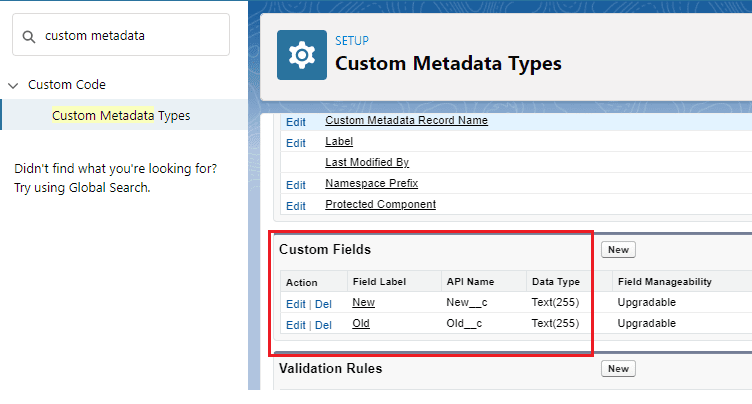
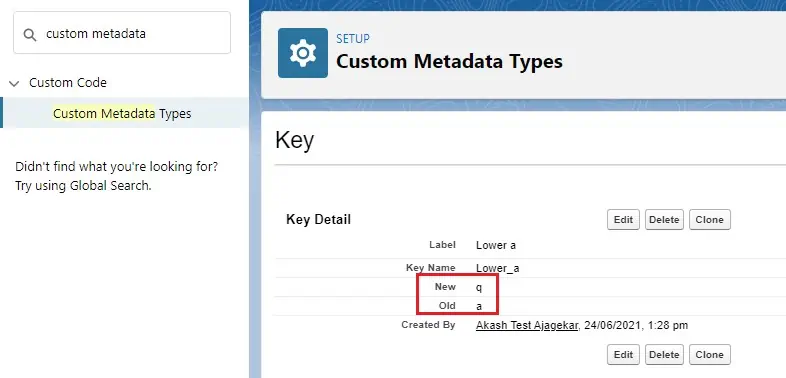
For example – Here “Key” is the custom metadata type and “New” and “Old” are the two custom fields that will hold both the list of characters and their replaceable characters.
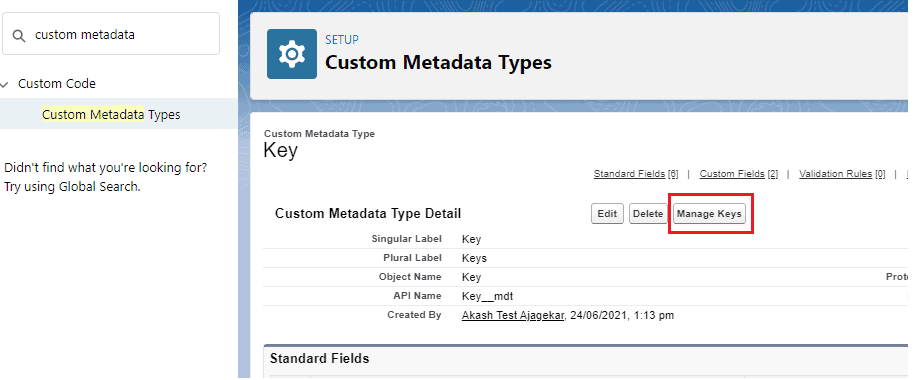
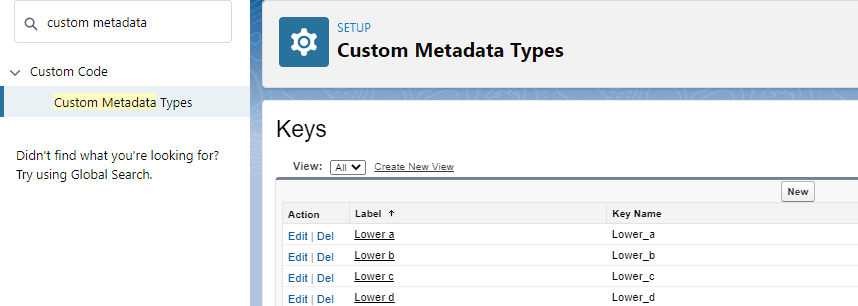
Now click on the “Manage Keys” button and add labels for keys.
Click on the label link to add “New” and “Old” values.
After the creation of all the keys, users have to add a custom class ‘DM_OfbuscationCustomV1’ in the org which will inherit the managed package class ‘DM_OfbuscationService’ to mask data using Apex action.
					global class DM_OfbuscationCustomV1 implements pcldm.DM_OfbuscationService  {


    global map<String,Object> ofbuscateData(map<String,Object> dataMap){

        if(dataMap.containsKey(‘objectName’) && dataMap.containsKey(‘fieldName’)

           && dataMap.containsKey(‘fieldType’) && dataMap.containsKey(‘fieldValue’)  )

        {

            String objectName = (String)dataMap.get(‘objectName’);

            String fieldName = (String)dataMap.get(‘fieldName’);

            String fieldType = (String)dataMap.get(‘fieldType’);

            String fieldValue = (String)dataMap.get(‘fieldValue’);

            if(String.isNotBlank(fieldValue)){

            Map<String,String> charMap = new Map<String,String>();

                for(Key__mdt k : Key__mdt.getall().values()){

                    charMap.put(k.Old__c, k.New__c);

                }

                List<String> tempArray = fieldValue.split(”);

                String returnStr = ”;

                for (String character : tempArray) {

                    returnStr += charMap.containsKey(character) ? charMap.get(character) : character;

                }

                if(String.isBlank(returnStr)){

                    returnStr = fieldValue;

                }
             // returnStr = returnStr;//.escapeCsv();
                if(String.isNotBlank(returnStr)){
                    returnStr = returnStr.replace(‘,’, ”);
                }
                if(String.isNotBlank(returnStr)){
                    returnStr = returnStr.replace(‘\n’, ”);
                }
                if(String.isNotBlank(returnStr)){
                    returnStr = returnStr.replace(‘\t’, ”);
                }
                if(String.isNotBlank(returnStr)){
                    returnStr = returnStr.replace(‘\r’, ”);
                }
              dataMap.put(‘fieldValue’,returnStr);
            }

           else if(String.isBlank(fieldValue)){
                dataMap.put(‘fieldValue’, null);
                }

        }
    System.debug(‘dataMap: ‘+dataMap);
        return dataMap;

    }

}
Below are the steps to implement an Apex Action masking solution.
Step 1: Create a New Configuration
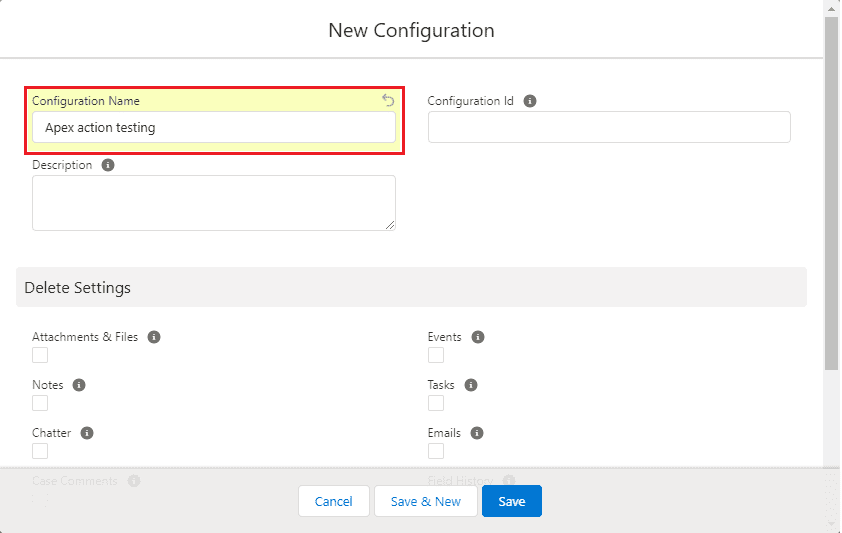
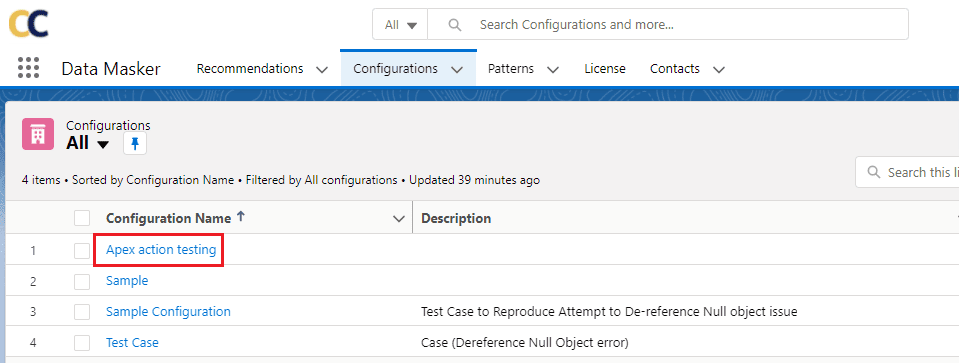
Open the Data Masker app and click on ‘Configuration’ in order to create a new configuration record. Click on the ‘New’ button and name the configuration.
Open the configuration by clicking on the link.
Step 2: Create an Object Masking record
Create an Object Masking record for the Object on which you want to use Apex Action. In this case, the Object is Contact.
Step 3: Add Fields for Masking
- Click on the object link to add fields for making. Users will be redirected to the field masking layout.
- Add the Apex Action Class Name.
- Add the Apex Action class name in the ‘Enter Value’ text field. Here, you can add more fields as per business requirements.
- Users can add multiple fields at the same time by checking the checkbox. Select Replace with ‘Apex’ and enter the class name ‘DM_OfbuscationCustomV1’ at the replacing value. Click on the Save button.
Here, mapping is all set, and users can mask records using a defined Apex Action.
For example, suppose we want to replace the first name “John” of the contact with Apex Action, and the user has created a key as follows:
J -> X, o -> w, h -> b, n -> c.
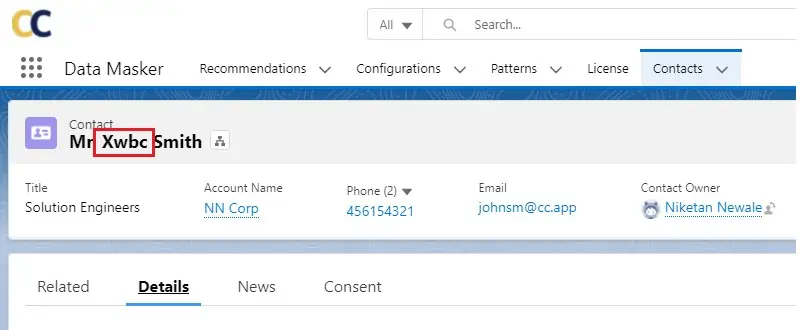
Then, after masking “John”, it will be masked with the mentioned key and the new first name will look like “Xwbc”.
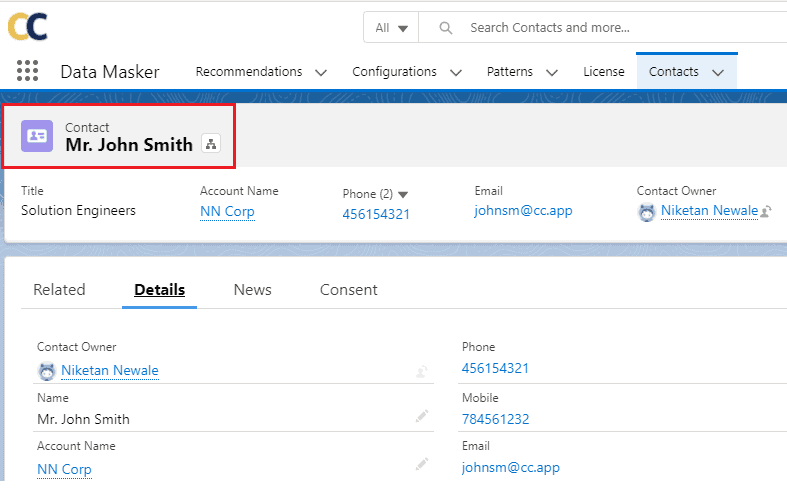
Let’s take a Contact record “John Smith”.
Now open the configuration and start masking for Apex Action by clicking the “Run Masking” button and following the steps.
After successfully masking, the record will be masked using the keys mentioned in the Custom Metadata. In this case, “John” will replace the text “Xwbc”.
This way, the user can add multiple fields to mask and mask data with APEX action.

