


Marketing Cloud takes 15 minutes to sync Synchronised Data Extension with CRM and 10 minutes will be required to update the local data extension. The following solution guide can help users who want to send an instant ‘Welcome email’ whenever any Lead or Contact is generated in CRM.
Since the complete ‘Privacy Site URL’ of a Lead/Contact has not yet been populated in Marketing Cloud as the sync takes more than 20 minutes, the user needs to embed the Privacy Site’s ‘URL’ in the email template of ‘Welcome Email’. So that in the Welcome email Leads/Contacts will be redirected to the user’s Privacy Site where they can enter their email id and get a verified email by which they can manage their consents.
Journey Builder can send Marketing Cloud emails to Leads/Contacts immediately when they are created in CRM. CRM data doesn’t need to be synced to Marketing Cloud for sending emails.
Prerequisites In Salesforce (CRM)
A Privacy Site should be created in CRM with Manage Consent Tab (having a consent matrix).
- Self-Service Guide -Please refer to the link – Self Service Guide
- Marketing integration guide – Marketing Integration
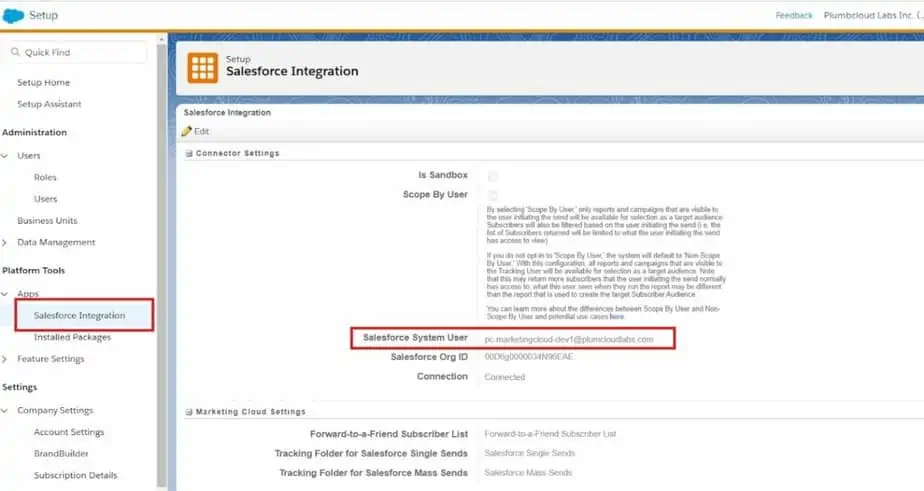
- Click the below link to know about Marketing Cloud & Salesforce connection in detail
Prerequisites in Marketing Cloud
- Journey Builder Subscription is required.
- CRM should be connected to Marketing Cloud. Kindly refer to the below trailhead
Solution Steps
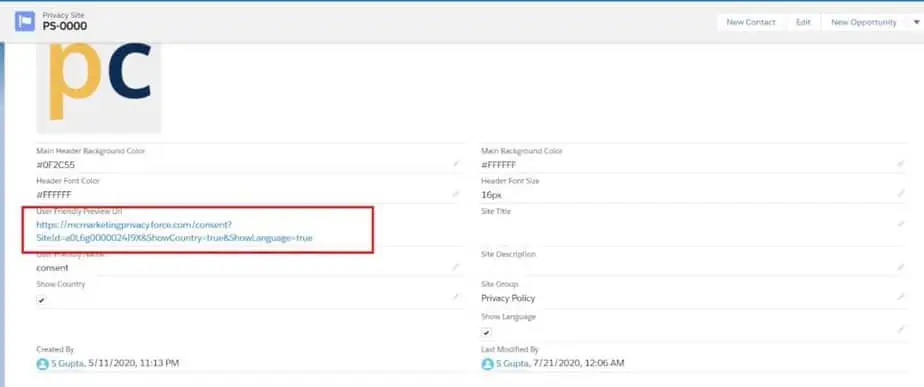
1. Users must go to the Privacy Site record where the consent matrix is set up and copy the ‘User-Friendly Preview Url’ to embed in the Marketing Cloud email template ‘Welcome Email’. So that the Lead/Contact is redirected to enter their email id to manage his consent.
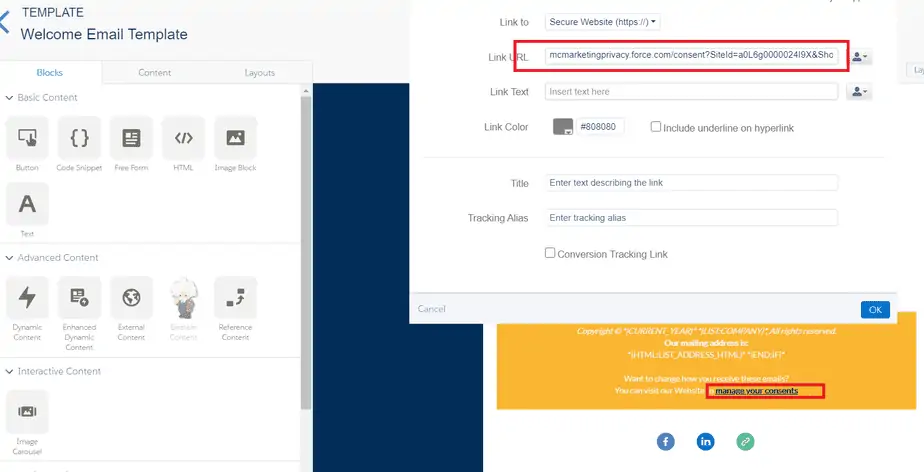
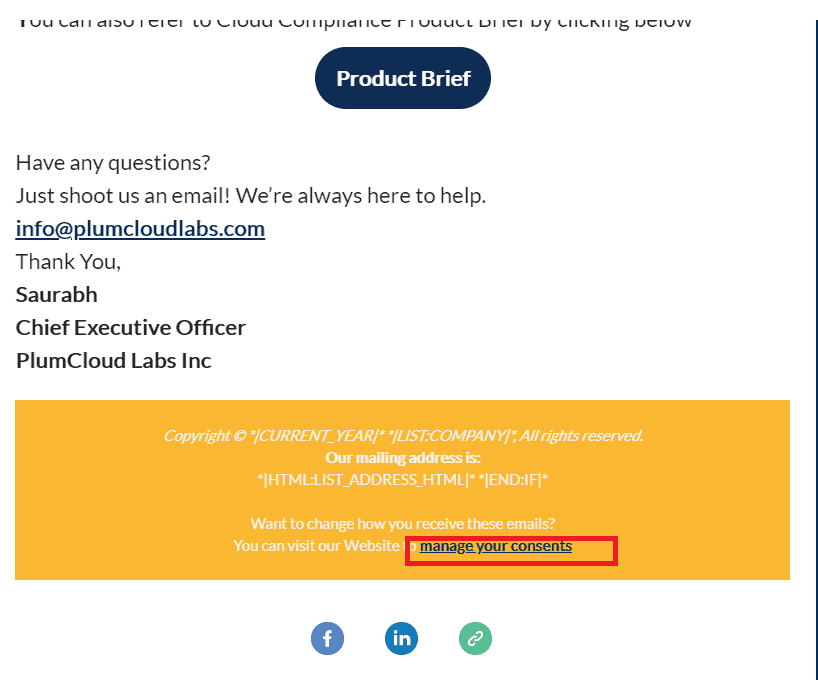
2. To send an email to the Leads/Contacts first user needs to create an email template and the user needs to make sure to embed the above ‘User-Friendly Preview Url’ in the footer section.
For eg. For this case, we have created a ‘Welcome email’ template when Lead/Contact is created in CRM.
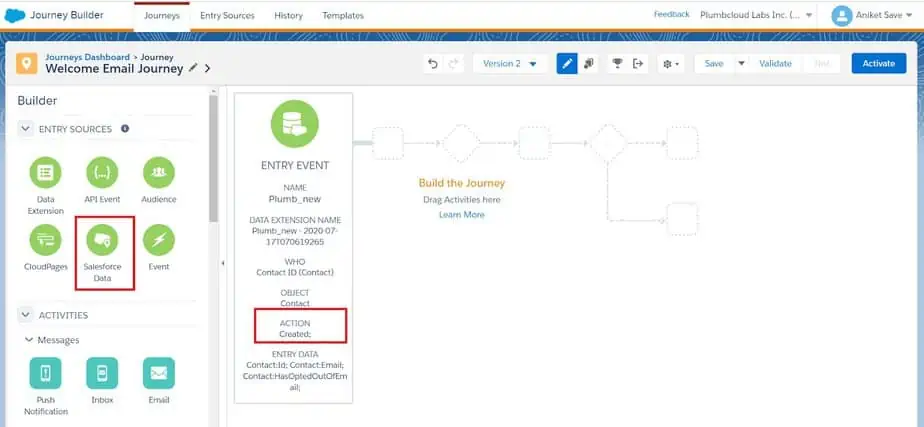
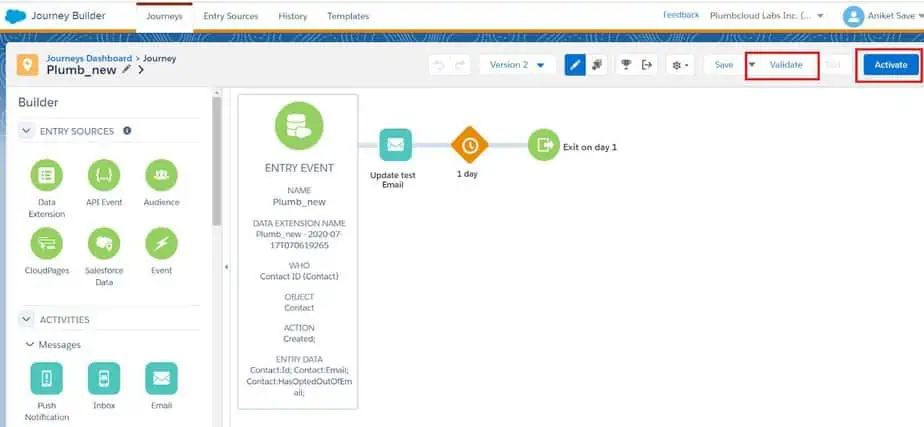
3. Now users will have to create a Journey in Journey Builder of Marketing Cloud. Select Data Entry Source as ‘Salesforce Data’. In our case, we will select the object Contact and action on a ‘created’ basis. Users may also add filter criteria to allow specific contacts to enter the Journey.
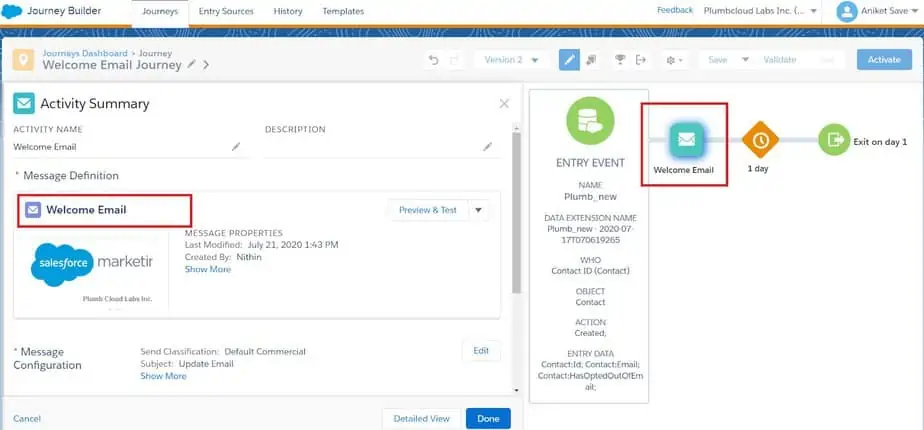
4. Now the user has to add the activity ‘Email’ and select the ‘Welcome Email template’ created in the above step. User can also add a Wait Duration step and save the journey
5. Now the user needs to Validate and Activate the Journey. If there are no errors, the Journey Builder gets saved.
6. Now if any Contact record is created with matching criteria (if specified in the Journey Builder) then the email welcome Email’ is fired from Marketing Cloud. The contact receives an email and to manage their consents they have to click the Manage consent link in the footer section of the email.
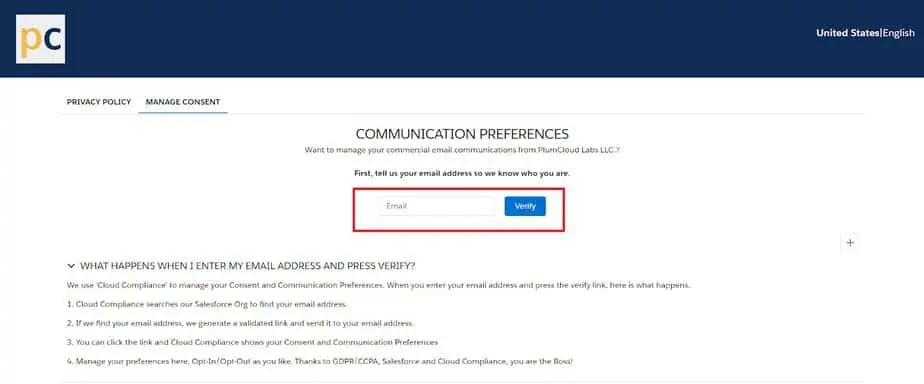
7. After clicking the link the contact is redirected to the Privacy Site where they can enter their email id and a verified email having a link to their ‘Self-service portal’ is sent.
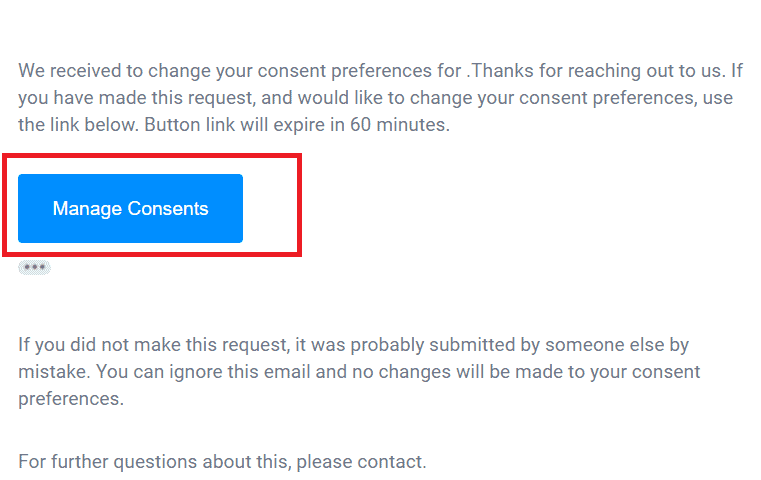
8. Once the verified Contact receives the email, the next thing that the contact needs to do is to click on the ‘Manage Consents’ button which will navigate to the Self-Service portal.
9. After clicking the ‘Manage Consents’ contact can now give their consents on the Self-Service Portal as follows –

10. If new consent values are given then our product will be synced to Salesforce (CRM) in the background and will be reflected in the Consent matrix of the Salesforce (CRM).
Now if a user wants to send an email from ‘Salesforce Data’ only then can continue using Journey Builder by creating new Journeys.
But if a user wants to send an email and also maintain CRM’s updated data on a local data extension of Marketing Cloud then the user can continue from step no 5 of Marketing Cloud – Automation Studio.