

In the Cloud Compliance application, the “Data Retention” feature uses mappings that store data in the custom objects available in a package. This document covers how Data Retention mapping records can be transferred from one org to another in order to efficiently migrate data from sandbox to production using the Import/Export feature of the Cloud Compliance application.
Note – This feature is available from CC version 3.0 onwards.
Solution Steps –
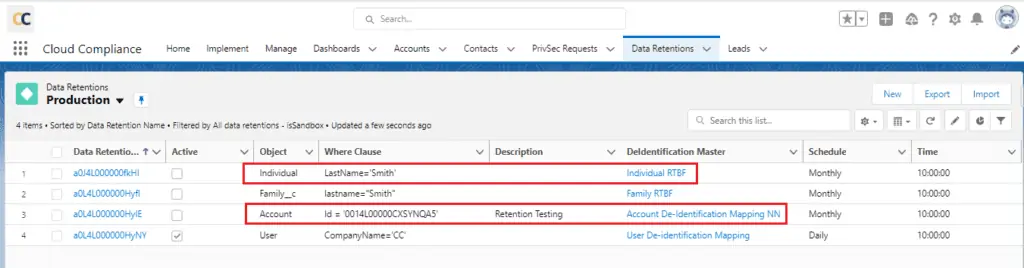
Step 1: Navigate to the Data Retentions tab in the application from the source org. You will find a list of all the Data Retention mappings that were created as per the business requirement.
Note – If you cannot see the Data Retentions tab, you can add the tab by editing the navigation item option.
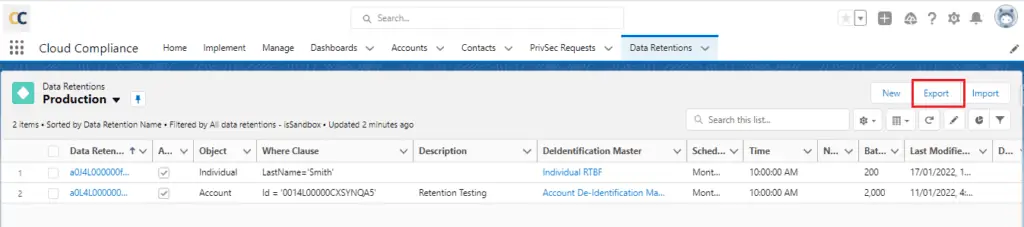
Step 2: On the right side of the Data Retention’s list view section, you will find three buttons New, Export, and Import. Here you can click on the Export button in order to fetch all the mapping details in JSON format.
Note – Only active mapping will be fetched.
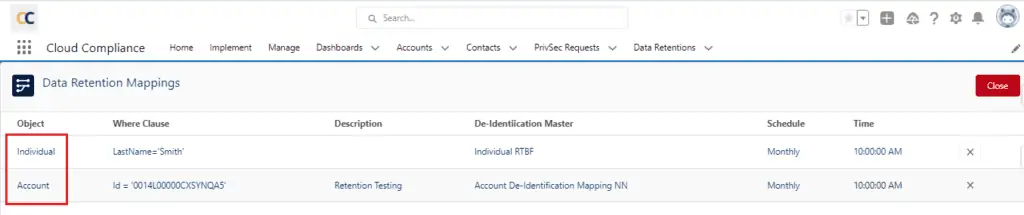
Step 3: Once you click on the Export button, a new page will appear on the screen, including a list of all the active Data Retentions mapping records. In this case, the application will pick “Individual” and “Account” object mapping records as shown in the below image.
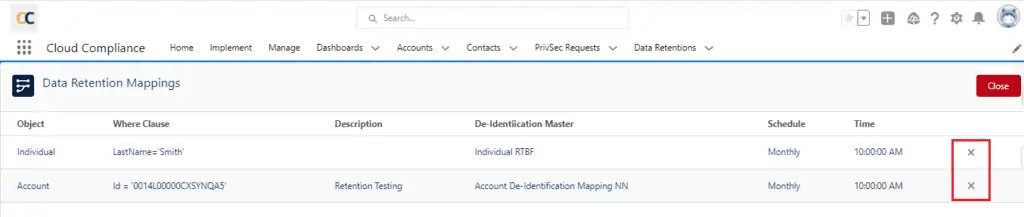
Step 4: On this page, you will find the option to remove the mapping from the list of all the active mappings in case you want to remove any by clicking on the ‘X’ symbol.
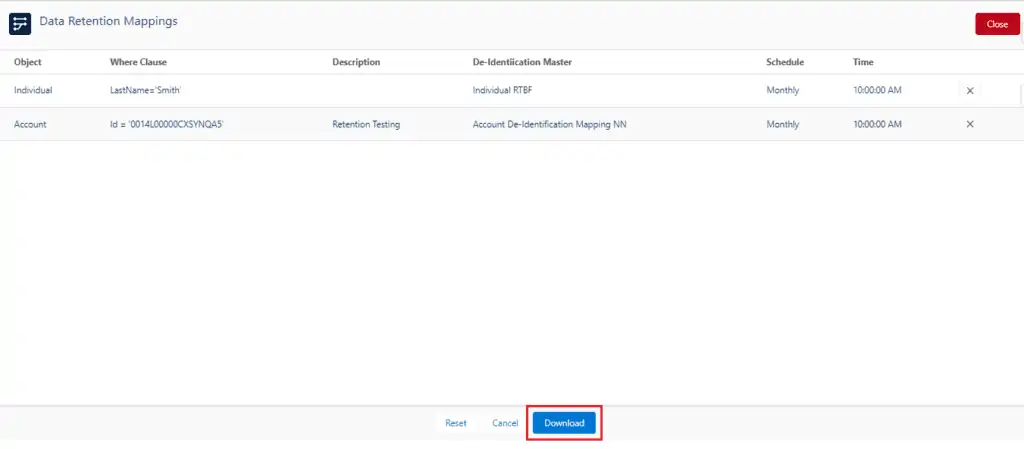
Step 5: Once everything is set and meets the requirements, you can click on the Download button to download the mapping file in JSON format.
Step 6: Now that the file is downloaded, you can log in to the Salesforce org where you want to migrate mappings.
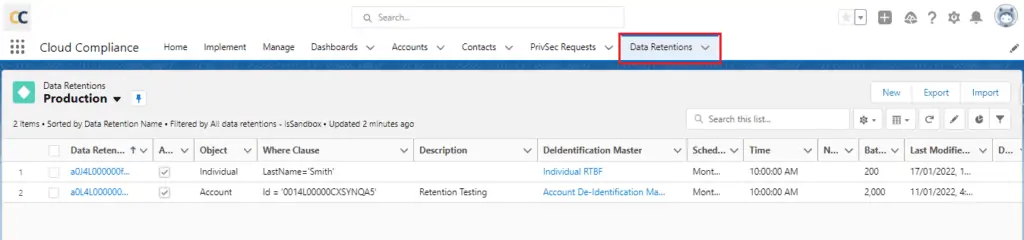
Step 7: Navigate to the Data Retentions tab in the application from the destination org. You will find a list of all the existing mappings or NO mappings in destination org.
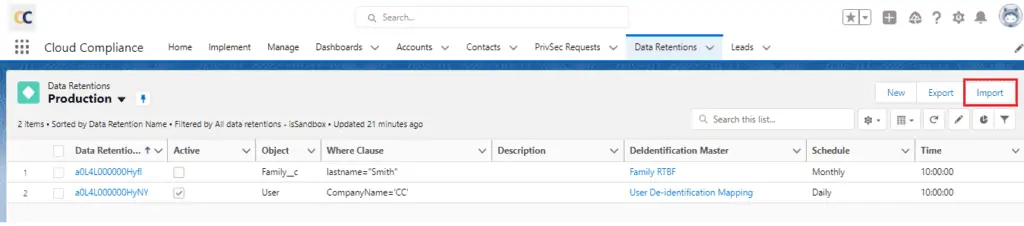
Step 8: On the right side of the Data Retentions list view section, you will find three buttons: ‘New’, ‘Export’, and ‘Import’. Here, you can click on ‘Import’ in order to fetch all the mapping details in JSON format.

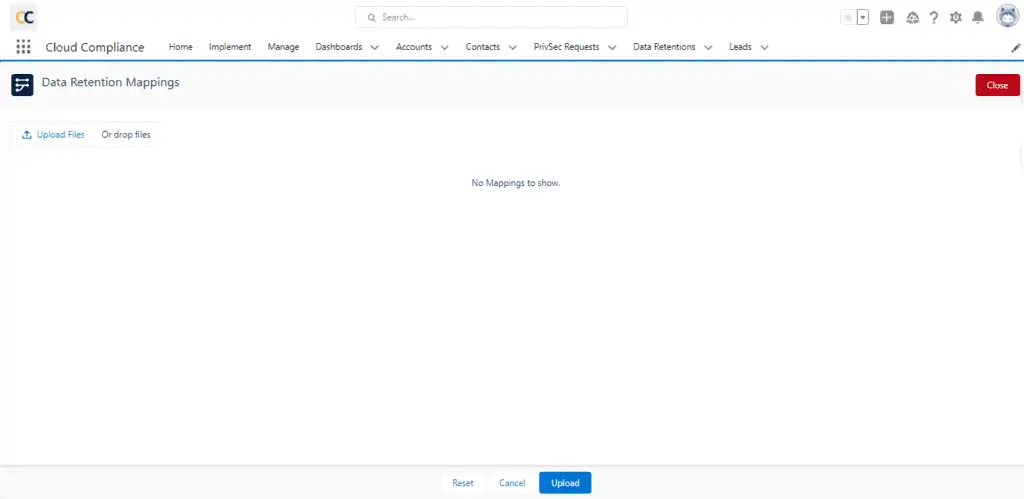
Step 9: Once you click on ‘Import’, a new page will appear on the screen which includes the upload file option. Here, you can click on ‘Upload Files’ to select a file from the computer or you can drag a downloaded file into this section to upload all the Data Retention mappings.
Step 10: Once the file is uploaded, you can see a list of your mappings on the same page. At this stage, you can also remove the mapping from this list before clicking on the Upload button.
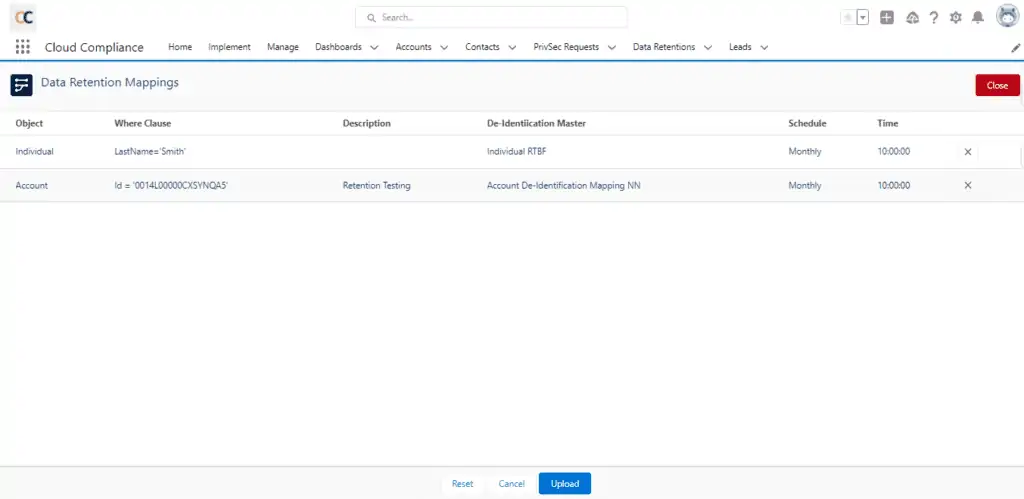
Step 11: Once you verify the mappings, you can click on ‘Upload’.

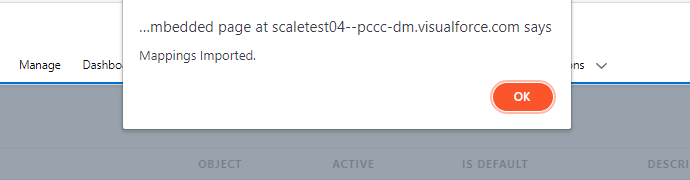
Step 12: Once the upload is successful, you will receive an alert with the message “Mapping Imported”. After this, you can see all the mappings that have migrated to the destination org.
Note – Activate each mapping in the destination org so the CC app will verify those mappings and their fields. An error will be displayed if something goes wrong during the activation of mappings. Once all the mappings get activated then those mappings can be used for the Data Retention feature.